Microsoft Exchange Online
A Microsoft email and calendaring hosted service.
1,860 questions
This browser is no longer supported.
Upgrade to Microsoft Edge to take advantage of the latest features, security updates, and technical support.
' cx='32' cy='32' r='32' /%3E%3Ctext x='50%25' y='55%25' dominant-baseline='middle' text-anchor='middle' fill='%23FFF' %3ERL%3C/text%3E%3C/svg%3E)
My issue is similar to one previous post. One user's Teams chat email is wrong. I checked AD, Exchange On Prem and Online (A hybrid environment), and found and changed the wrong SIP address in ExchangeOnline. 3 days later, both wrong and correct chat email addresses are still showing on Team's contact. Azure's IM address is also showing the wrong address.
Run the Powershell suggested by some experts here with anotehr post:
Connect to Microsoft Teams
$credential = Get-Credential
Connect-MicrosoftTeams -Credential $credential
Get the user's SIP address
Get-CsOnlineUser -Identity "user@domain.com" | Select-Object SipAddress
Update the user's SIP address
Set-CsUser -Identity "user@domain.com" -SipAddress "sip:newaddress@domain.com"
Confirmed that the SIP address is still wrong, however the Set-CsUser command giving me error: Set-CsUser: A parameter cannot be found that matches parameter name "SipAddress".
Any other suggestions? Or the sync will take much longer than 3 days?
' cx='32' cy='32' r='32' /%3E%3Ctext x='50%25' y='55%25' dominant-baseline='middle' text-anchor='middle' fill='%23FFF' %3ERS%3C/text%3E%3C/svg%3E)
Hi @Richard Li
Could you please tell me if you have tried to log out of Teams and then log back in.
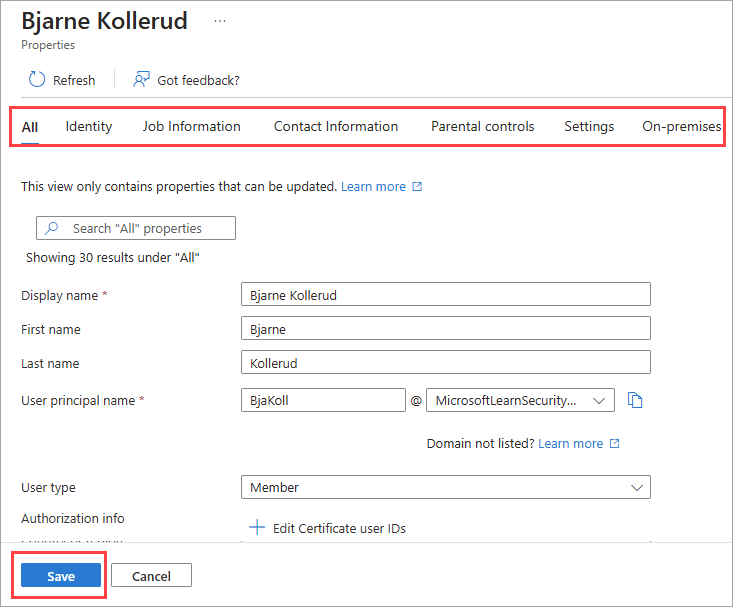
As the post you mentioned says, please log in to the Microsoft Entra Admin Center and follow the steps to modify the property information. It will take some time to implement the information changes in Teams.
Yes, tried deleted Teams cache for both New and old Teams, one week later still no change; checked Entra ID ( Azure AD before), under the user properties, IM address is still wrong. Currently still got 2 chat emails on Teams, one wrong, one correct.
Hi @Richard Li
If you have tried to change the property information in the Microsoft Entra Admin Center, but it did not work, we recommend that you contact the telephone support, who will help you collect logs to retrieve the problem.
Find support phone numbers by country or region
Admins, have your account details ready when you call.
We are sorry that the forum group cannot help you much in this regard, thanks for your understanding and support. If you have any other questions, please feel free to contact us.
@Robin Sheng-MSFT. Thanks. I sorted it out later.
Just want to put an update here for others having the same issues. The solution for me is to edit in AD through ADUC.
Hi @Richard Li
Glad to hear you fixed the issue by changing the user properties via ADUC, thanks for contributing to the Q&A forum.
If the answer is helpful, please click "Accept Answer" and kindly upvote it.
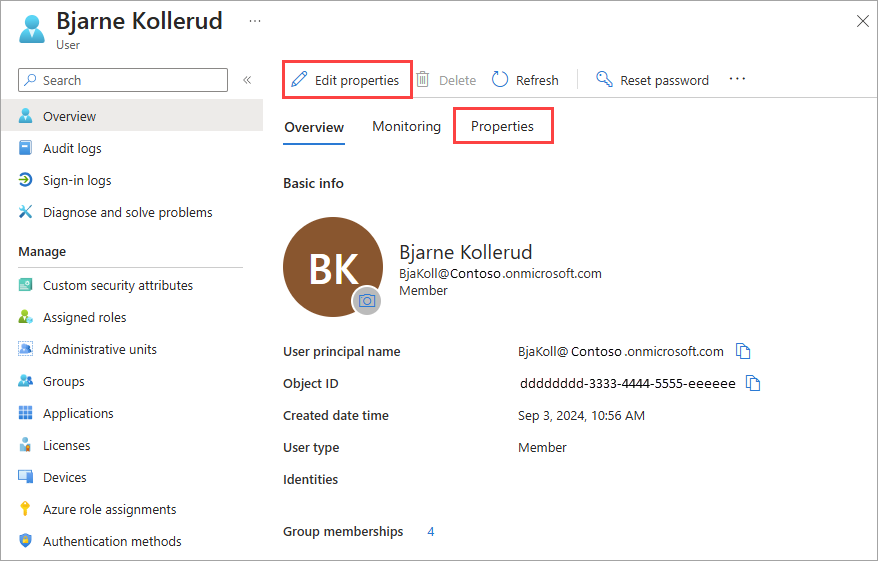
We also recommend logging into the Microsoft Entra Admin Center to modify your information.

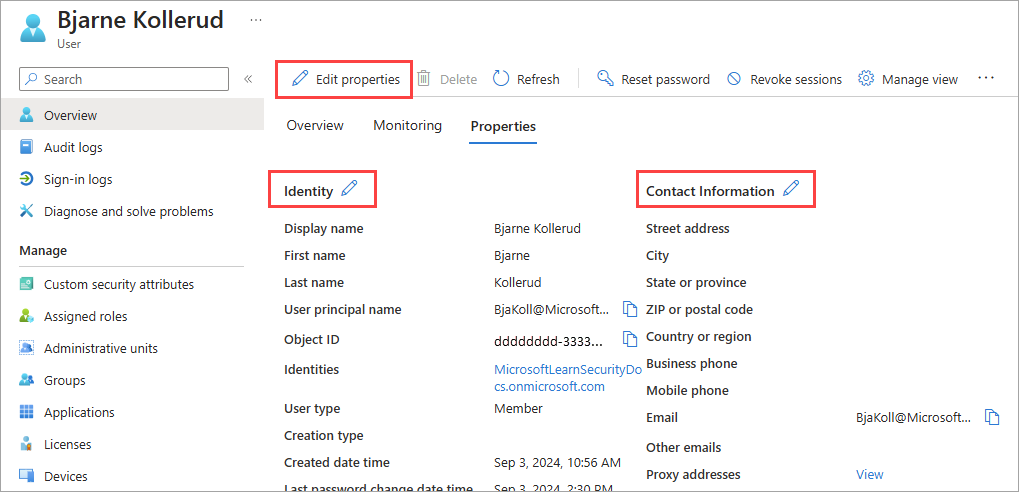
 If you selected the Properties tab option: