Scale up your platform instance configuration
In this article, we'll walk you through upscaling your platform resources to meet your scale requirements.
Note
Any changes in configuration and plans may impact your azure consumption costs.
Steps to enable Auto-Scale for your instance
Pre-requisites
Auto scale-out is only available for MCT Standard SKU plan.

Option 1 - Enabling auto scale-out during instance creation
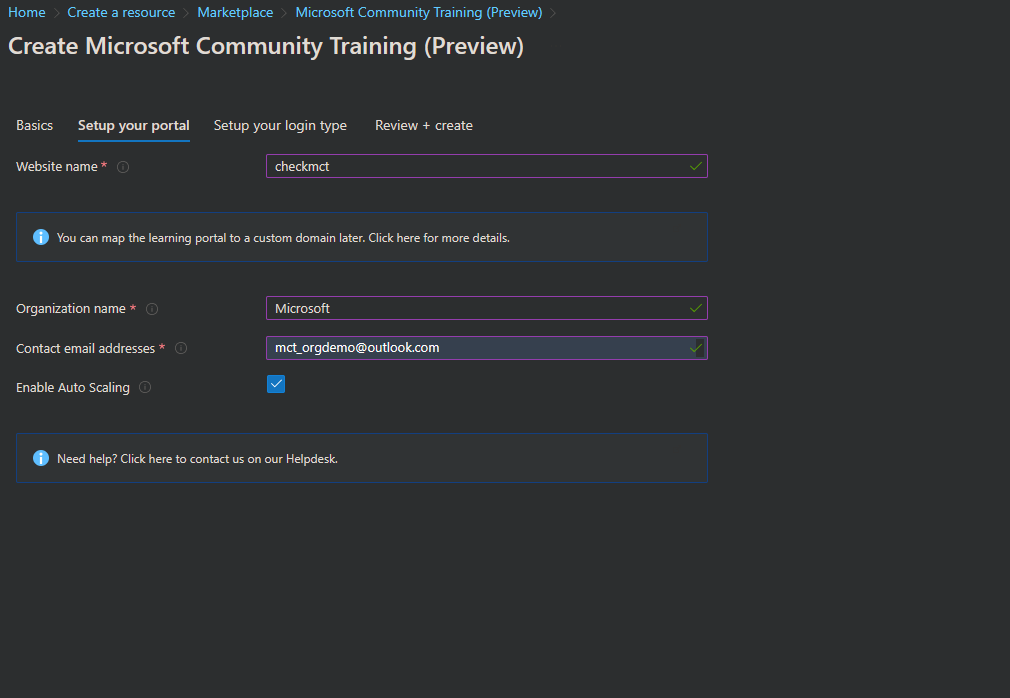
On the azure portal MCT instance creation blade, there will be a checkbox which denotes whether to enable auto-scale out for the instance. Checking the auto scale-out checkbox is enough.

Option 2 - Enable auto scale-out for existing instances
If you have an existing instance, you can enable auto scale-out as mentioned below
Login to Azure portal
In the Azure portal, navigate to Resource groups in the left navigation pane.
.png)
From the list of resource groups, click on the resource group belonging to your Microsoft Community Training instance
From the list of resources, click on the function app resource that has name like
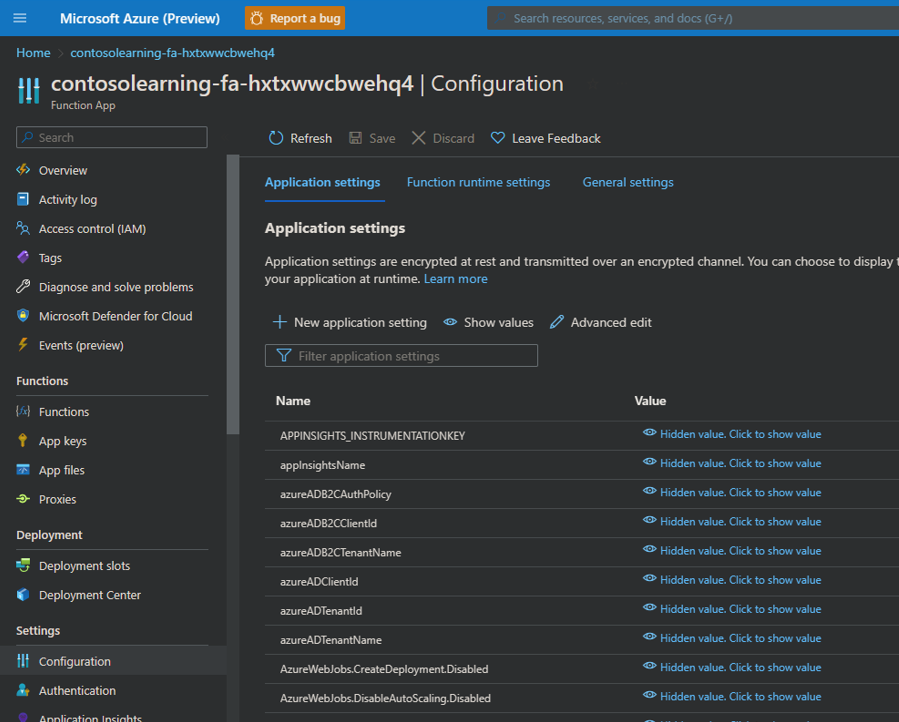
<your portal name>-fa-<random string>.On the function apps page, navigate to Configuration on the left panel.

Check if configuration by the name EnableAutoScalingAllowed exists. If not, click on “New application setting”.
- If newly adding the configuration, set the Name as “EnableAutoScalingAllowed” and Value as “true”.
- If already exists and the value is set to “false”, update it to “true”

Click on save and wait for the operation to complete (should take couple of minutes to complete)
Once the operation from step 7 is complete, navigate to Functions on the left panel.
There will be 6 functions which are part of the function app. One of them will be “EnableAutoScaling”.
Towards the far right of the row containing the name EnableAutoScaling, click on the 3-dot icon that says, “click to open context menu”. When the context menu opens, click on “Enable”.

Once the function enabled above in step 10 comes back to disabled state, auto scale-out will be enabled for your instance.
Note
Once the above-mentioned resource is provisioned, an auto scale-out profile will be added to the app service plan which will scale out the plan in the following condition: if the CPU utilization exceeds 80%, an additional instance will be spawned which can consume the request traffic.
A Maximum of 5 instances will be spawned, if the load is such that it requires more than 5 instances to balance, no additional instances will be created and as and when the load decreases, the instance count reduces.
Warning
Enabling auto scale-out will incur additional costs to your subscription. This includes a monthly cost for using the Azure Cache for Redis resource and additional App Service Plan consumption.
Steps to disable Auto-Scale for your instance
If you have auto scale enabled in your instance and you wish to disable, you can achieve it by following steps below:
Login to Azure portal
In the Azure portal, navigate to Resource groups in the left navigation pane.
.png)
From the list of resource groups, click on the resource group belonging to your Microsoft Community Training instance
From the list of resources, click on the function app resource that has name like
<your portal name>-fa-<random string>.Navigate to Functions on the left panel.
There will be 6 functions which are part of the function app. One of them will be “DisableAutoScaling”.
Towards the far right of the row containing the name DisableAutoScaling, click on the 3-dot icon that says, “click to open context menu”. When the context menu opens, click on “Enable”.

Once the function enabled above in step 7 comes back to disabled state, auto scale-out will be disabled for your instance.
Manual steps to upscale your instance
Azure App Service
Get more CPU, memory, disk space, and extra features like dedicated virtual machines (VMs), custom domains and certificates, staging slots, autoscaling, and more. You scale up by changing the pricing tier of the App Service plan that your app belongs to. The scale settings take only seconds to apply and affect all apps in your App Service plan. They don't require you to change your code or redeploy your application.
Steps to upgrade your Azure App Service
Login to your Azure portal, go to Resource Groups from the left-menu.
.png)
Click on the resource group belonging to your Microsoft Community Training instance.
Click on the Managed application instance.
.png)
Click on Managed resource group link.
.png)
Select the resource for your App Service (has -asp- in its name).
.png)
Click Scale up from the left-menu.
.png)
Select new tier of your choice and click on Apply.
Azure SQL Database
Mitigate performance issues by dynamically add more resources to your database with minimal downtime; however, there will be a switch over period where connectivity is lost to the database for a short amount of time, which can be mitigated using retry logic. Learn more here.
Steps to upgrade your Azure SQL Database plan
Login to your Azure portal, go to Resource Groups from the left-menu.
.png)
Click on the resource group belonging to your Microsoft Community Training instance.
Click on the Managed application instance.
.png)
Click on Managed resource group link.
.png)
Select the resource for your App database (has -db- in its name)
.png)
Click Configure from the left-menu.
.png)
Use the DTUs slider to change tier and click on Apply.