Use the Facebook channel
Applies to: Dynamics 365 Contact Center—embedded, Dynamics 365 Contact Center—standalone, and Dynamics 365 Customer Service
When you sign in, your work items are available in the agent dashboard. To learn more, go to View agent dashboard and agent conversations (work items).
Prerequisite
Make sure your administrator has configured a Facebook channel.
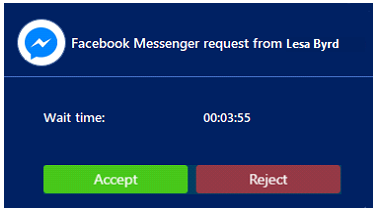
Incoming Facebook notification
You receive a notification when a customer requests a Facebook conversation. When you accept the Facebook request, a session starts and the communication panel in which you can exchange messages with the customer is displayed.

In the application, you can:
- View customer information on Active Conversation form
- View communication panel
- Use call options and visual engagement in live chat
- Monitor real-time customer sentiment
- Manage sessions
- Manage applications
- Use productivity tools
- Create a record
- Search, link, and unlink a record
- Search for and share knowledge articles
- Take notes specific to conversation
- Understand conversation states
- Manage presence status
- Search for transcripts
- View conversation and session forms
- View active conversations for an incoming conversation request
- Search for transcripts
Privacy notice
Customers are solely responsible for using Dynamics 365, this feature, and any associated feature or service in compliance with all applicable laws, such as laws relating to monitoring, recording, and storing communications with their end users. This includes adequately notifying end users that their communications with agents may be monitored, recorded, or stored and, as required by applicable laws, obtaining consent from end users before using the feature with them. Customers are also encouraged to have a mechanism in place to inform their agents that their communications with end users may be monitored, recorded, or stored.
Send and receive file attachments
You can send file attachments to customers during a Facebook channel conversation. Before you send a file, make sure you understand the file size limit and file extension types set by your administrator.
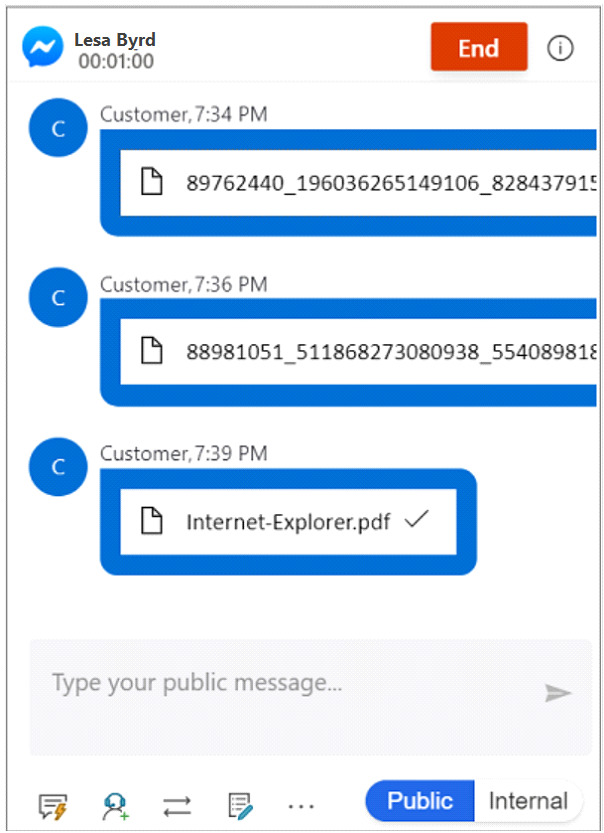
The communication panel displays the files that you receive from a customer. To view the file, select it and save it to your computer. The file name you see on an image that the customer sends might not reflect the actual file name, but a randomly generated number.

If a customer sends an unsupported file extension type, the following error message appears in the communication panel: Error: Customer sent an unsupported message type.
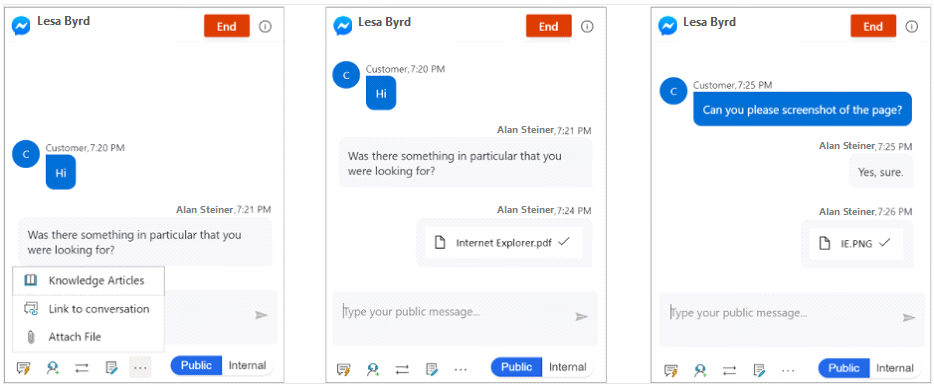
Send a file
To send a file, follow these steps:
Select the ellipsis (...) in the communication panel.
Select Attach file. A window is displayed.
Browse and select the file to send it.

To learn more about the Facebook channel setup, go to Configure a Facebook channel.