Create verifiable credentials for ID token hint
A rules definition that uses the idTokenHint attestation produces an issuance flow where the relying party application passes claim values in the issuance request payload. It is the relying party application's responsibility to ensure that required claim values are passed in the request. How the claim values are gathered is up to the application.
Create a custom credential
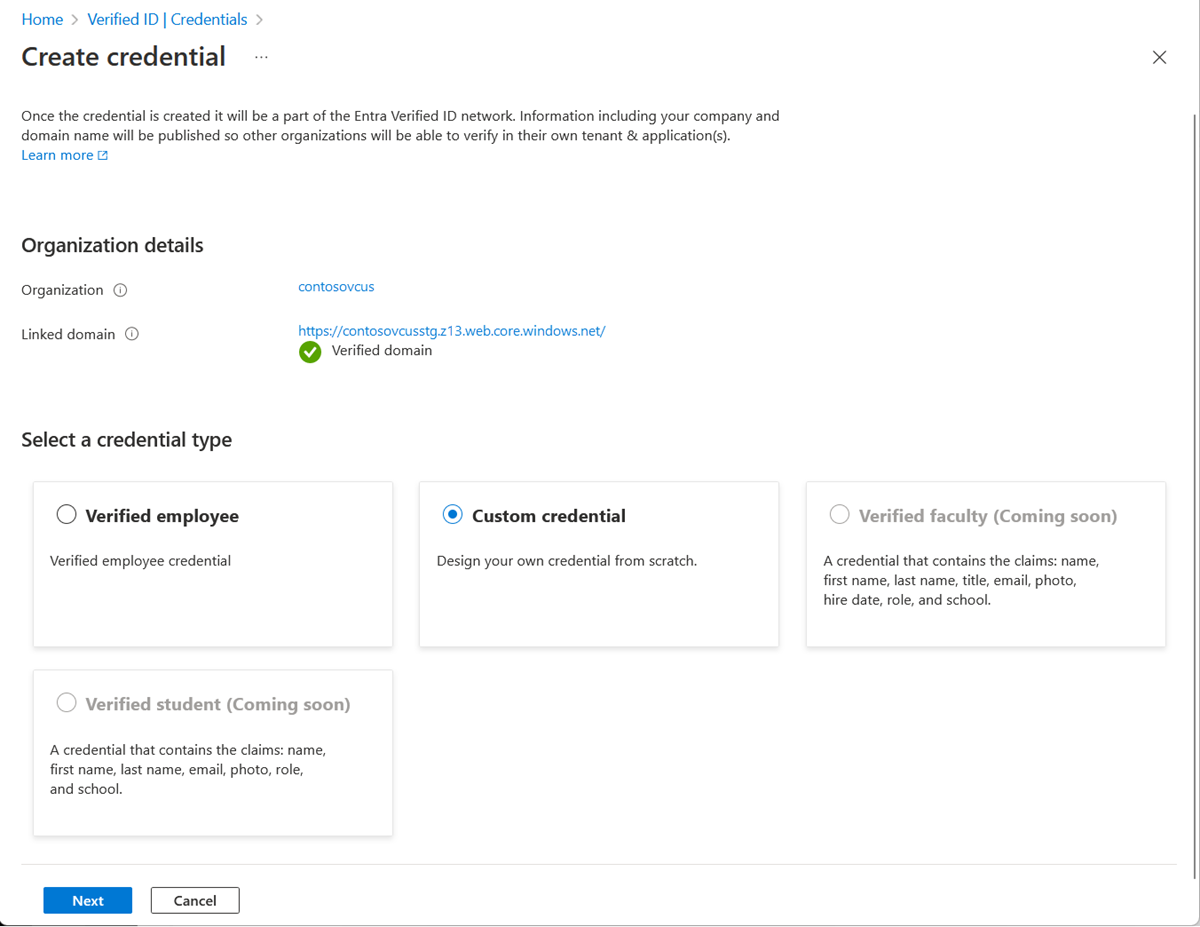
In the Azure portal, when you select Add credential, you get the option to launch two quickstarts. Select custom credential, and then select Next.

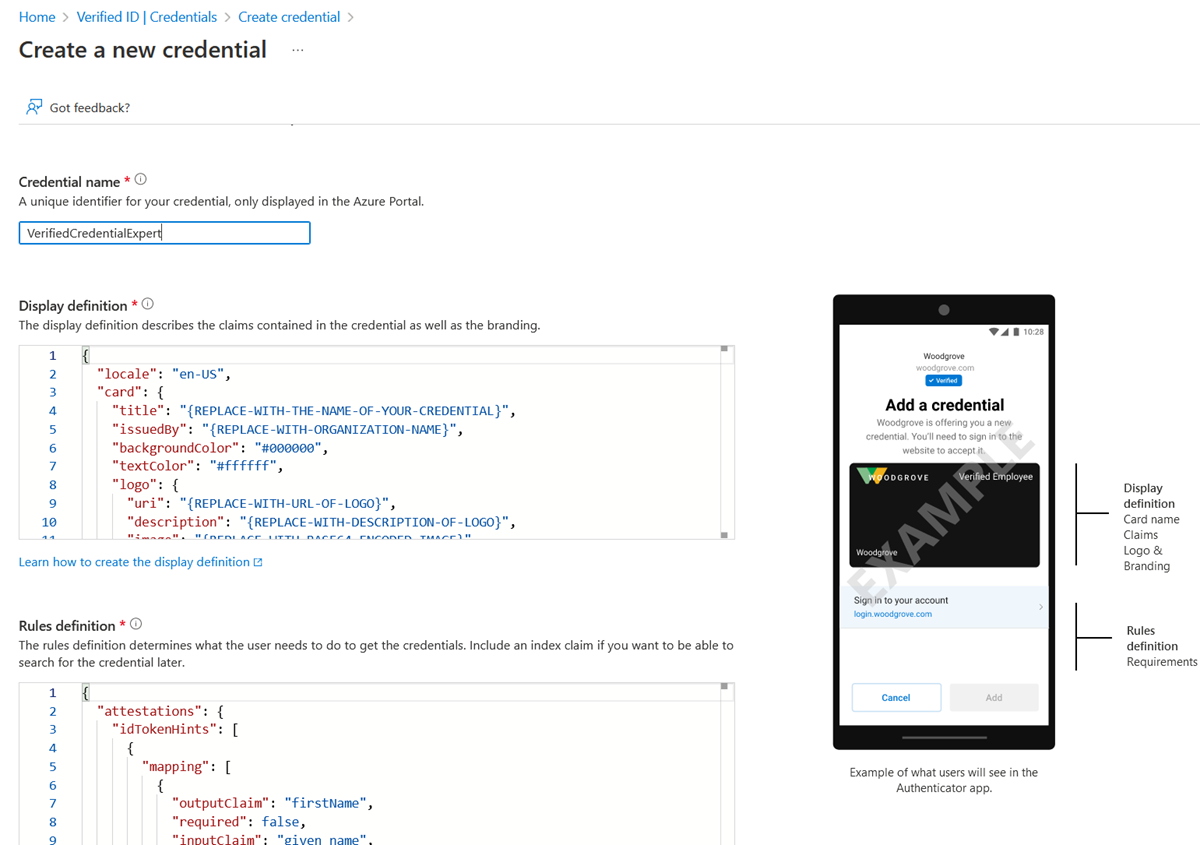
On the Create a new credential page, enter the JSON code for the rules and display definitions. In the Credential name box, give the credential a type name. To create the credential, select Create.

Sample JSON display definitions
The expected JSON for the display definitions is the inner content of the displays collection. The JSON is a collection, so if you want to support multiple locales, you add multiple entries, with a comma as a separator.
{
    "locale": "en-US",
    "card": {
      "title": "Verified Credential Expert",
      "issuedBy": "Microsoft",
      "backgroundColor": "#000000",
      "textColor": "#ffffff",
      "logo": {
        "uri": "https://didcustomerplayground.z13.web.core.windows.net/VerifiedCredentialExpert_icon.png",
        "description": "Verified Credential Expert Logo"
      },
      "description": "Use your verified credential to prove to anyone that you know all about verifiable credentials."
    },
    "consent": {
      "title": "Do you want to get your Verified Credential?",
      "instructions": "Sign in with your account to get your card."
    },
    "claims": [
      {
        "claim": "vc.credentialSubject.firstName",
        "label": "First name",
        "type": "String"
      },
      {
        "claim": "vc.credentialSubject.lastName",
        "label": "Last name",
        "type": "String"
      }
    ]
}
Sample JSON rules definitions
The expected JSON for the rules definitions is the inner content of the rules attribute, which starts with the attestation attribute.
{
      "attestations": {
        "idTokenHints": [
          {
            "mapping": [
              {
                "outputClaim": "firstName",
                "required": true,
                "inputClaim": "$.given_name",
                "indexed": false
              },
              {
                "outputClaim": "lastName",
                "required": true,
                "inputClaim": "$.family_name",
                "indexed": true
              }
            ],
            "required": false
          }
        ]
      },
      "validityInterval":  2592000,
      "vc": {
        "type": [
          "VerifiedCredentialExpert"
        ]
      }
}
Configure the samples to issue and verify your custom credential
Before you can configure your sample code to issue and verify using custom credentials, you need:
- Your tenant's issuer decentralized identifier (DID)
- The credential type
- The manifest URL to your credential
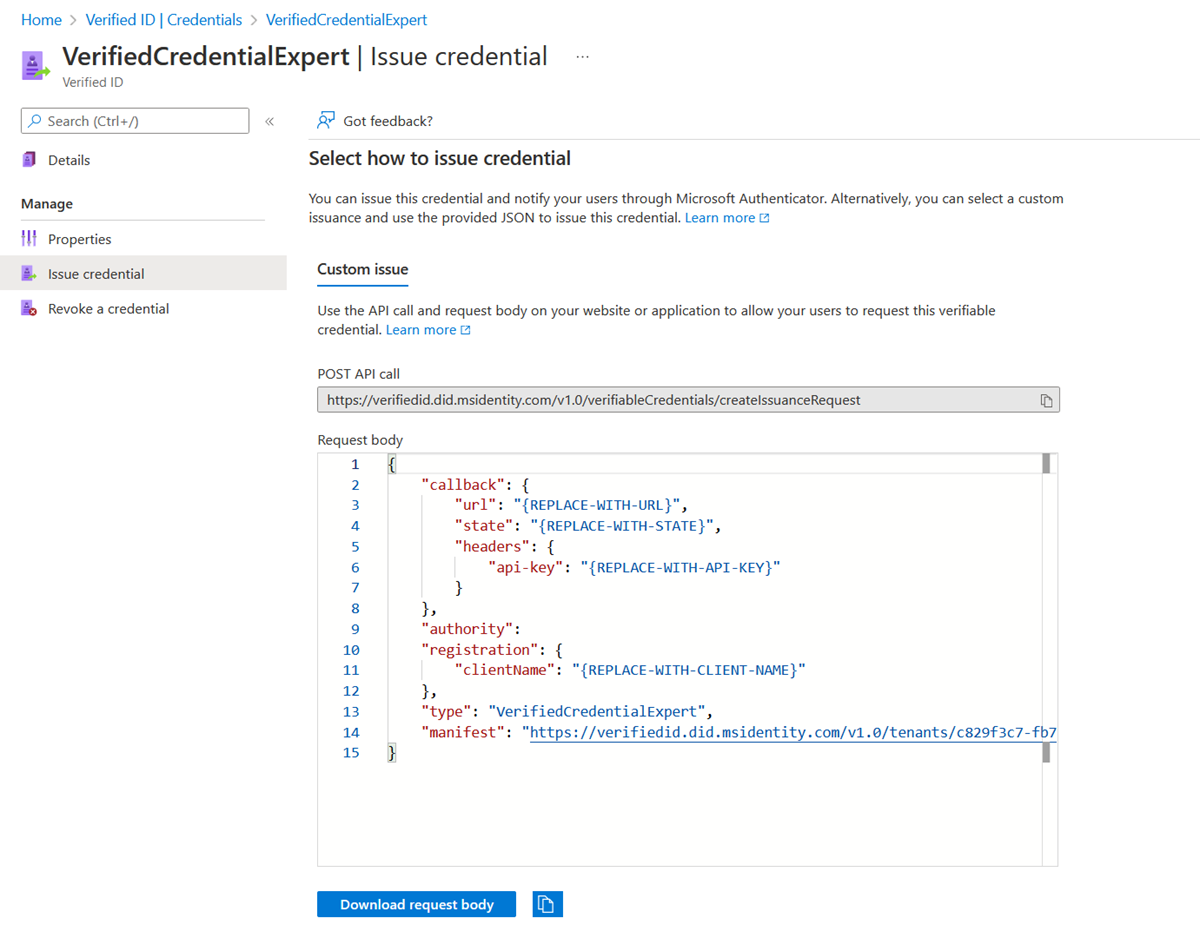
The easiest way to find this information for a custom credential is to go to your credential in the Azure portal. Select Issue credential. There you have access to a text box with a JSON payload for the Request Service API. Replace the placeholder values with your environment's information. The issuer’s DID is the authority value.

Next steps
For more information, see: