Set up your Oracle database connection
This article outlines the steps to create an Oracle database connection.
Supported authentication types
The Oracle database connector supports the following authentication types for copy and Dataflow Gen2 respectively.
| Authentication type | Copy | Dataflow Gen2 |
|---|---|---|
| Basic | √ | √ |
Prerequisites
Install an on-premises data gateway by following this guidance.
To use Oracle database connector, install Oracle Client for Microsoft Tools (OCMT) on the computer running on-premises data gateway. Here are the steps:
- Download 64-bit OCMT from the Oracle Client for Microsoft Tools page.
- Open the downloaded .exe to start the installation.
Select Next button.
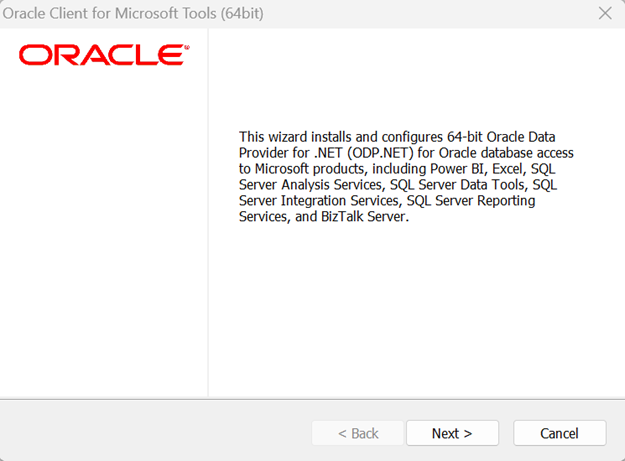
Choose the Default Oracle Client setup type.

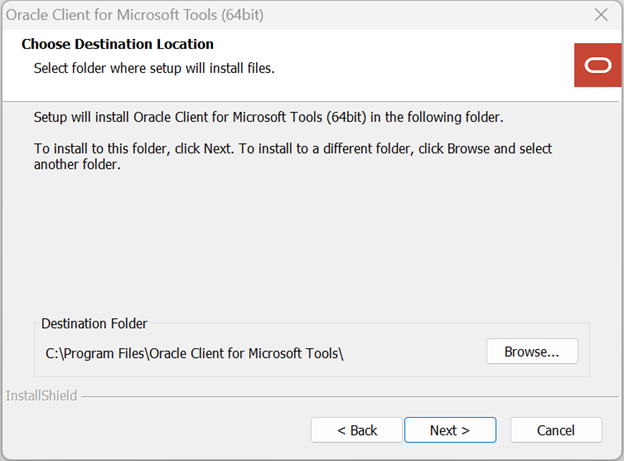
Enter the Destination Folder where the Oracle Client will be installed on your machine.
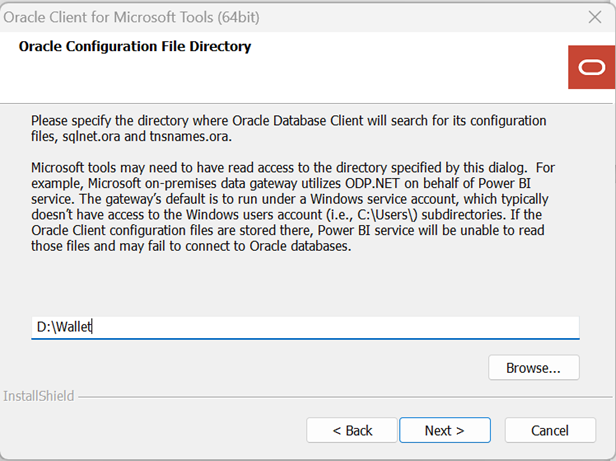
Enter the directory where ODP.NET can find its Oracle Client configuration files.
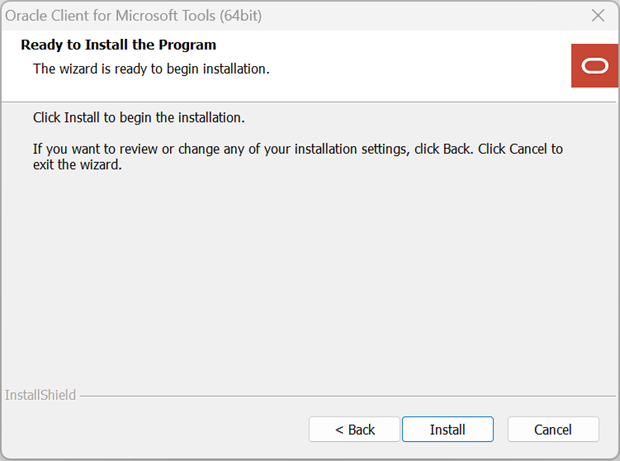
Select Install button to proceed.
Set up your connection in a data pipeline
Browse to the Connect data source for the Data Factory pipeline to configure the connection details and create the connection.
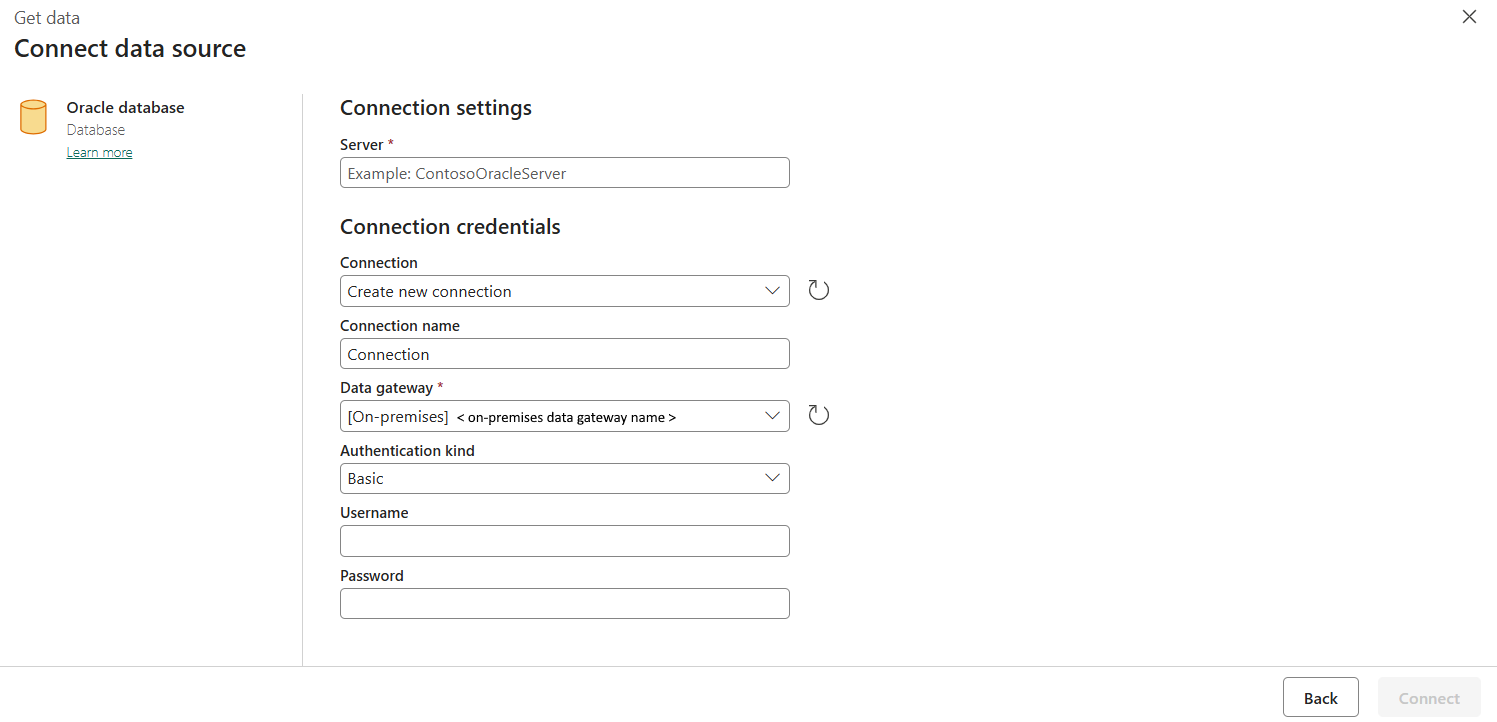
You have two ways to browse to this page:
- In copy assistant, browse to this page after selecting the connector.
- In a data pipeline, browse to this page after selecting More in Connection section and selecting the connector.
Step 1: Specify the server, connection, connection name and data gateway
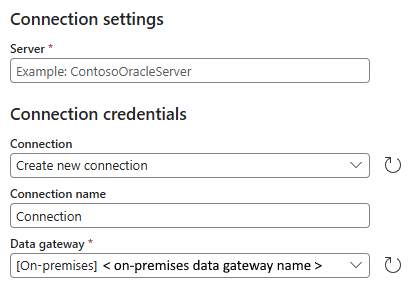
In the Connect data source pane, specify the following field:
Server: Specify the location of Oracle database that you want to connect to. You can specify this property in one of the following three ways:
Way Example Oracle Net Services Name (TNS Alias) sales Connect Descriptor (DESCRIPTION=(ADDRESS=(PROTOCOL=tcp)(HOST=sales-server)(PORT=1521))(CONNECT_DATA=(SERVICE_NAME=sales.us.acme.com))) Easy Connect (Plus) Naming salesserver1:1521/sales.us.example.com Note
The Oracle Net Services Name (TNS Alias) is the predefined address name in the tnsnames.ora file. So, when using it, the tnsnames.ora should be correctly configured and placed in the Oracle Client configuration files' directory specified during the previous installation of OCMT. Whereas, when using the Connect Descriptor or the Easy Connect (Plus) Naming, you do not need to configure the tnsnames.ora file on your machine.
Connection: Select Create new connection.
Connection name: Specify a name for your connection.
Data gateway: Select your on-premises data gateway.
Step 2: Select and set your authentication
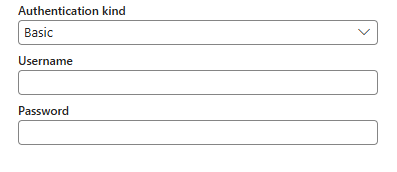
Under Authentication kind, select your authentication kind from the drop-down list and complete the related configuration. The Oracle database connector supports the following authentication type:
Basic authentication
- User name: Specify your Oracle database username.
- Password: Specify your Oracle database password.
Step 3: Create your connection
Select Create. Your creation is successfully tested and saved if all the credentials are correct. If the credentials aren't correct, the creation fails with errors.
Table summary
The following table contains connector properties that are supported in pipeline copy.
| Name | Description | Required | Copy |
|---|---|---|---|
| Server | The Oracle net service name, full connect descriptor or Easy Connect Plus connection string. | Yes | ✓ |
| Connection | Whether to create a new connection or use the existing one. | Yes | ✓ |
| Connection name | A name for your connection. | Yes | ✓ |
| Data gateway | The data gateway used for the connection. | Yes | ✓ |
| Authentication | Go to Authentication | Yes | Go to Authentication |
Authentication
The following table contains properties for the supported authentication type.
| Name | Description | Required | Copy |
|---|---|---|---|
| Basic | ✓ | ||
| - User name | The Oracle database user name. | Yes | |
| - Password | The Oracle database password. | Yes |