Scan Outlook by using Microsoft Support and Recovery Assistant
Note
Microsoft Support and Recovery Assistant scenarios aren't available for new Outlook for Windows.
Overview
Microsoft Support and Recovery Assistant use advanced diagnostics to report known problems and details about your Microsoft Outlook configuration. Reported problems are linked to public-facing documentation (usually a Microsoft Knowledge Base article) for possible fixes. If you're a Support professional, you can review customer reports that are generated in HTML format.
The scenario in the Assistant that is described in this article replaces the Outlook scanning functionality that was originally provided by the Office Configuration Analyzer Tool (OffCAT).
For more information about the Assistant, see About Microsoft Support and Recovery Assistant.
System requirements
The following operating systems are supported:
- Windows 10
- Windows 8 and Windows 8.1
- Windows 7
The Outlook program in any of the following Office versions can be scanned:
- Microsoft 365
- Microsoft Office 2016 (32-bit or 64-bit; Click-to-Run or MSI installations)
- Microsoft Office 2013 (32-bit or 64-bit; Click-to-Run or MSI installations)
- Microsoft Office 2010 (32-bit or 64-bit)
If you're running Windows 7 (any edition), you must also have .NET Framework 4.5 installed. Windows 8 and later versions of Windows already include at least .NET Framework 4.5.
Install Microsoft Support and Recovery Assistant
To install the Assistant and automatically start the scenario for scanning Outlook, select the following link:
Note
By downloading this app, you agree to the terms of the Microsoft Services Agreement and Privacy Statement.
Scan an Outlook configuration for known issues
The Assistant can resolve issues in many programs. To scan Outlook for known issues and create a detailed report of your Outlook configuration, follow these steps:
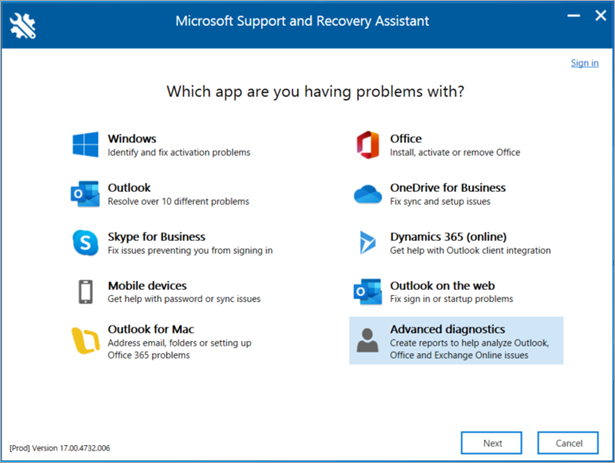
Select Advanced diagnostics, and then select Next.
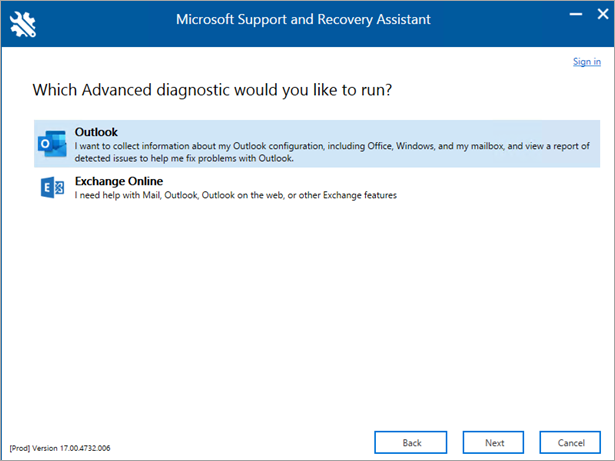
Select Outlook, and then select Next.
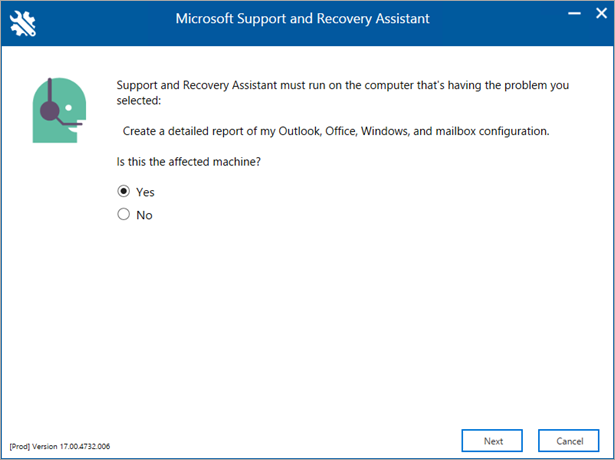
When you are prompted to confirm that you are using the affected machine, select Yes, and then select Next.
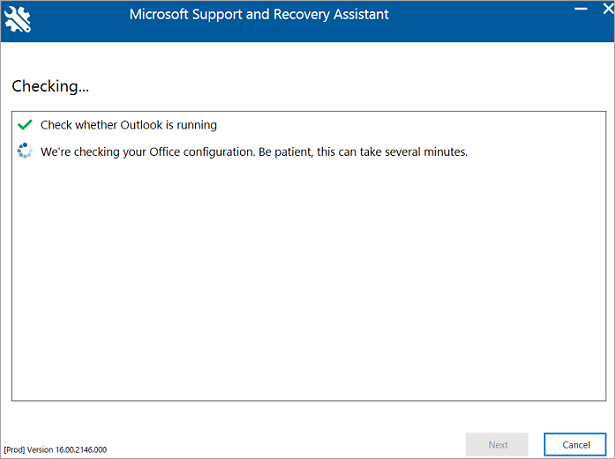
After your account is validated in Microsoft 365, the scan automatically begins.
Note
The scan may take several minutes to run.
You see the following error message if your account is in Microsoft 365 and the Assistant can't validate your credentials.

If you select Back to reenter your credentials, and you see this same error, select Back again, and then use the following sample credentials to mimic a non-Microsoft 365 account:
- Email address:
juliet@contoso.com - Password: <any password that you want to use>
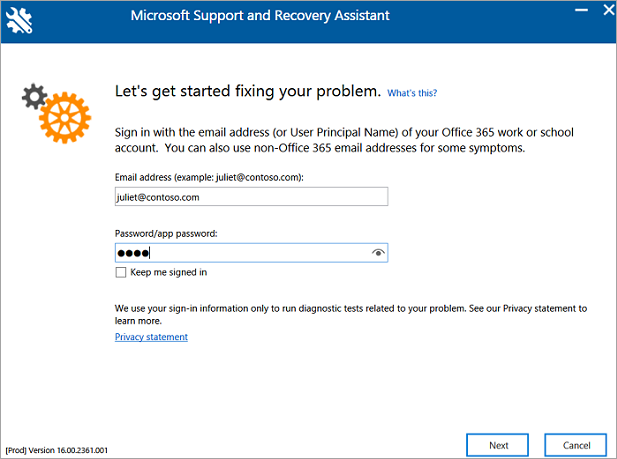
No non-Microsoft 365 account will be authenticated through the Microsoft 365 service. In this case, the Assistant provides the Next button to continue.
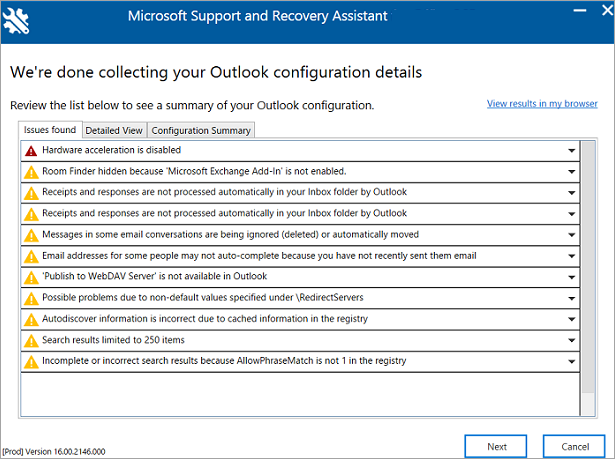
The scan is complete when you see We're done collecting your Outlook configuration details.
- Email address:
Review your Outlook scan
Your scan report includes these separate tabs:
- Issues found
- Detailed View
- Configuration Summary
Issues found
On the Issues found tab, you'll see a list of configuration issues that are detected during the scan.
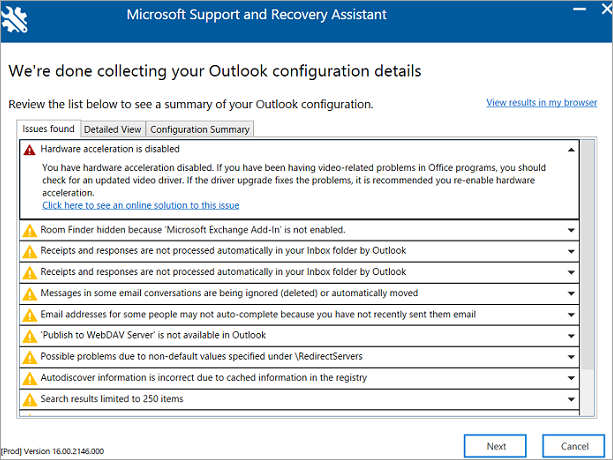
Select an issue to expand it for a more detailed description. There's also a link to an article that contains steps to resolve the issue.
Detailed view
The information on the Detailed View tab is intended for advanced users, Support personnel, and IT administrators. This tab contains configuration information for diagnosing an Outlook issue in the client. The information includes the following items:
- User name
- Computer hardware
- Windows version
- Office installation
- Outlook profile
- Registry and policies information
- Event logs
The information is provided in a tree view. Select any node to expand or collapse it.
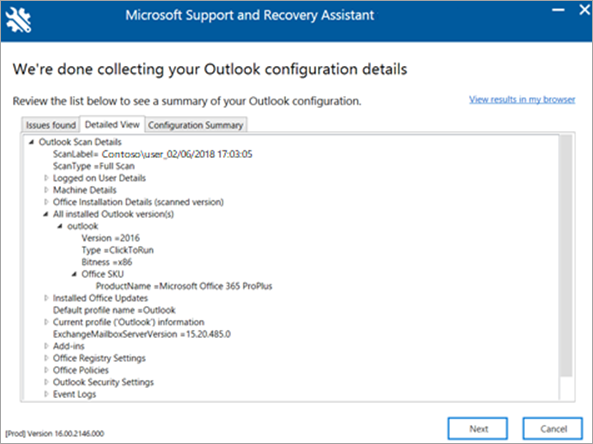
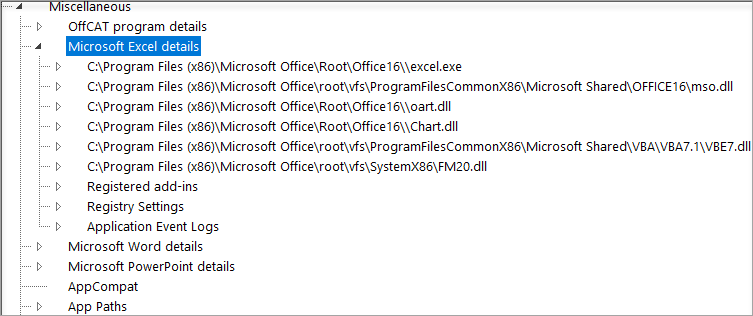
When running this scenario, the Assistant also collects important configuration information for Microsoft Excel, Microsoft PowerPoint, and Microsoft Word. To see this information, expand the Miscellaneous section in the tree view.
Configuration Summary
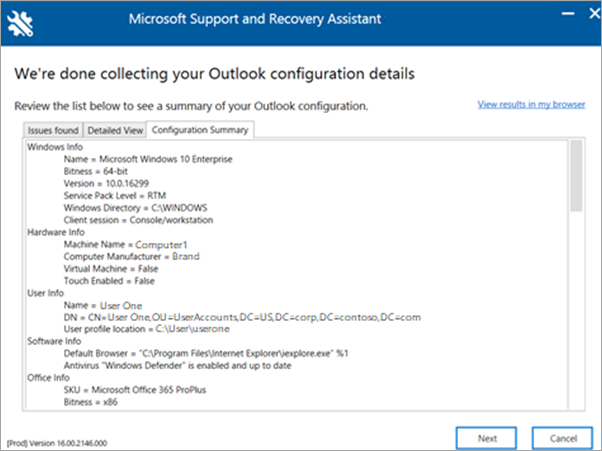
The information in the Configuration Summary tab is a snapshot of the configuration settings that are most frequently collected and analyzed.
Viewing scan results in a browser
To increase the viewing area for the scan results, select View results in my browser. This view displays the whole scan report, including all three tabs, in your default browser.
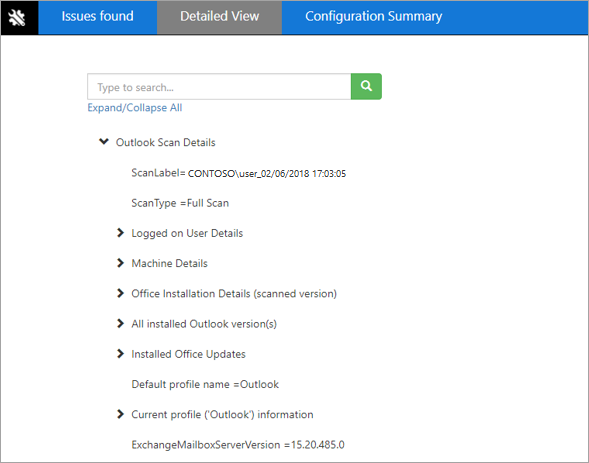
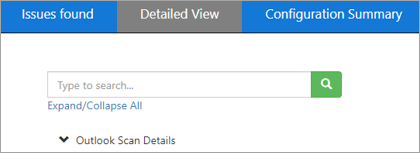
Note: The Detailed View in your browser contains a search feature that isn't found when you view this information in the Assistant.
Sharing your scan results
After you review your scan results, select Next. On this screen, select See all logs to see the log files that were saved to your computer or View log to view the log again.
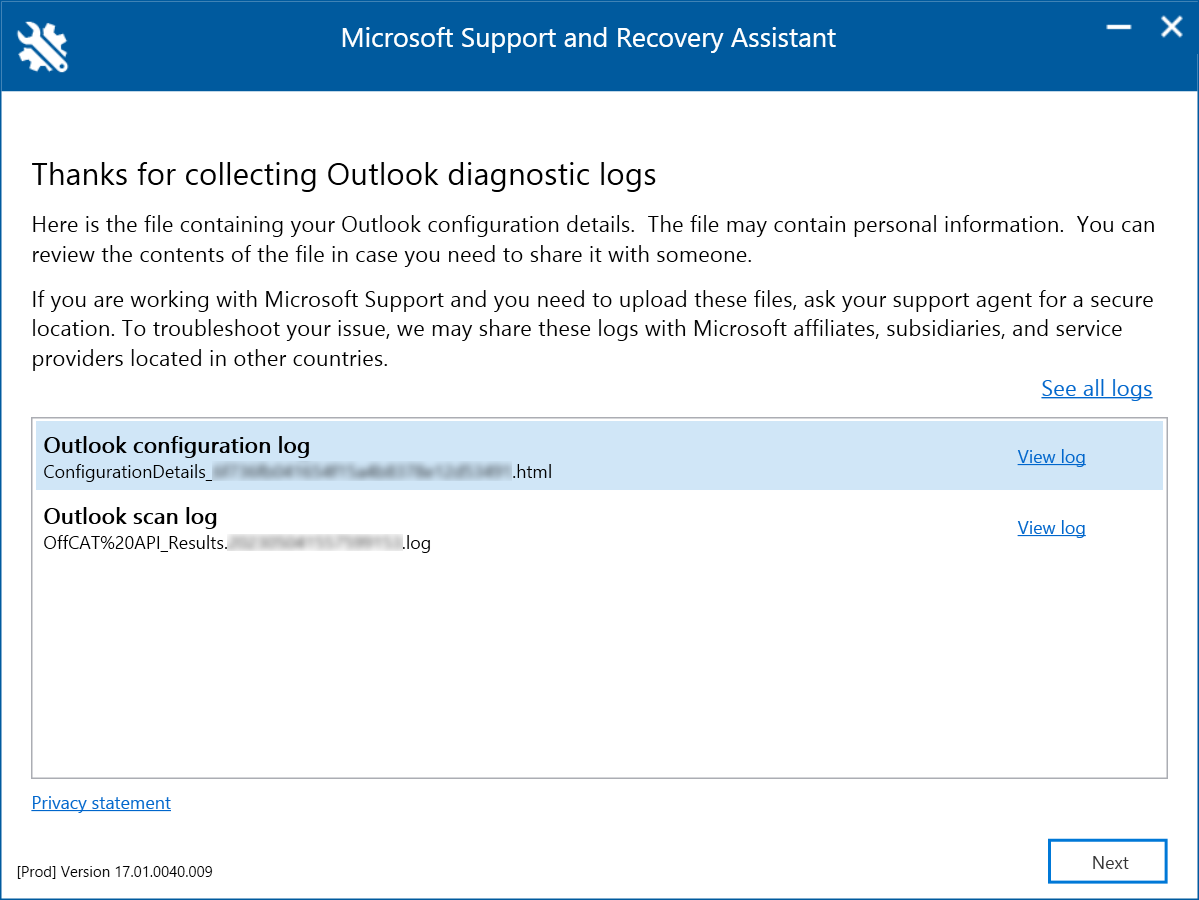
Note: The scan file is ConfigurationDetails_{CorrelationId}.html. It's located in the %localappdata%\saralogs\UploadLogs folder, for example, C:\users\<username>\AppData\Local\saralogs\UploadLogs.
If you need to share your log files with a Support professional, select See all logs to open the folder that contains all the logs that are created by the Assistant. Then copy the files and share them.
