Migrate using Power BI pipelines and rebinding
This solution involves using Power BI pipelines for moving entities across two different workspaces.
Attach a workspace to your process
In the Environments dropdown menu at the top of the screen, select your Test environment.
On the navigation pane to the left, select Process mining.
If your process was newly copied over to the Test environment, there's an exclamation mark inside a speech bubble on the process. This mark indicates that the process was imported.
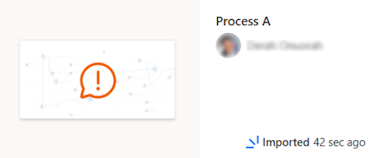
Select the process, and then select Confirm.
If your process was newly copied to the Test environment, select the process and go to step 5. If the process wasn't newly imported, go to step 6.
Select a new workspace for this process:
Select a different workspace that you will be using for the Test environment.
For Report Name, enter a different report name than that of your previous report.
Important
The report name must be different from the report name of the process in Dev environment.
Select Continue and continue setting up your process.
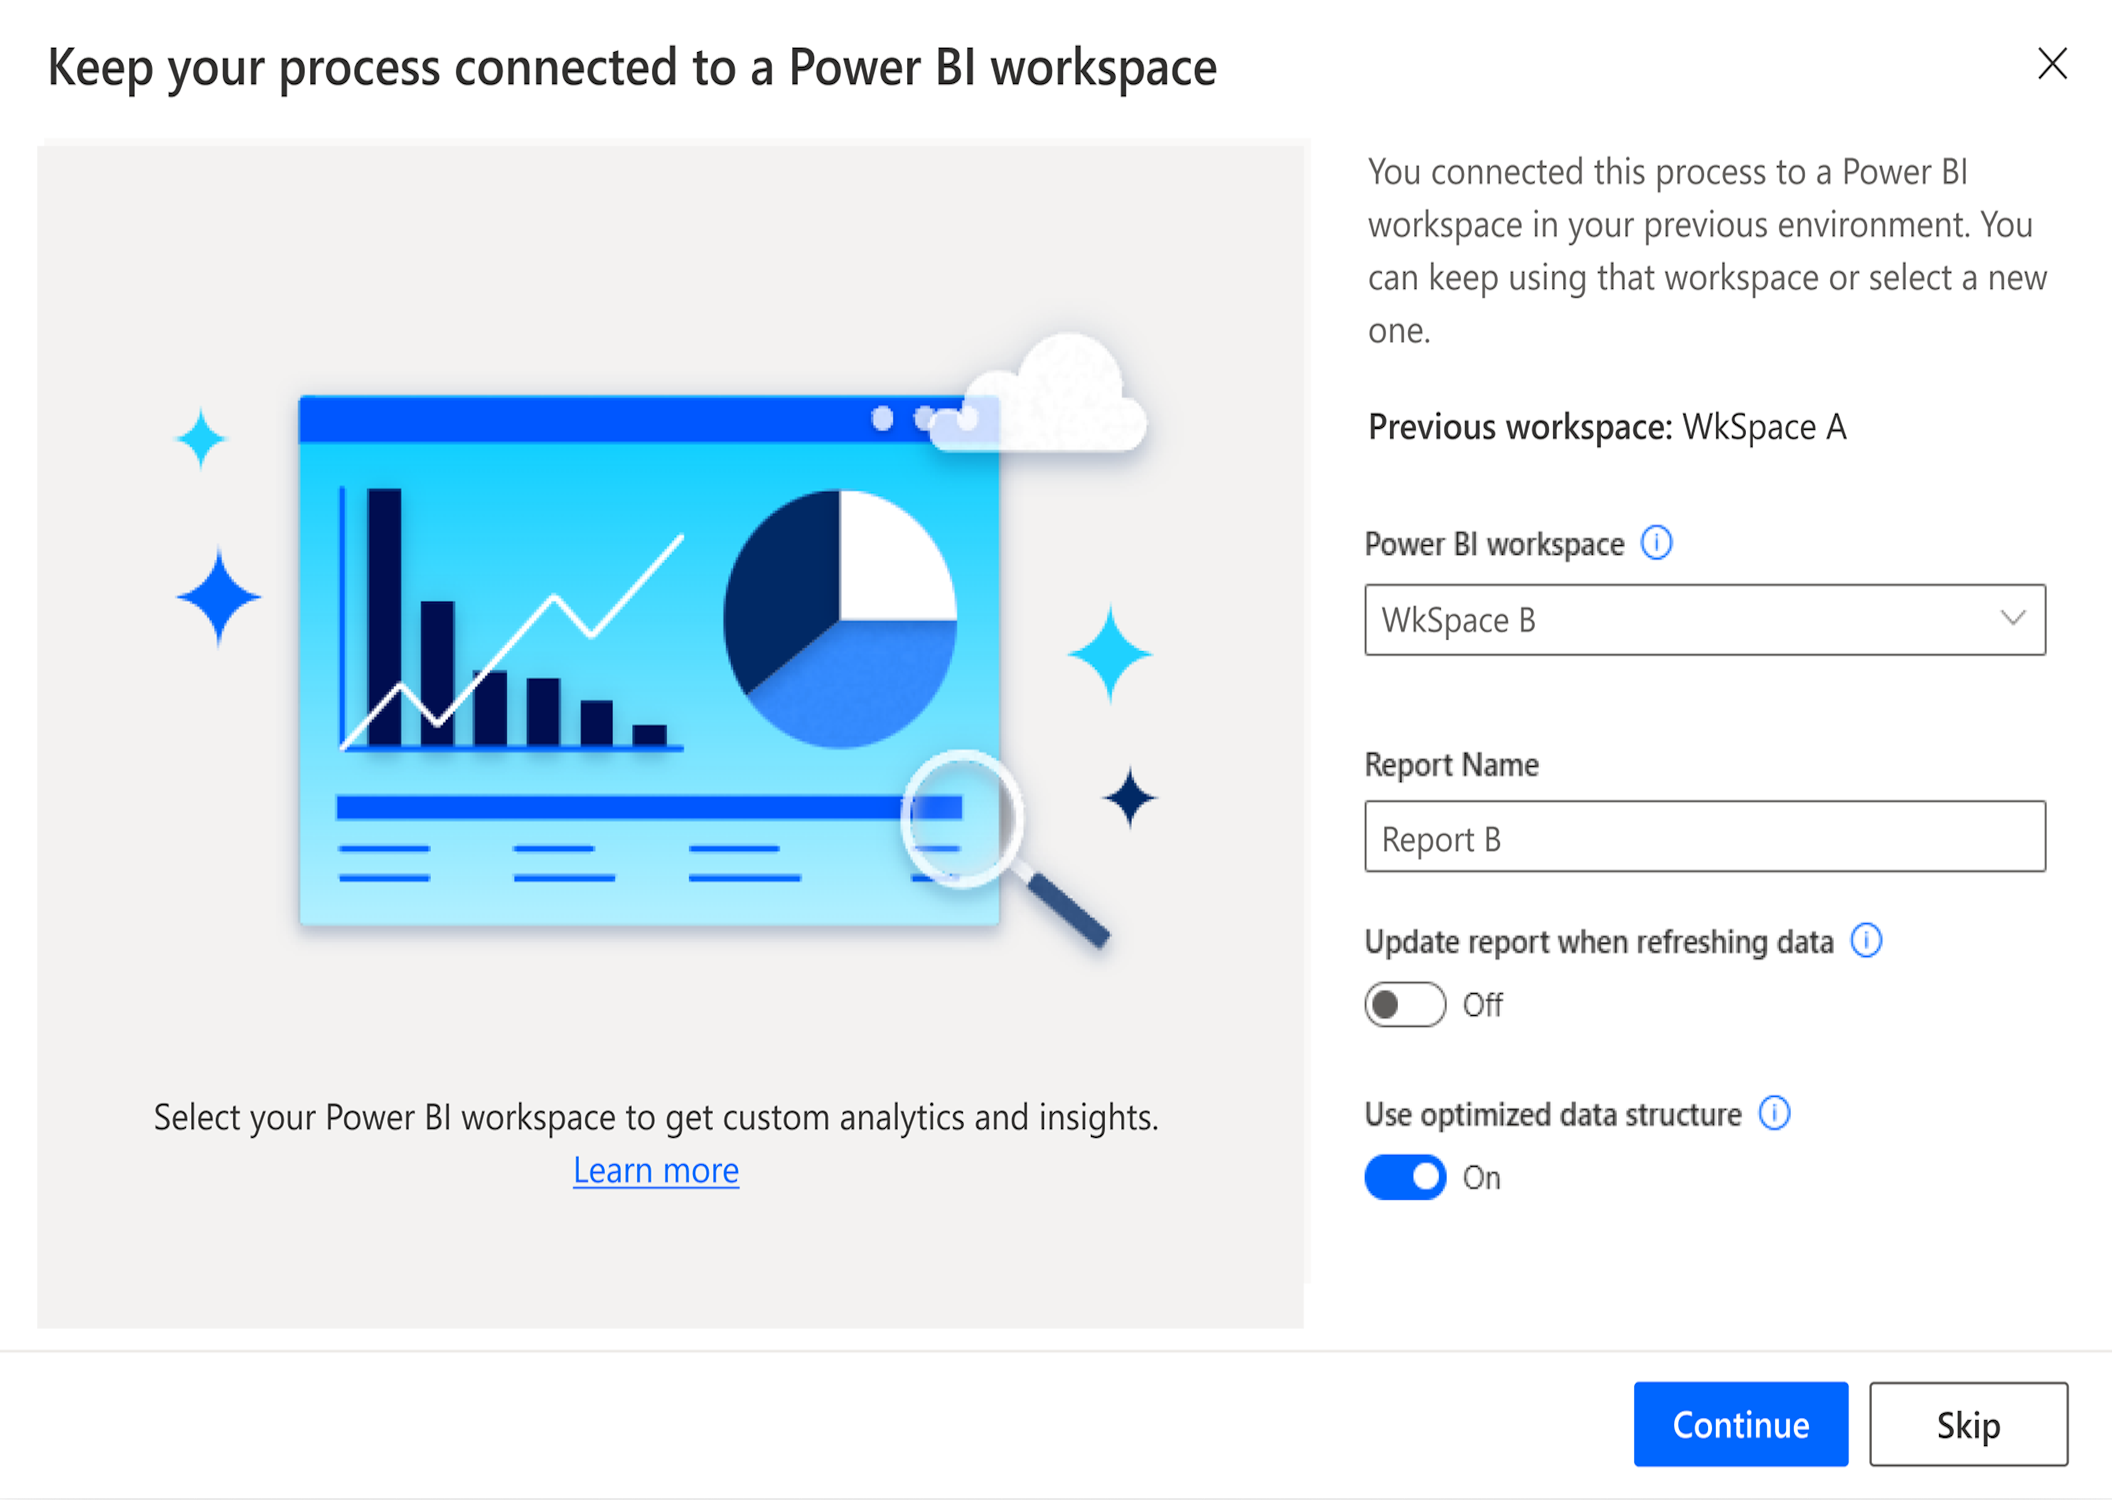
(If your process wasn't newly imported) Attach a custom Power BI workspace to the process:
- Go to the process details page for the process.
- On the Details card, select Edit.
- From the Power BI workspace (optional) dropdown menu, select your WkSpace B Power BI workspace that you want to port changes to.
- Provide the different report name than that which you used before.
- Select Save > Continue.
- From the command bar or in the report view, select Refresh data.
Deploy Power BI reports using pipelines
Sign in to Power BI.
From the left navigation pane, select Deployment pipelines.
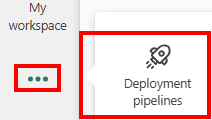
Create a new Power BI pipeline by following these steps:
Select New pipeline.
In the Pipeline name and Description (optional) fields, enter a name and description.
Select Next.
Customize your stages.
For this example, we use Dev and Test. If you see others, select the trash can icon next to it.
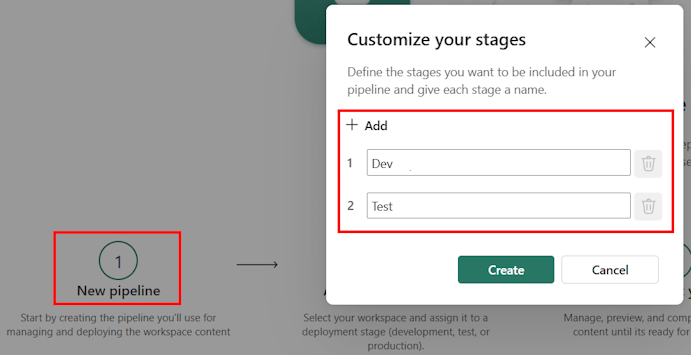
- Select Create.
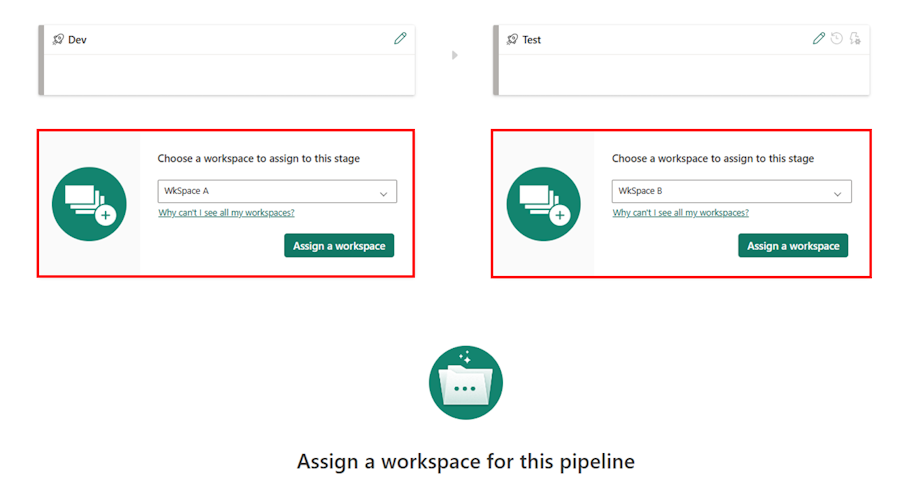
Assign workspaces for the pipeline.
For the Dev stage: From the dropdown menu, select your WkSpace A > Assign a workspace.
For the Test stage: From the dropdown menu, select your WkSpace B > Assign a workspace.
In the following screenshot, your environments might use a different name.
The visual that compares the contents of each workspace now shows.
From your ALM A workspace, select Deploy > Deploy.

When deployment is complete, go to your WkSpace B, which contains items copied over from your WkSpace A.
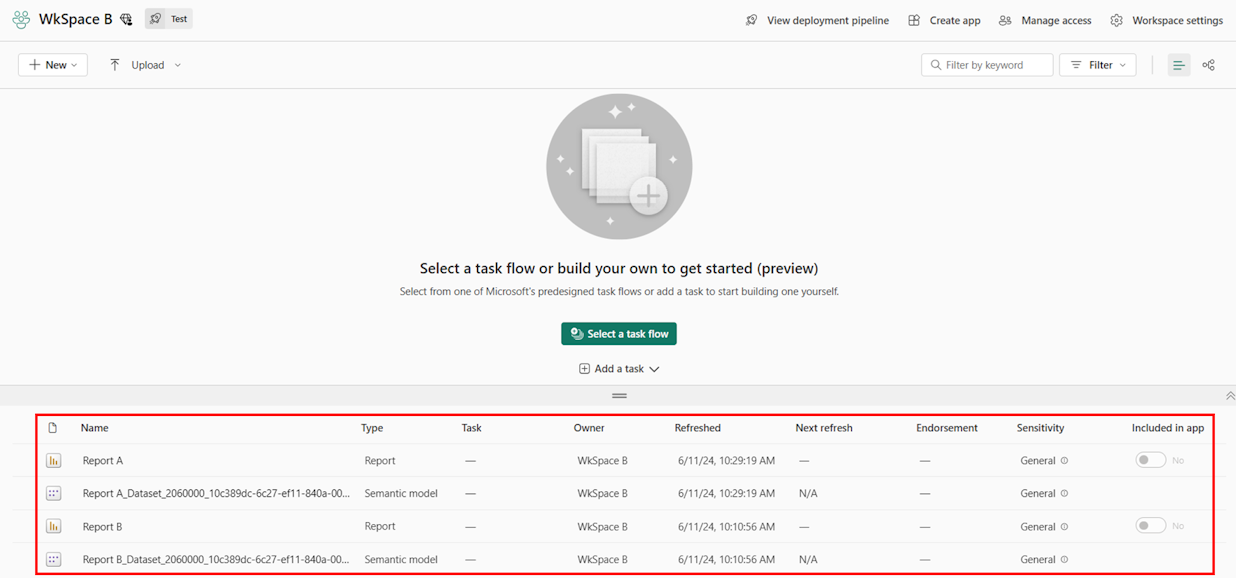
Rebind your semantic model
The final step is to rebind the semantic model in the ALM B workspace to the report from the ALM A workspace.
Go to your WkSpace B, and then select Report A.
It's normal to see issues with loading the report.
To download the report, from the command bar, select File > Download this file > A copy of your report with a live connection… > Download.
After downloading, open the file in Power BI desktop.
From the command bar, select Transform data > Data source settings.
From the list of semantic models, select the Report B_Dataset_206… semantic model.
Select Connect.
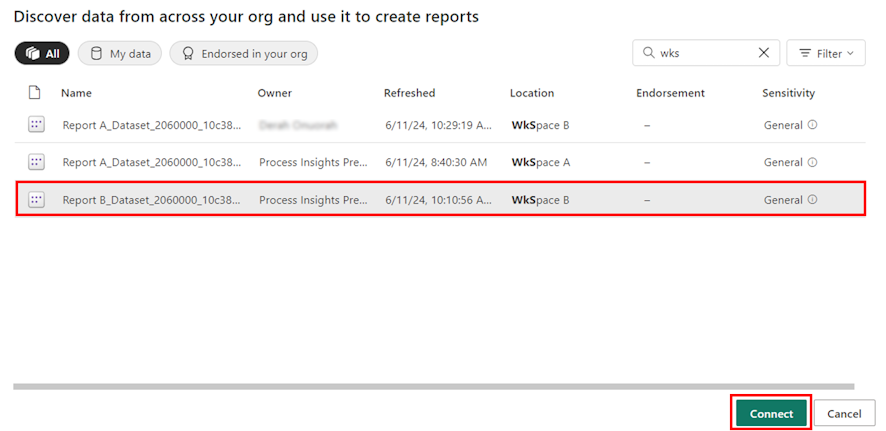
The procedure is a success if the report has report customizations from the Report A but uses the semantic model from the original Report B.
When you finish, select Save > Publish from the command bar and publish to your WkSpace B.
When complete, go to Power BI web and go to your WkSpace B workspace. The new report is now in the workspace. You can also rename it.
You can clean up the workspace by deleting the semantic models and reports that you don't need.