Tutorial: Install an application to a target environment (preview)
[This article is pre-release documentation and is subject to change.]
This tutorial is aimed at enabling Power Platform admins so they can take advantage of the Power Platform API to install Applications of which their tenant already has entitlement. These applications should be visible in the Power Platform admin center under Environments > [environment-name] > Resources > Dynamics 365 apps.
In this tutorial, you learn how to:
- Create a Power Automate or Logic Apps workflow (Azure) that authenticates with Power Platform API.
- Call the Get Environment Application Package API to retrieve the list of Applications you can install to a specific environment
- Install the Application using Install Application Package API
- Poll for status of the Install Operation Get Application Package Install Status API
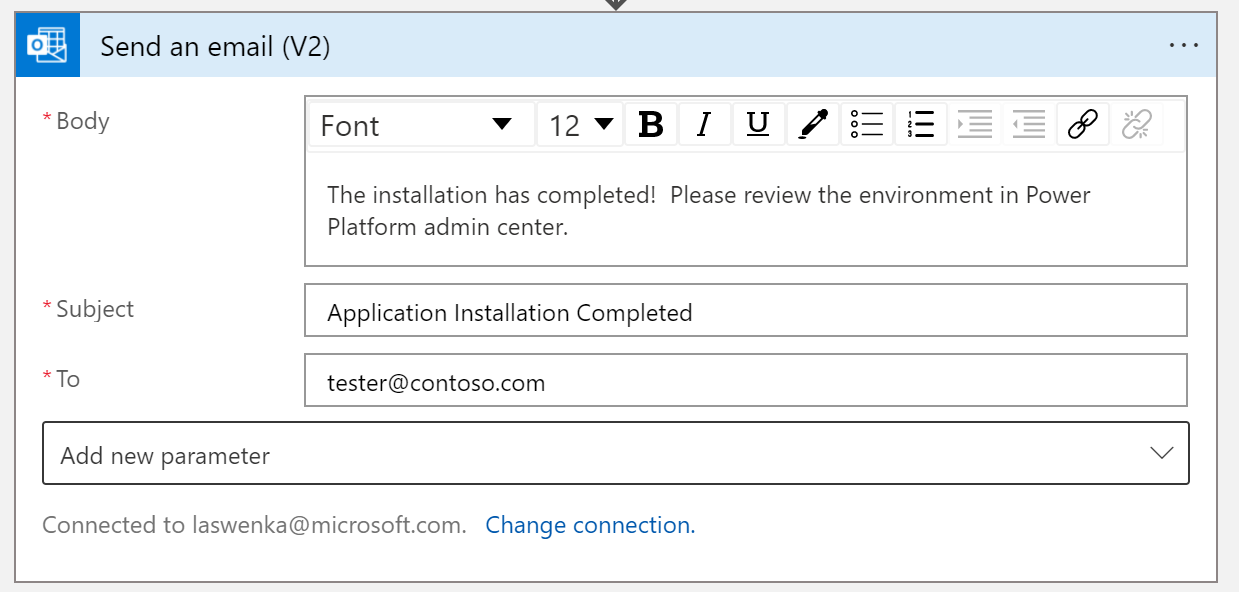
- Notify by email once install is complete
In this example scenario, a Customer is looking to install Office Groups to a specific environment of their choosing.
Important
The Power Platform API is in preview. The host name and data contracts are subject to change by the time the endpoints become generally available. At that time, this article will be updated with the final endpoint details.
Choose a tool that can authenticate with Power Platform API
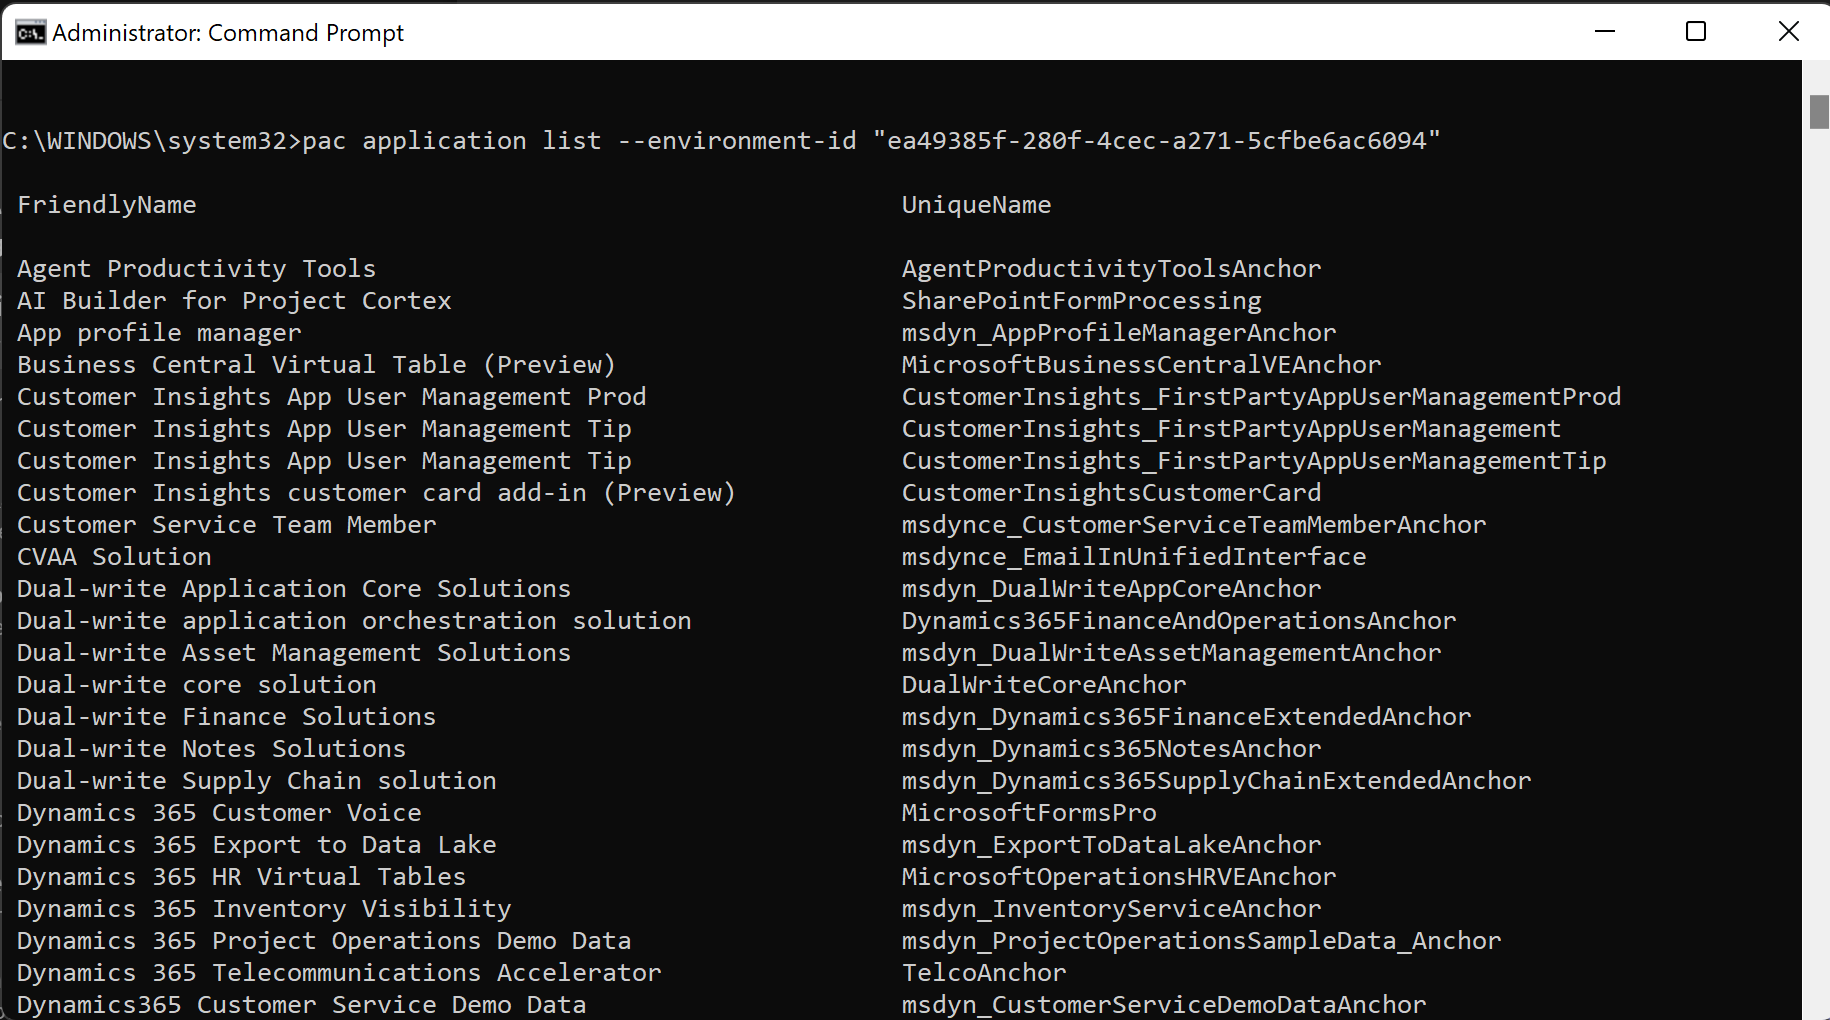
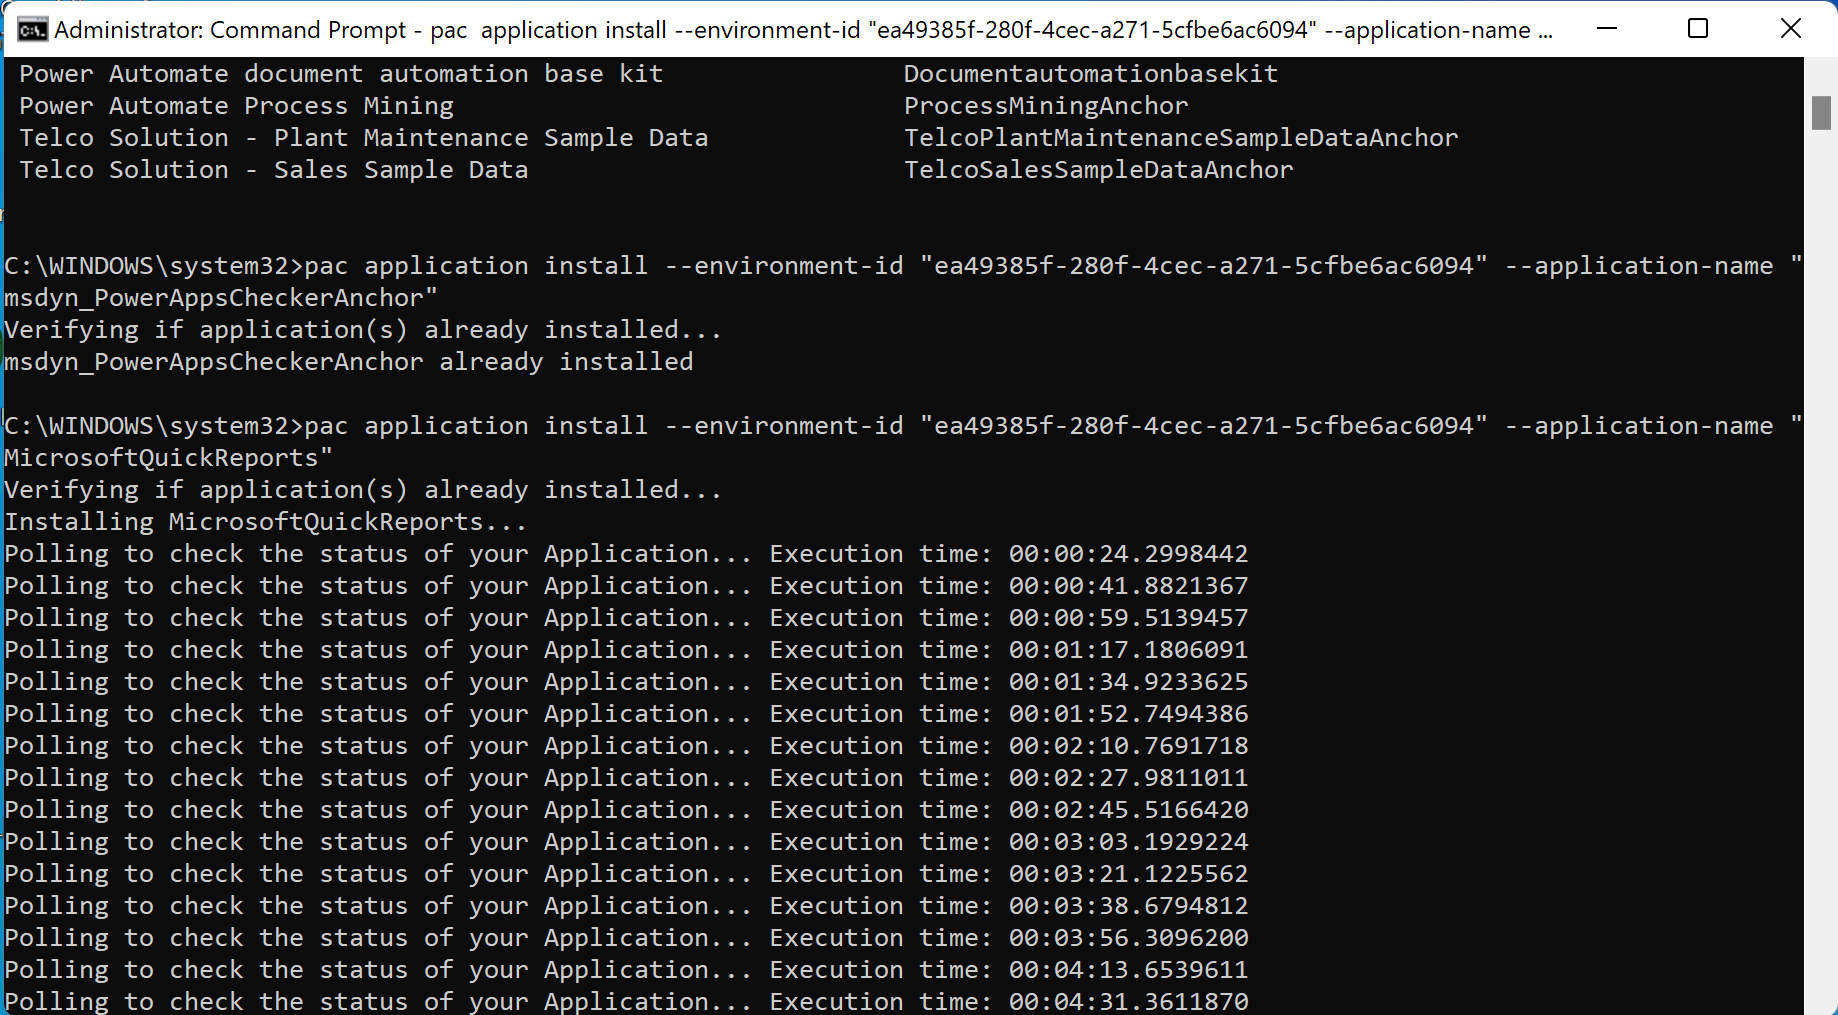
The following information provides details on getting connected to the Power Platform programmatically. This tutorial includes using Azure Logic Apps as a common client for admins working in the Azure space, and a native Power Platform CLI example.
Create the workflow and set up the variables
To start off, in this tutorial we use a Logic Apps workflow. A Power Automate flow is also acceptable, and any other orchestration engine that your company prefers to use for automation. All of the calls to retrieve the data use RESTful APIs so any tooling that supports REST work with this tutorial.
Visit the Azure portal, and then create a new logic app and give it a name:
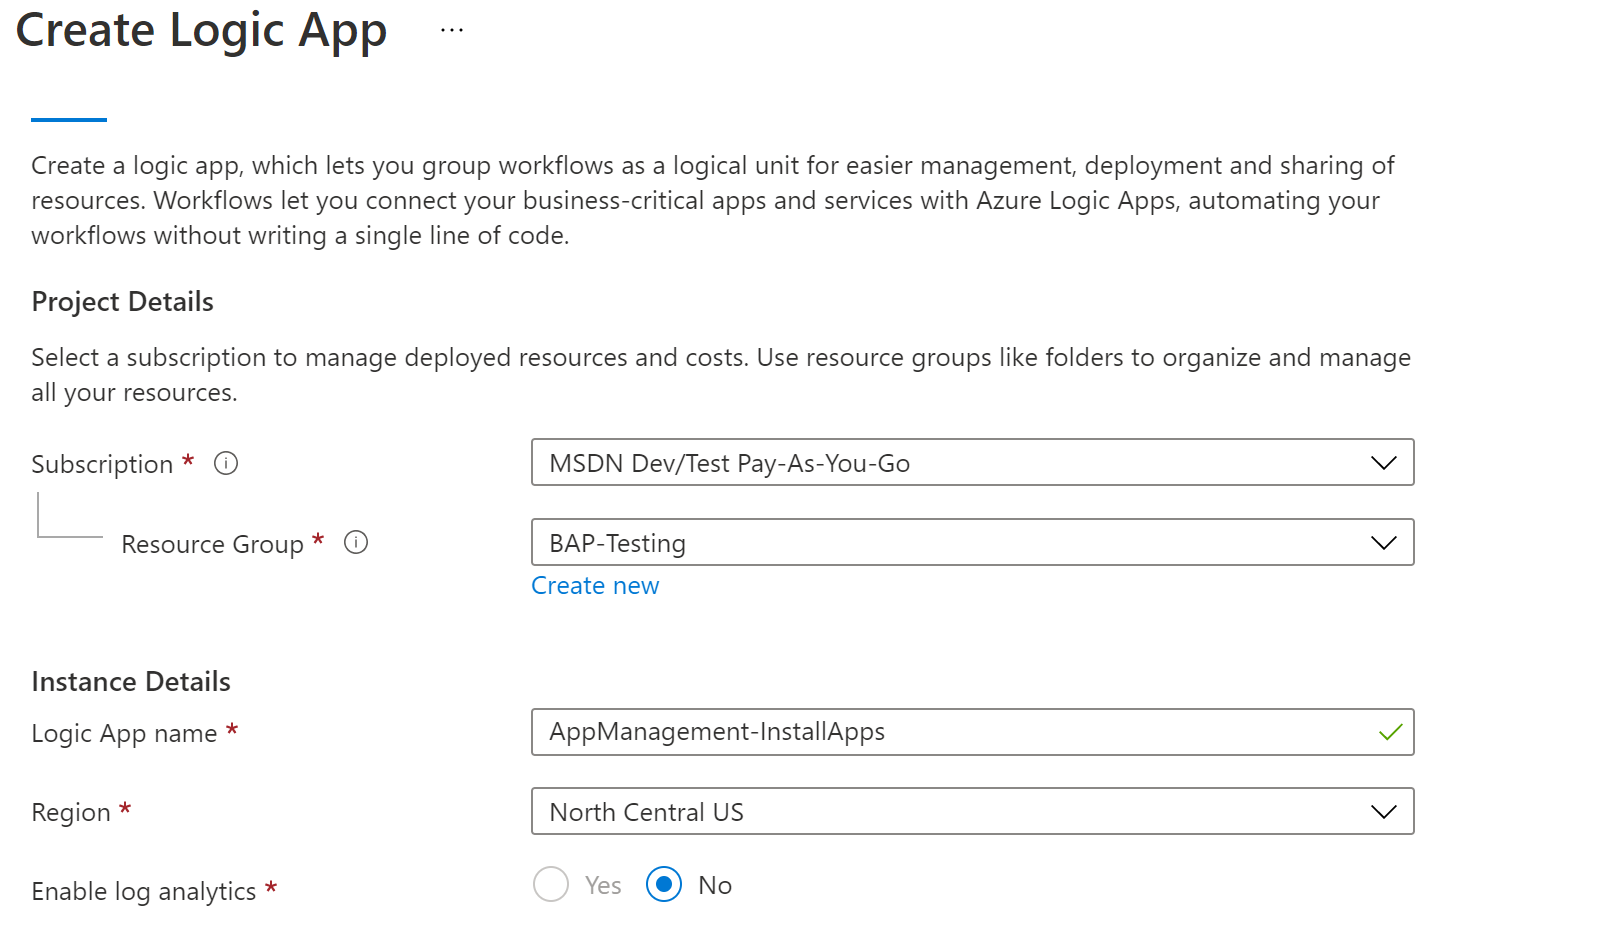
After that finishes provisioning, edit the workflow using the Designer and set up a Recurrence trigger to run on schedule of your choosing:

For the remainder of this tutorial, you need an environment ID and an application name to complete the subsequent steps:
- Environment Id: The ID of the environment to which you would install the package. This ID isn't the organization ID.
- Application name: The name of the application you're trying to install.
Next we authenticate with Microsoft Entra and retrieve a token for calling the Power Platform API. If you haven’t completed your Microsoft Entra setup, see Authentication (preview).
In this tutorial, we're using a user credential with password to obtain a token.
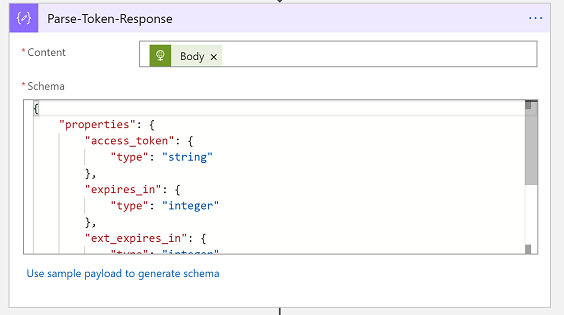
We then parse the Microsoft Entra token response into a typed object using this JSON schema in the 'Parse JSON' action:
{
    "properties": {
        "access_token": {
            "type": "string"
        },
        "expires_in": {
            "type": "integer"
        },
        "ext_expires_in": {
            "type": "integer"
        },
        "token_type": {
            "type": "string"
        }
    },
    "type": "object"
}
Retrieve available packages to install
In this section, we retrieve the list of Applications you can install to a specific environment. Be sure to have your environment Id available, and that this environment has a Dataverse database created.
Environment Application Package endpoint
Now we make our first call to the Power Platform API. We’ll use the Get Environment Application Package API to retrieve all of the available packages we can install for the given Dataverse organization. Be sure that the identity you're using, be it a Service Principal or a username/password, has access to Dataverse and the appropriate security role.
GET https://api.powerplatform.com/appmanagement/environments/{environmentId}/applicationPackages?api-version=2022-03-01-preview
We then parse the response into a typed object using this JSON schema with the 'Parse JSON' action:
{
    "properties": {
        "value": {
            "items": {
                "properties": {
                    "applicationDescription": {
                        "type": [
                            "string",
                            "null"
                        ]
                    },
                    "applicationId": {
                        "type": [
                            "string",
                            "null"
                        ]
                    },
                    "applicationName": {
                        "type": [
                            "string",
                            "null"
                        ]
                    },
                    "applicationVisibility": {
                        "type": [
                            "string",
                            "null"
                        ]
                    },
                    "catalogVisibility": {
                        "type": [
                            "string",
                            "null"
                        ]
                    },
                    "crmMaxVersion": {},
                    "crmMinversion": {
                        "type": [
                            "string",
                            "null"
                        ]
                    },
                    "customHandleUpgrade": {
                        "type": "boolean"
                    },
                    "endDateUtc": {
                        "type": [
                            "string",
                            "null"
                        ]
                    },
                    "errorDetails": {},
                    "id": {
                        "type": [
                            "string",
                            "null"
                        ]
                    },
                    "instancePackageId": {
                        "type": [
                            "string",
                            "null"
                        ]
                    },
                    "learnMoreUrl": {
                        "type": [
                            "string",
                            "null"
                        ]
                    },
                    "localizedDescription": {
                        "type": [
                            "string",
                            "null"
                        ]
                    },
                    "localizedName": {
                        "type": [
                            "string",
                            "null"
                        ]
                    },
                    "publisherId": {
                        "type": [
                            "string",
                            "null"
                        ]
                    },
                    "publisherName": {
                        "type": [
                            "string",
                            "null"
                        ]
                    },
                    "singlePageApplicationUrl": {},
                    "startDateUtc": {
                        "type": [
                            "string",
                            "null"
                        ]
                    },
                    "state": {
                        "type": [
                            "string",
                            "null"
                        ]
                    },
                    "supportedCountries": {
                        "items": {
                            "type": [
                                "string",
                                "null"
                            ]
                        },
                        "type": "array"
                    },
                    "uniqueName": {
                        "type": [
                            "string",
                            "null"
                        ]
                    },
                    "version": {
                        "type": [
                            "string",
                            "null"
                        ]
                    }
                },
                "required": [
                    "id",
                    "uniqueName",
                    "version",
                    "localizedDescription",
                    "localizedName",
                    "applicationId",
                    "applicationName",
                    "applicationDescription",
                    "singlePageApplicationUrl",
                    "publisherName",
                    "publisherId",
                    "learnMoreUrl",
                    "crmMinversion",
                    "crmMaxVersion",
                    "customHandleUpgrade",
                    "instancePackageId",
                    "state",
                    "catalogVisibility",
                    "applicationVisibility",
                    "errorDetails",
                    "startDateUtc",
                    "endDateUtc",
                    "supportedCountries"
                ],
                "type": "object"
            },
            "type": "array"
        }
    },
    "type": "object"
}
Install the application
Now we can take one of the applications from the prior step and install it. Let's say you would like to install the "Office 365 Groups" application. Select the value in the PackageUniqueName field, in this case, it's Office365Groups to utilize in the next step.
Install application API
We make use of the Install application API endpoint to trigger the installation. Be sure to set the uniqueName property to Office365Groups in this example.
POST https://api.powerplatform.com/appmanagement/environments/{environmentId}/applicationPackages/{uniqueName}/install?api-version=2022-03-01-preview
And the request body has the application entry from the earlier step:
{
                "id": "ce3bab3c-ada1-40cf-b84b-49b26603a281",
                "uniqueName": "Office365Groups",
                "version": "2.9.0.3",
                "localizedDescription": "With Office 365 groups, you can collaborate with people across your company even if they aren’t Dynamics 365 users. Groups provide a single location to share conversations, meetings, documents, and more.",
                "localizedName": "Office 365 Groups",
                "applicationId": "2f17f077-4175-4d82-b82b-17cd8950b74f",
                "applicationName": "Office365Groups",
                "applicationDescription": "",
                "singlePageApplicationUrl": "",
                "publisherName": "Microsoft CRM Package",
                "publisherId": "255953fd-9ab8-4146-bfa1-859aae326ae9",
                "learnMoreUrl": "http://go.microsoft.com/fwlink/?LinkID=525719",
                "crmMinversion": "8.0",
                "crmMaxVersion": null,
                "customHandleUpgrade": false,
                "instancePackageId": null,
                "state": "None",
                "catalogVisibility": "None",
                "applicationVisibility": "All",
                "errorDetails": null,
                "startDateUtc": "2016-01-01T00:00:00Z",
                "endDateUtc": "2050-01-01T00:00:00Z",
                "supportedCountries": [
                    "AE",
                    "AL",
                    "AM",
                    "AO",
                    "VN",
                    "ZA",
                    "ZW"
                ]
            }
The following code is an example response:
{
        "id": "9a44d33b-6055-4c9b-aa4a-4c410a22e9ad",
        "packageId": "ce3bab3c-ada1-40cf-b84b-49b26603a281",
        "applicationId": "2f17f077-4175-4d82-b82b-17cd8950b74f",
        "applicationName": "Office365Groups",
        "applicationDescription": "",
        "singlePageApplicationUrl": "",
        "publisherName": "Microsoft CRM Package",
        "publisherId": "255953fd-9ab8-4146-bfa1-859aae326ae9",
        "packageUniqueName": "Office365Groups",
        "packageVersion": "2.9.0.3",
        "localizedDescription": "With Office 365 groups, you can collaborate with people across your company even if they aren’t Dynamics 365 users. Groups provide a single location to share conversations, meetings, documents, and more.",
        "localizedName": "Office 365 Groups",
        "learnMoreUrl": "http://go.microsoft.com/fwlink/?LinkID=525719",
        "termsOfServiceBlobUris": [
            "https://crmprodnam.blob.core.windows.net/preferredsolution/microsoft_tos_dbd53f75-b571-46ad-b9ce-21b5656b85dd_1?sv=2018-03-28&sr=c&sig=v5iBtDum0N6A0sqyyhIkPECibmpGOKGiSmmm3ALGIR0%3D&se=2022-03-23T19%3A35%3A59Z&sp=r"
        ],
        "applicationVisibility": "All",
        "lastOperation": {
            "state": "InstallRequested",
            "createdOn": "2022-03-22T19:35:59.7425066Z",
            "modifiedOn": null,
            "errorDetails": null,
            "statusMessage": null,
            "instancePackageId": "9a44d33b-6055-4c9b-aa4a-4c410a22e9ad",
            "operationId": "4fde996a-bf68-413c-b2bf-33f21a7e9afb"
        },
        "customHandleUpgrade": false
    }
Then we use the Parse JSON action to get the operationID for our subsequent steps.
Poll for operation status
Now we monitor progress of the application install by polling every so often using the operationID from the prior step.
Use the Until control
By evaluating the response from polling the OperationID for anything terminal status such as Canceled, Failed, or Succeeded, we effectively monitor for the process to complete. This is done easily with the Until control, which loops continuously until this condition is met.
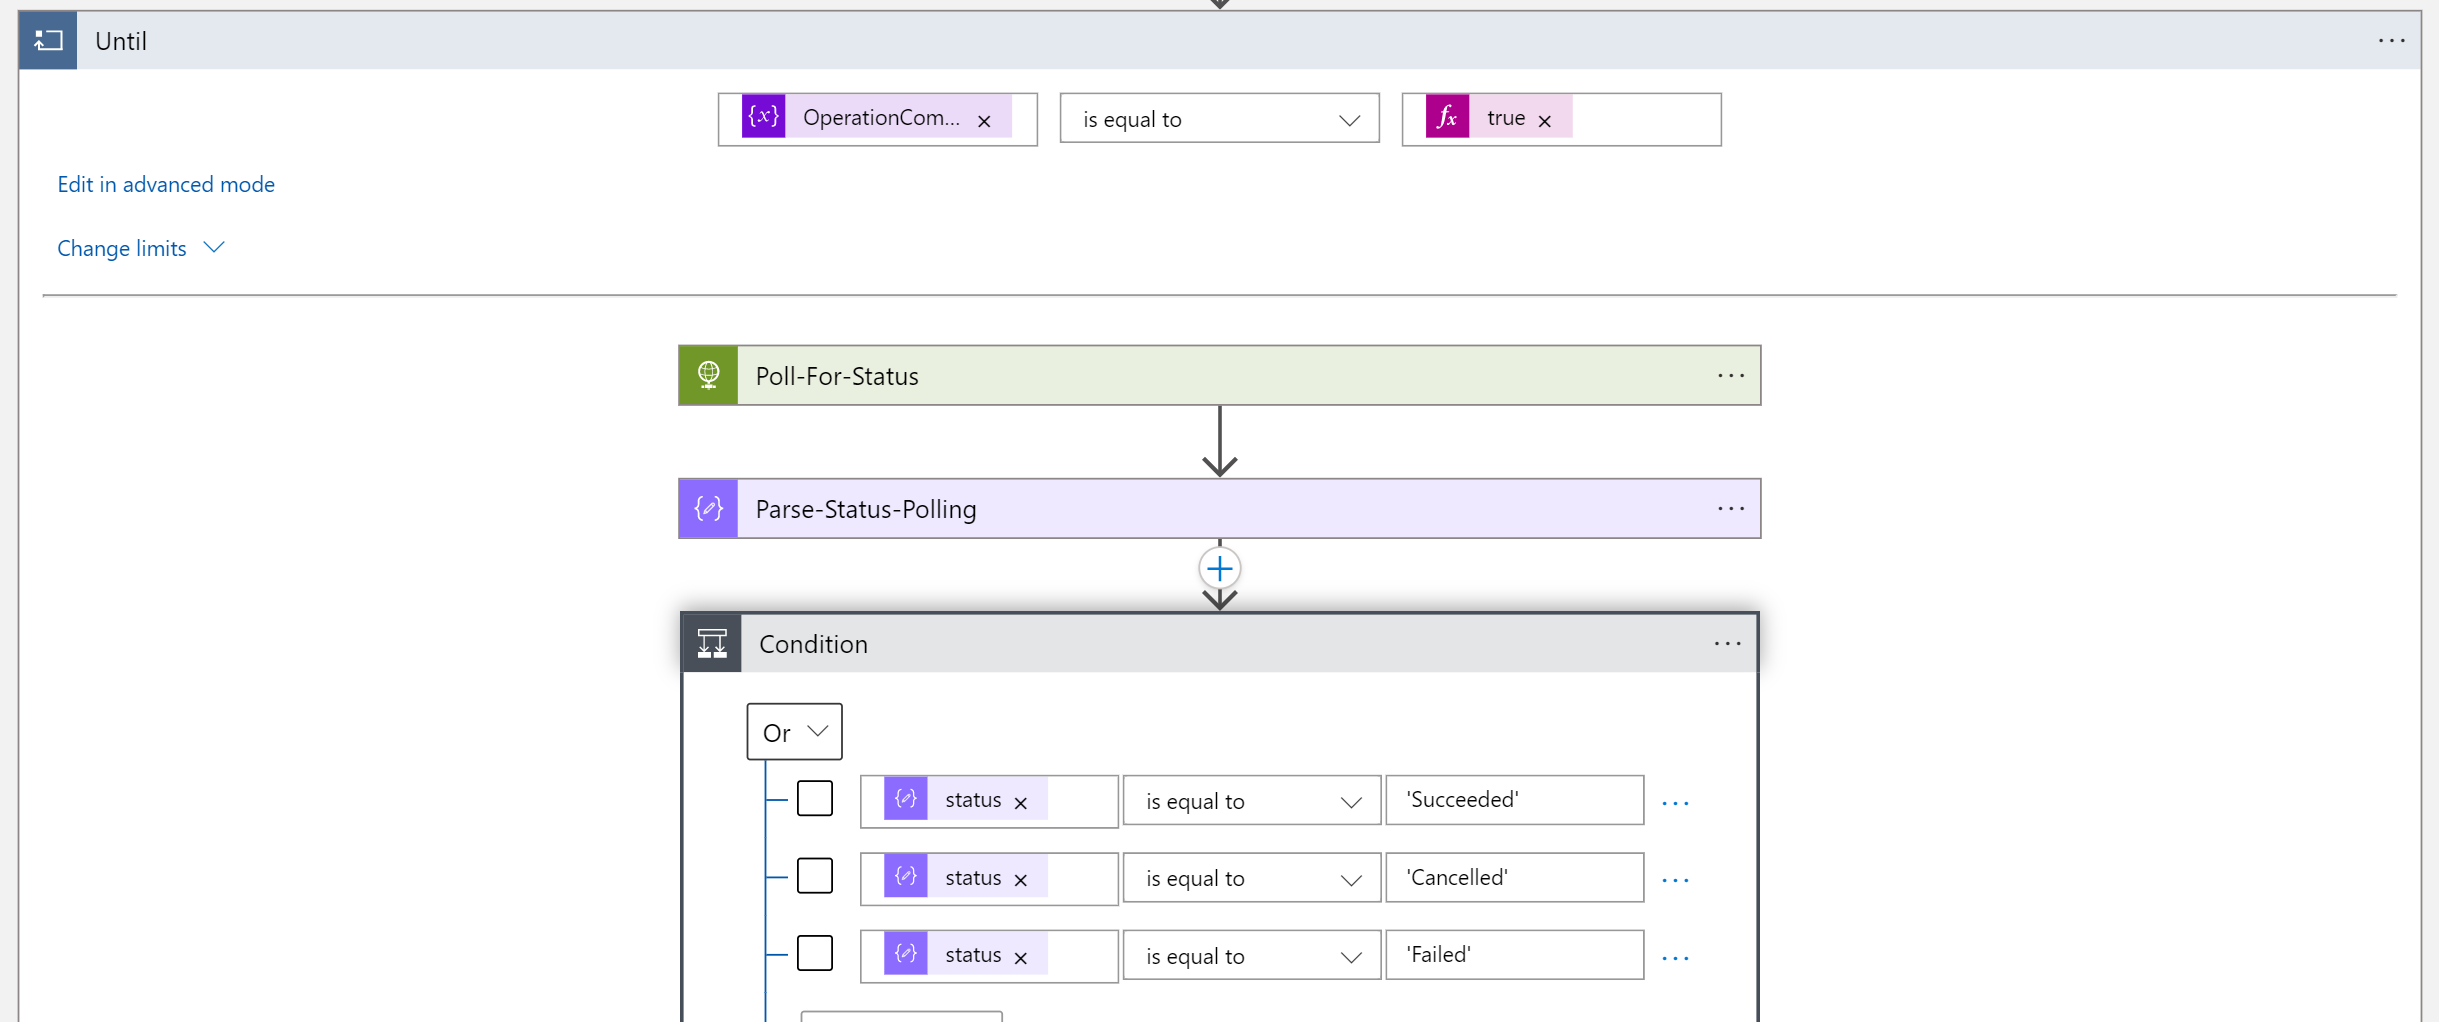
We make use of the Application Install Status endpoint to monitor the installation. Be sure to set the operationId property to from the prior step.
GET https://api.powerplatform.com/appmanagement/environments/{environmentId}/operations/{operationId}?api-version=2022-03-01-preview
An example output is shown:
{
  "status": "NotStarted",
  "createdDateTime": "2022-03-22T20:05:58.9414573Z",
  "lastActionDateTime": null,
  "error": null,
  "statusMessage": null,
  "operationId": "523b51a8-6af4-40cd-aa7d-86bddfa6697b"
}
From here, we can evaluate the status and if it's one of the terminal values we can break the loop.
Send an email
Now that the monitoring has concluded, we can share the result over email as an example activity.
