Plug-ins
A solution is used to package and deploy plug-ins and custom workflow activities to other environments. For example, the sequence below defines a simplistic development and deployment sequence.
Create a custom publisher and unmanaged solution in your DEV environment.
Write one or more plug-ins or custom workflow activities.
Register the plug-ins or custom workflow activities in the unmanaged solution you created in step 1.
Export the unmanaged solution as a managed solution.
Import the managed solution into another environment (that is, TEST or PROD).
In the real world, you debug the code in the TEST environment, go back and update the unmanaged solution with the revised code, and export to a managed solution. Along the way you use revision control to manage the code updates and solution versions. For more information about revision control and versioning of solutions, see Source control.
When planning your solution design, consider whether you'll place your custom code and other customizations (customized entities, forms, views, and so on) in the same solution or you'll divide these customizations among multiple solutions, where one solution contains the custom code and another solution contains the other customizations (customized entities, forms, views, and so on).
Tip
Start with a custom publisher and unmanaged solution, and then develop and test the plug-in or custom workflow activity in that solution. We recommend against developing a plug-in or custom workflow activity in the default solution and then adding it to a custom solution.
Register a plug-in or custom workflow activity in a custom unmanaged solution
After you've created a custom publisher and unmanaged solution, and have written the custom code, you're ready to register the code in the unmanaged solution and begin testing it.
Register a custom workflow activity assembly
To distribute a custom workflow activity in a solution, you must add the registered assembly that contains it to an unmanaged solution. First, register the custom workflow assembly, and then add the assembly to a solution by following these steps.
Create a new solution in the Power Apps maker portal, or use an existing solution. To create a new solution, select Solutions > New solution, and then enter the required information for your solution.
With Solutions selected in the left navigation pane, select the solution name in the list, and then select Add existing > Other > Plug-in assembly.
Search for the compiled custom workflow assembly by name.
Select the custom workflow activity assembly, and then select Add.
Register a plug-in assembly and step
The procedure to register a plug-in is similar to registering a custom workflow activity assembly, except you must also register one or more steps which identify the conditions under which the plug-in should be executed by Microsoft Dataverse.
To begin, follow these instructions to register a plug-in and step by using the Plug-in Registration tool. Next, we'll create a solution and then add the plug-in assembly and step to the solution by using the modern maker interface. The example "Followup" plug-in and step registration we'll use is shown in the following illustration.

Let's get started adding those components to our solution.
Create a new solution in the Power Apps maker portal, or use an existing solution. To create a new solution, select Solutions > New solution, and enter the required information for your solution.
With Solutions selected in the left navigation panel, select the solution name in the list, and then select Add existing > Other > Plug-in assembly.
Search for the compiled plug-in assembly by name.
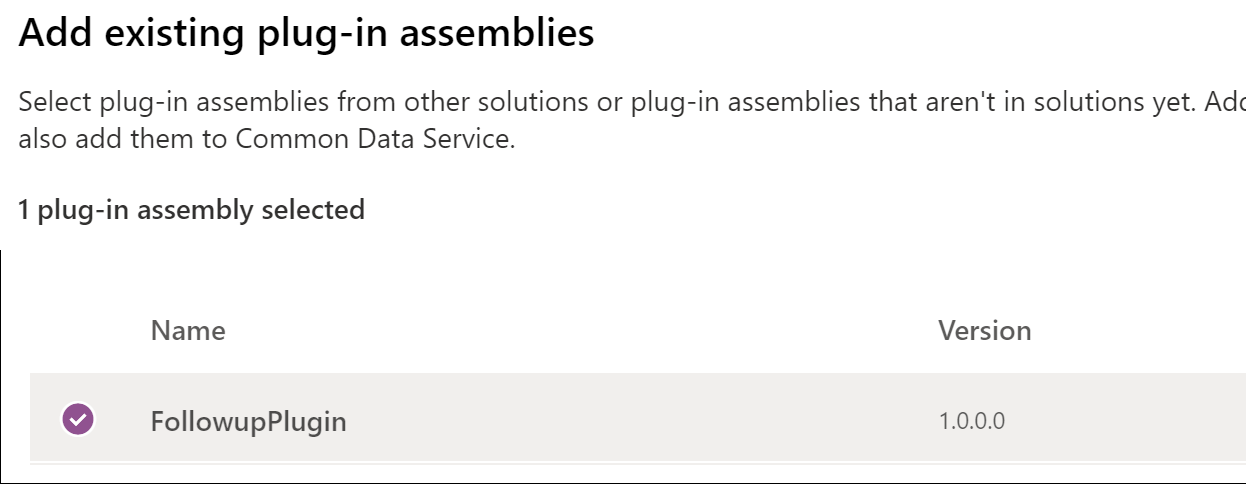
Select the plug-in assembly, and then select Add.

Add a step to the solution by selecting Add existing > Other > Plug-in step.
Tip
In the Plug-in Registration tool, a step is called a step. In the classic interface Solution Explorer, a step is called an Sdk message processing step. In the modern maker interface, a step is called a Plug-in step.
Search for the registered step, select it, and then select Add.

The resulting solution with the two components is shown in the following illustration.

It's possible to add the step to the solution before (or without) adding the related plug-in assembly. To add the assembly, select the option (...) menu next to the plug-in step name, select Add required components, and then select OK. This automatically adds the related plug-in assembly. Don't add the plug-in assembly to the solution if you intend to provide that assembly in another solution that the current solution will be dependent on.
Note that removing the plug-in assembly from the solution won't remove any steps that depend on it. You must remove those steps individually.
Delete a plug-in from a solution by updating the assembly
Sometimes you may need to delete a plug-in from a solution, however you cannot do so with a solution upgrade. Instead, you can delete an assembly with a solution upgrade, and end up with the desired result.
The details of this workaround are described in these instructions.
Start by updating the "major" version number of the assembly which has the target plug-in types removed.
After this version change, you will not be able to update the assembly using the Plug-in Registration tool (PRT). However, you will be able to register the assembly as a new assembly side-by-side with the old assembly.
Register your new assembly side by side with the old assembly using the PRT.
Migrate any existing steps for the old plug-in types to the corresponding plug-in types in the new assembly.
Delete the old assembly.
Export the unmanaged solution as a managed solution with a new solution version number.
Import the new managed solution, as an upgrade, into an environment where the old assembly is registered. The solution upgrade should delete the old assembly, and the unwanted types with it.