(DEPRECATED) Update an application in Kubernetes
Tip
For the updated version this tutorial that uses Azure Kubernetes Service, see Tutorial: Update an application in Azure Kubernetes Service (AKS).
Warning
The Azure Container Service (ACS) is being deprecated. No new features or functionality are being added to ACS. All of the APIs, portal experience, CLI commands and documentation are marked as deprecated.
In 2017, we introduced Azure Kubernetes Service (AKS) for simplifying Kubernetes management, deployment, and operations. If you use the Kubernetes orchestrator, please migrate to AKS by January 31, 2020. To get started, see migrate to Azure Kubernetes Service.
For more information, see the Azure Container Service deprecation announcement on Azure.com.
After an application has been deployed in Kubernetes, it can be updated by specifying a new container image or image version. When doing so, the update is staged so that only a portion of the deployment is concurrently updated. This staged update enables the application to keep running during the update. It also provides a rollback mechanism if a deployment failure occurs.
In this tutorial, part six of seven, the sample Azure Vote app is updated. Tasks that you complete include:
- Updating the front-end application code
- Creating an updated container image
- Pushing the container image to Azure Container Registry
- Deploying the updated container image
In subsequent tutorials, Log Analytics is configured to monitor the Kubernetes cluster.
Before you begin
In previous tutorials, an application was packaged into a container image, the image uploaded to Azure Container Registry, and a Kubernetes cluster created. The application was then run on the Kubernetes cluster.
An application repository was also cloned which includes the application source code, and a pre-created Docker Compose file used in this tutorial. Verify that you have created a clone of the repo, and that you have changed directories into the cloned directory. Inside is a directory named azure-vote and a file named docker-compose.yml.
If you haven't completed these steps, and want to follow along, return to Tutorial 1 – Create container images.
Update application
For this tutorial, a change is made to the application, and the updated application deployed to the Kubernetes cluster.
The application source code can be found inside of the azure-vote directory. Open the config_file.cfg file with any code or text editor. In this example vi is used.
vi azure-vote/azure-vote/config_file.cfg
Change the values for VOTE1VALUE and VOTE2VALUE, and then save the file.
# UI Configurations
TITLE = 'Azure Voting App'
VOTE1VALUE = 'Blue'
VOTE2VALUE = 'Purple'
SHOWHOST = 'false'
Save and close the file.
Update container image
Use docker-compose to re-create the front-end image and run the updated application. The --build argument is used to instruct Docker Compose to re-create the application image.
docker-compose up --build -d
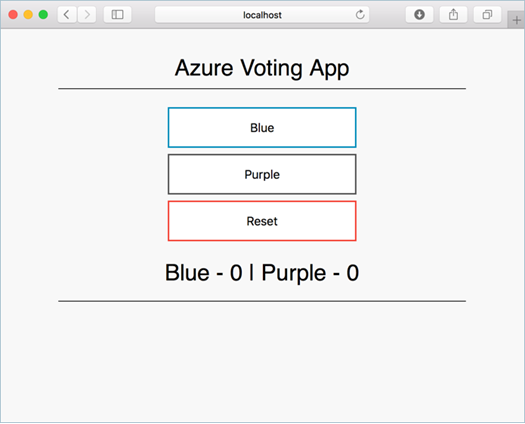
Test application locally
Browse to https://localhost:8080 to see the updated application.
Tag and push images
Tag the azure-vote-front image with the loginServer of the container registry.
Get the login server name with the az acr list command.
az acr list --resource-group myResourceGroup --query "[].{acrLoginServer:loginServer}" --output table
Use docker tag to tag the image. Replace <acrLoginServer> with your Azure Container Registry login server name or public registry hostname. Also notice that the image version is updated to redis-v2.
docker tag azure-vote-front <acrLoginServer>/azure-vote-front:redis-v2
Use docker push to upload the image to your registry. Replace <acrLoginServer> with your Azure Container Registry login server name.
docker push <acrLoginServer>/azure-vote-front:redis-v2
Deploy update application
To ensure maximum uptime, multiple instances of the application pod must be running. Verify this configuration with the kubectl get pod command.
kubectl get pod
Output:
NAME                               READY     STATUS    RESTARTS   AGE
azure-vote-back-217588096-5w632    1/1       Running   0          10m
azure-vote-front-233282510-b5pkz   1/1       Running   0          10m
azure-vote-front-233282510-dhrtr   1/1       Running   0          10m
azure-vote-front-233282510-pqbfk   1/1       Running   0          10m
If you do not have multiple pods running the azure-vote-front image, scale the azure-vote-front deployment.
kubectl scale --replicas=3 deployment/azure-vote-front
To update the application, use the kubectl set command. Update <acrLoginServer> with the login server or host name of your container registry.
kubectl set image deployment azure-vote-front azure-vote-front=<acrLoginServer>/azure-vote-front:redis-v2
To monitor the deployment, use the kubectl get pod command. As the updated application is deployed, your pods are terminated and re-created with the new container image.
kubectl get pod
Output:
NAME                               READY     STATUS    RESTARTS   AGE
azure-vote-back-2978095810-gq9g0   1/1       Running   0          5m
azure-vote-front-1297194256-tpjlg   1/1       Running   0         1m
azure-vote-front-1297194256-tptnx   1/1       Running   0         5m
azure-vote-front-1297194256-zktw9   1/1       Terminating   0         1m
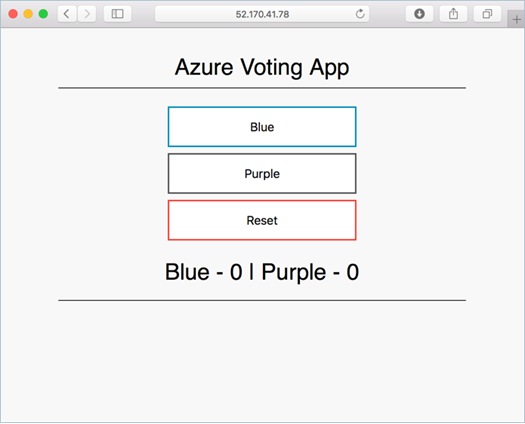
Test updated application
Get the external IP address of the azure-vote-front service.
kubectl get service azure-vote-front
Browse to the IP address to see the updated application.
Next steps
In this tutorial, you updated an application and rolled out this update to a Kubernetes cluster. The following tasks were completed:
- Updated the front-end application code
- Created an updated container image
- Pushed the container image to Azure Container Registry
- Deployed the updated application
Advance to the next tutorial to learn about how to monitor Kubernetes with Log Analytics.