Create an AI project from the Azure Machine Learning Gallery in Visual Studio
Azure Machine Learning is integrated with Visual Studio Tools for AI. You can use it to submit machine learning jobs to remote compute targets like Azure virtual machines, Spark clusters, and more.
Once you've installed Visual Studio Tools for AI, it's easy to create a new Python project using pre-made recipes in the Azure Machine Learning Sample Gallery.
Note
Azure Machine Learning Workbench must be installed.
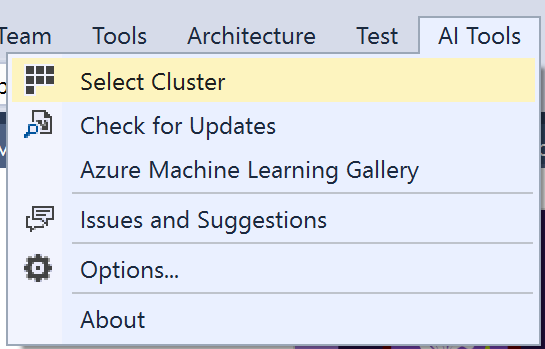
Launch Visual Studio. Open the Server Explorer by opening the AI Tools menu and choosing Select Cluster
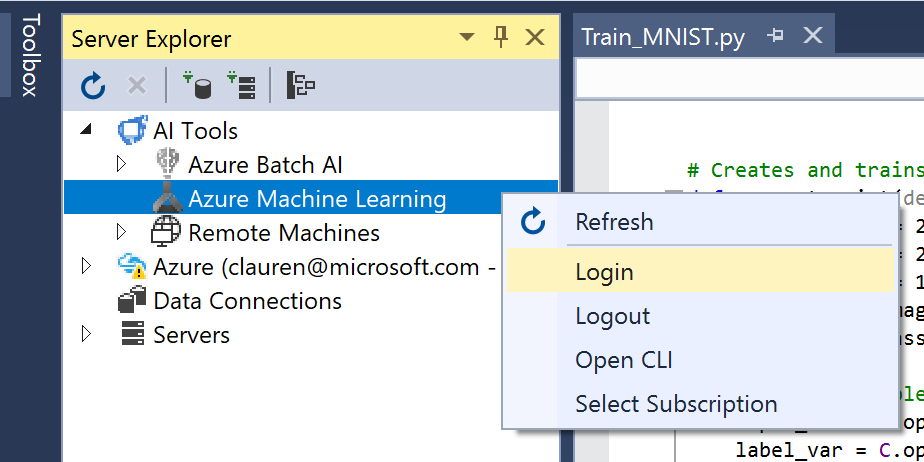
Sign in to your Azure Machine Learning subscription by right-clicking the Azure Machine Learning node in the Server Explorer then select Login and follow the directions.
Select AI Tools > Azure Machine Learning Sample Gallery.
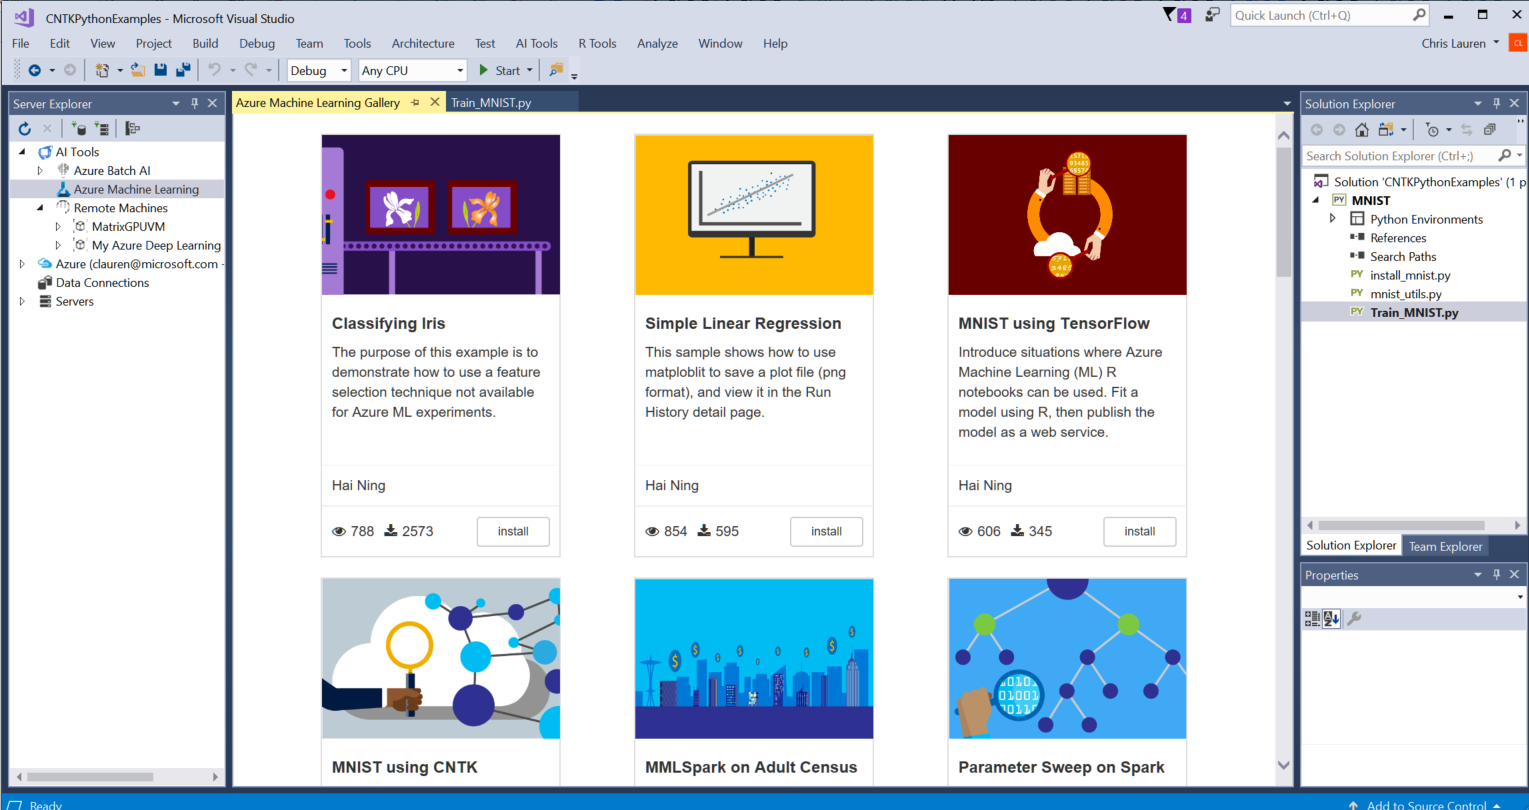
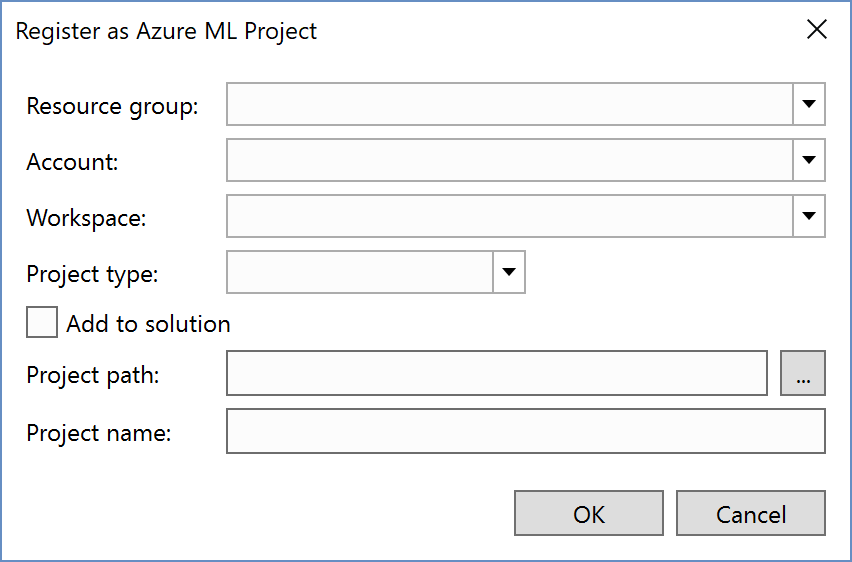
For this Quickstart, select the "MNIST using TensorFlow" sample and click Install. Provide the following:
- Resource Group: Azure resource group where your metadata will be stored
- Account: Azure Machine Learning experimentation Account
- Workspace: Azure Machine Learning workspace
- Project Type: The machine learning framework. In this case choose TensorFlow
- Add to Solution: determines whether to add to your current Visual Studio Solution or a create and open a new solution
- Project Path: Location to save the code
- Project Name: Type TensorFlowMNIST
Visual Studio creates the project file (a
.pyprojfile on disk) along with other files defined in the sample. With the "MNIST" template, the project contains several files.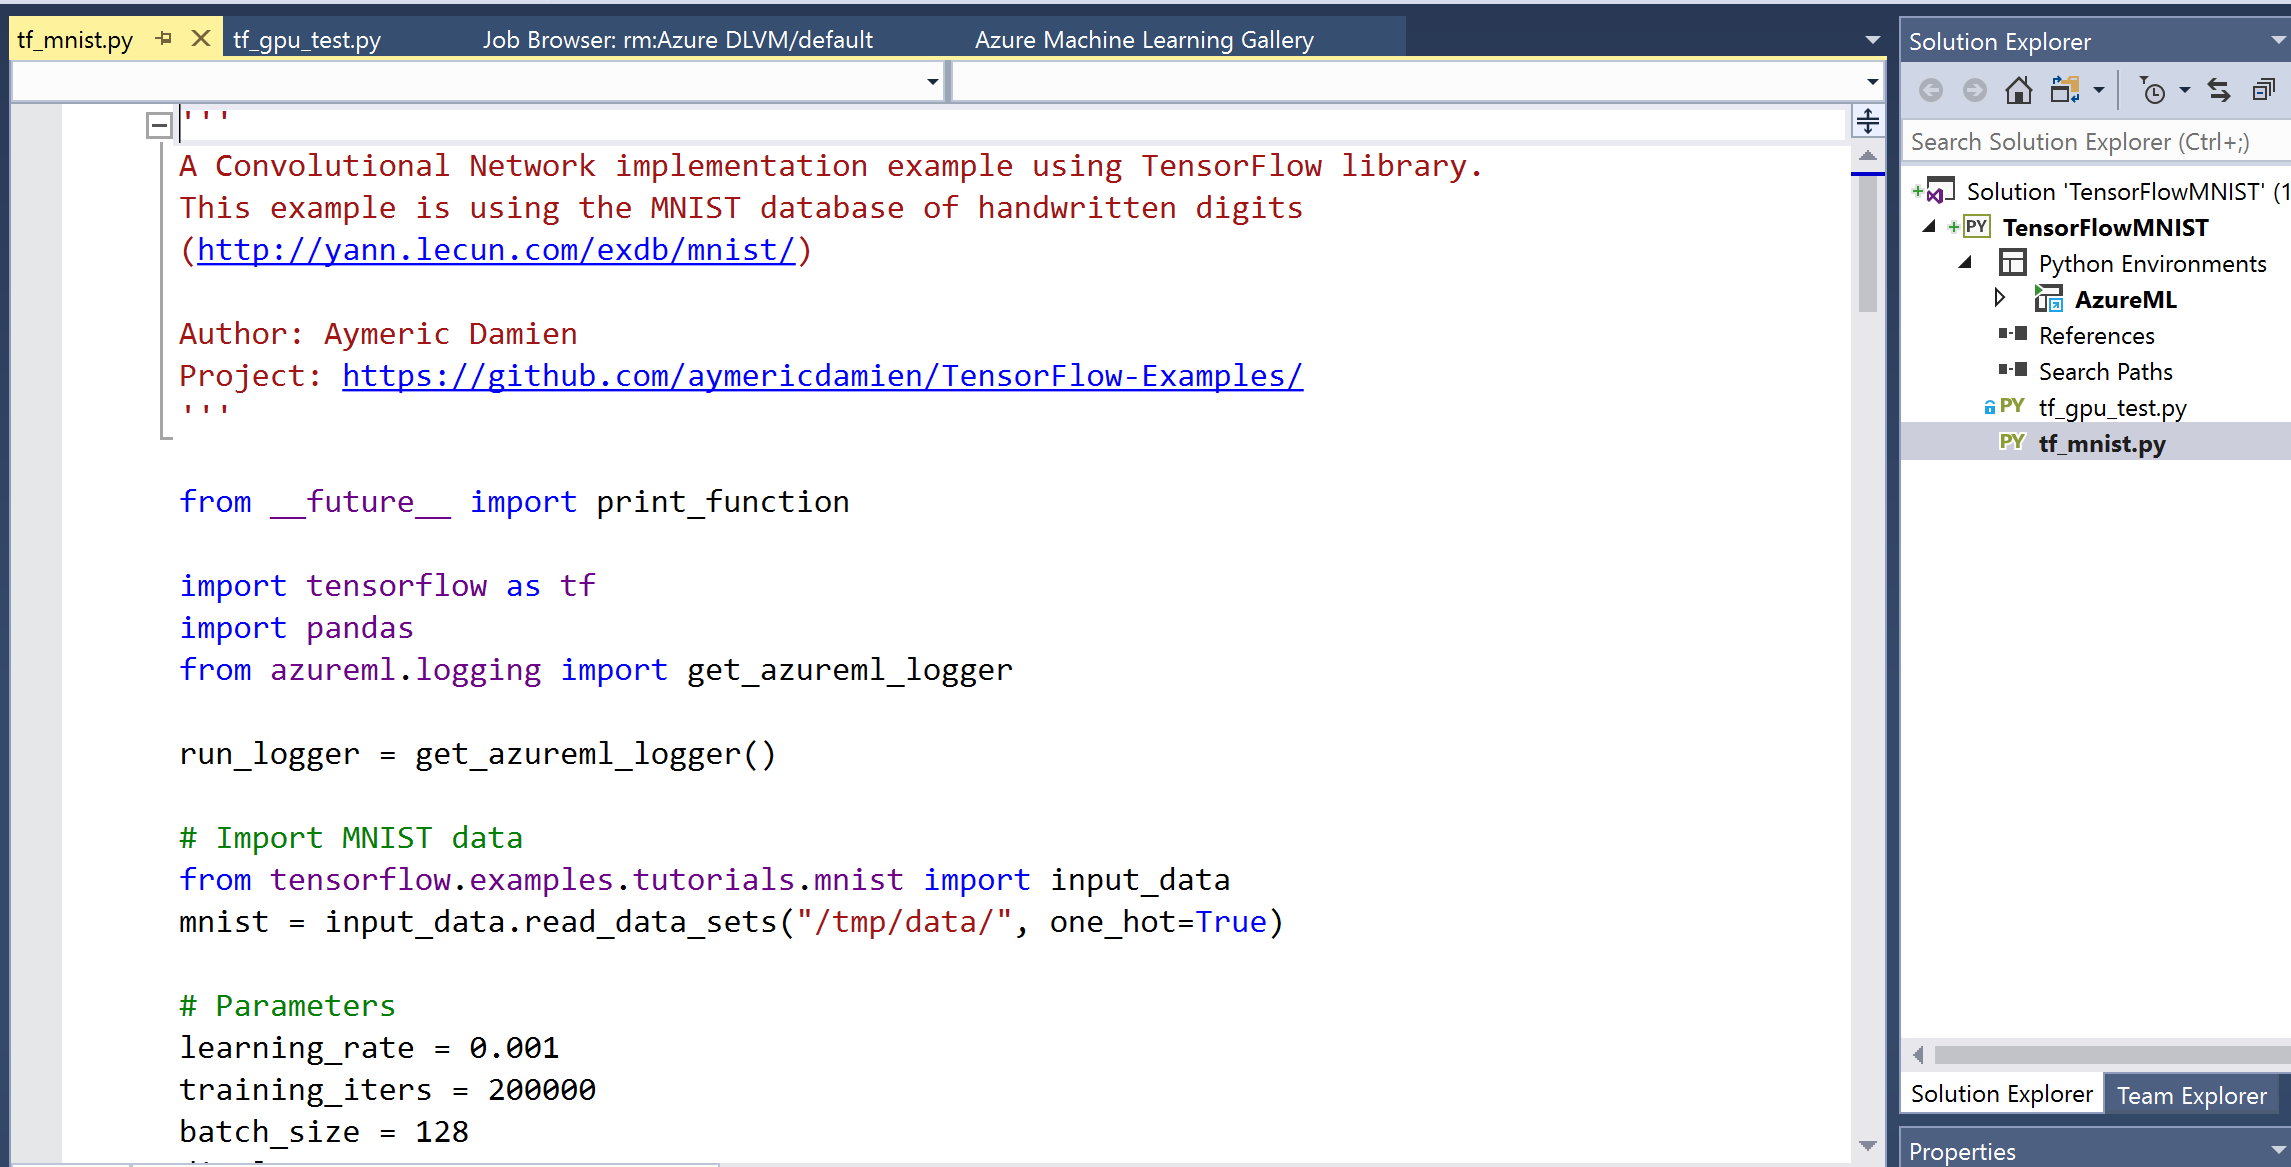
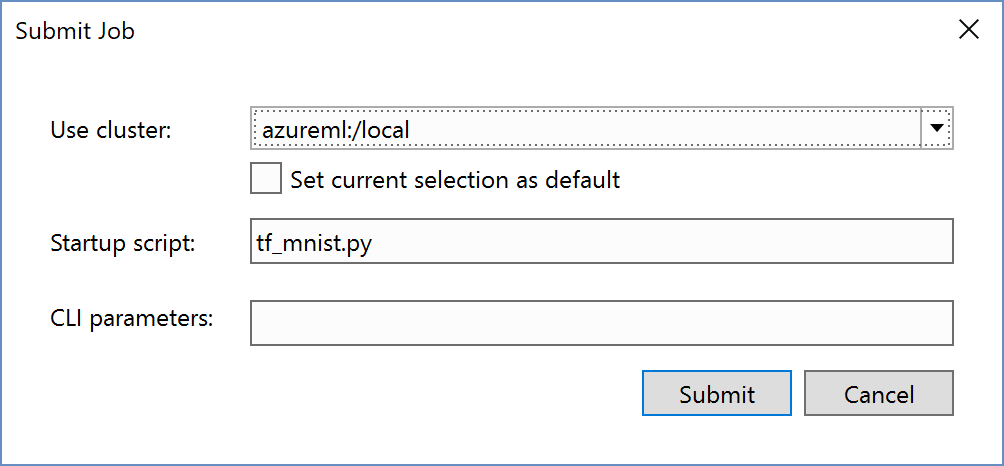
Submit the job to Azure Machine Learning.

Run in a Docker container or on your local machine
