Exercise - configure custom router
Caution
This content references CentOS, a Linux distribution that is End Of Life (EOL) status. Please consider your use and plan accordingly. For more information, see the CentOS End Of Life guidance.
Use the instructions below to configure the infrastructure for FRR and generate the default route:
az network vnet subnet create  -n <NVA-Subnet-name> -g <resource-group-name> --vnet-name <vnet-name>  --address-prefix 10.0.2.0/24

az network nic create -g <resource-group-name> --vnet-name <vnet-name>  --subnet <NVA-Subnet-name> -n <NVA-nic-name>

az vm availability-set create --name <nva-availability-set-name> --resource-group <resource-group-name> --location <your-preferred-azure-region>

az vm create --name <nva-vm-name>  --resource-group <resource-group-name>  --location <your-preferred-azure-region> --image OpenLogic:CentOS:8_5:8.5.2022012100 --size Standard_D1_v2        --availability-set <nva-availability-set-name>  --authentication-type password  --admin-username <vm-admin-user-name>  --admin-password <vm-admin-username-password> --storage-sku Standard_LRS  --nics <NVA-nic-name>
Configure FRR routing on the NVA
Now, you're going to configure the FRR software.
Update routeServerSubnetPrefix & bgpNvaSubnetGateway variables in the script below.
#
# IP prefix of the RouteServerSubnet in the Firewall VNet.
#
routeServerSubnetPrefix="<azure-route-server-subnet-prefix>"

#
# The first IP address of the subnet to which the "eth0" device is attached.
#
bgpNvaSubnetGateway="<nva-azure-subnet-first-ip-address>"

# Install FRR
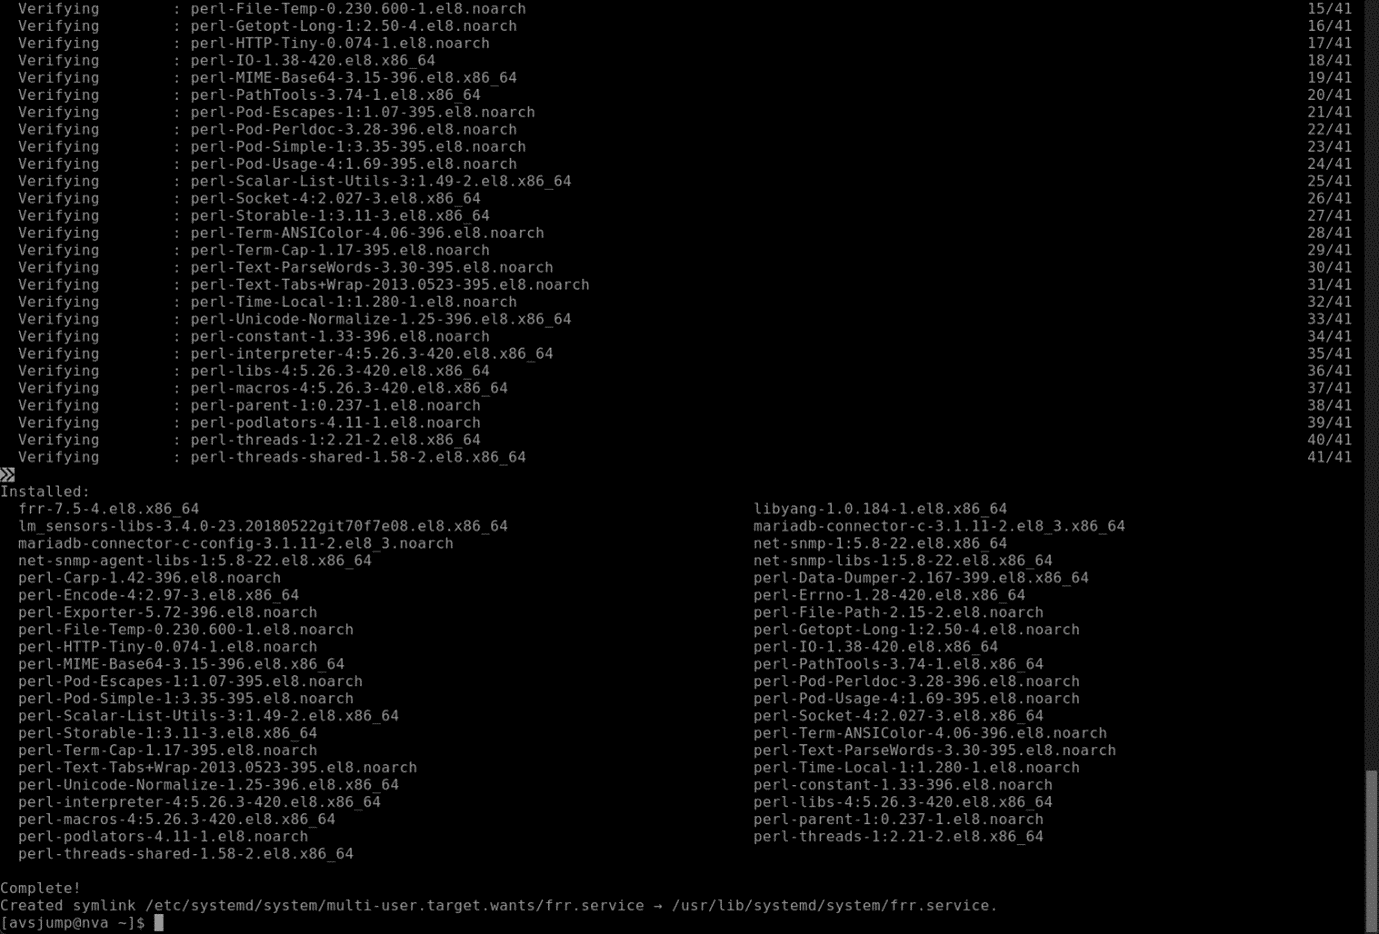
sudo dnf install frr -y

# Configure FRR to run the bgpd daemon
sudo sed -i 's/bgpd=no/bgpd=yes/g' /etc/frr/daemons
sudo touch /etc/frr/bgpd.conf
sudo chown frr /etc/frr/bgpd.conf
sudo chmod 640 /etc/frr/bgpd.conf

# Start FRR daemons
sudo systemctl enable frr --now


# Add static routes to ensure reachability for Route Servers (Route Server are not-directly-connected external BGP neighbours).

# Please note that this configuration is transient and will be lost if the VM is rebooted.

# On CentOS VMs, you can add these routes to /etc/sysconfig/network-scripts/route-eth<X> to make them persistent across reboots.

sudo ip route add $routeServerSubnetPrefix via $bgpNvaSubnetGateway dev eth0
Copy the edited script above.
Log in to NVA VM shell.
Paste copied script from clipboard as plaintext in the NVA shell (Ctrl-Shift-V).
Run the script and wait until the script finishes in a minute or so.
Ensure no errors are reported after execution.

Run sudo vtysh
Ensure FRR is running, and its command shell has started.

Configure BGP neighbor and default route for the NVA
This step configures the FRR NVA to have Azure Route Server as its BGP neighbor. A default route (0.0.0.0/0) is also added in the NVA.
Update following variables in the script below.
- <Firewall Private IP address>
- <IP address of Route Server instance #0>
- <IP address of Route Server instance #1>
conf term
!
route-map SET-NEXT-HOP-FW permit 10
set ip next-hop <Firewall Private IP address>
exit
!
router bgp 65111
no bgp ebgp-requires-policy
neighbor <IP address of Route Server instance #0> remote-as 65515
neighbor <IP address of Route Server instance #0> ebgp-multihop 2
neighbor <IP address of Route Server instance #1> remote-as 65515
neighbor <IP address of Route Server instance #1> ebgp-multihop 2
network 0.0.0.0/0
!
address-family ipv4 unicast
  neighbor <IP address of Route Server instance #0> route-map SET-NEXT-HOP-FW out
  neighbor <IP address of Route Server instance #1> route-map SET-NEXT-HOP-FW out
exit-address-family
!
exit
!
exit
!
write file
!
Log into FRR shell.
Paste the script with updated variables.
Run
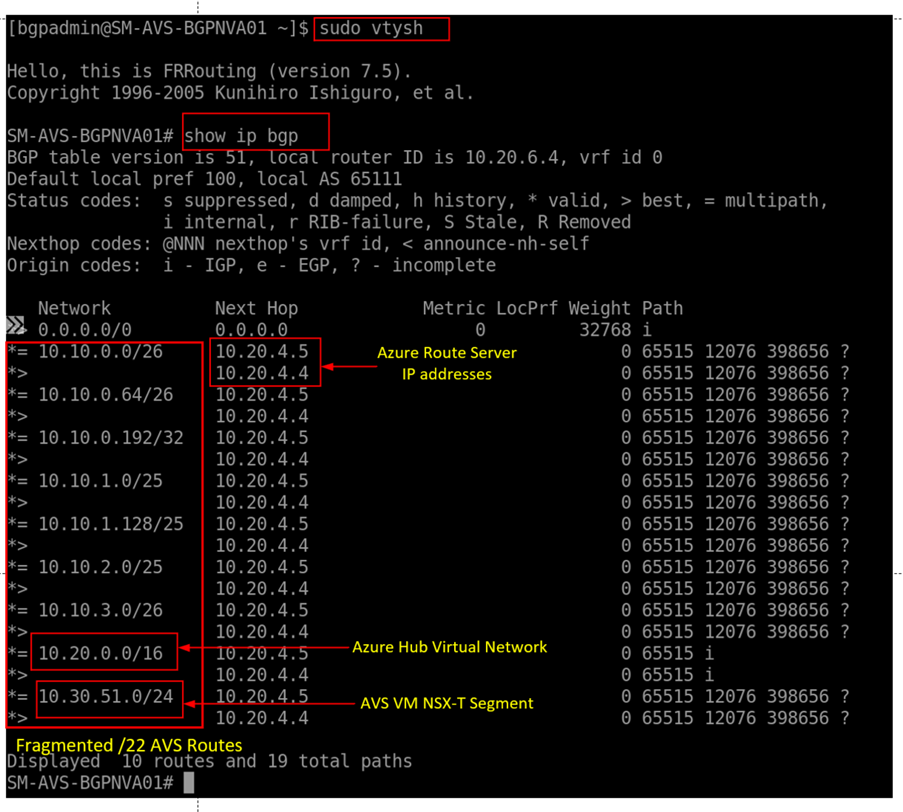
show ip bgpto confirm that the NVA hasn't learned routes yet except its own default route.Run
show ip bgp sumto confirm that the NVA hasn't yet established BGP sessions.
Configure Peering with Azure Route Server
The steps below will establish a BGP peer relationship between the FRR NVA and Azure Route Server.
Run following commands on Azure CLI prompt:
 az network routeserver peering create  --name <nva-vm-name>  --peer-ip <private-ip-of-nva-vm-name>  --peer-asn <asn-value-other-than-65515-65520>  --routeserver <routeserver-name>  --resource-group <resource-group-name>`

 az network routeserver update --name <routeserver-name>  --resource-group <resource-group-name>   --allow-b2b-traffic true`
Log into FRR shell.
Run
show ip bgpto confirm that the NVA has now learned routes from Azure Route Server.
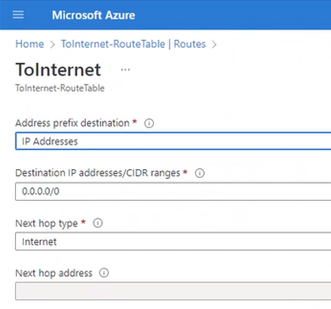
Ensure that Azure Firewall has direct internet connectivity. This can be done using Azure portal by inspecting Route Table associated with Azure Firewall's subnet.

At this point, you have configured Azure VMware Solution private cloud to implement a secure outbound internet connectivity. You deployed Azure Route Server for an effective route exchange between Azure VMware Solution private cloud and the NVA. You then deployed Azure Firewall as the exit point for all internet-bound traffic. This was followed-up by using FRR – a custom router, which injects default route with Azure Firewall as the next hop into Azure VMware Solution private cloud.
In the next unit, you'll learn how to implement fine-grained access controls in Azure Firewall, which allows/denies network traffic from Azure VMware Solution private cloud.