Create virtual machines in the Azure portal
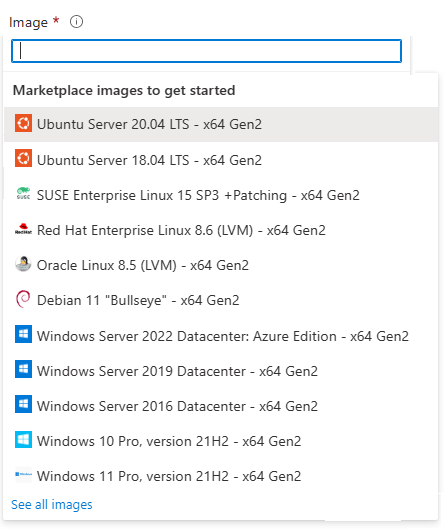
When you create virtual machines in the Azure portal, one of your first decisions is to specify which image to use. Azure supports Windows and Linux operating systems, and there are server and client platforms to choose from. You can also search Azure Marketplace for other supported images:

Configure virtual machine image
The Azure portal guides you through the configuration process to create your virtual machine image. The process includes configuring basic and advanced options, and specifying details about the disks, virtual networks, and machine management.

The Basics tab contains the project details, administrator account, and inbound port rules.
On the Disks tab, you select the OS disk type and specify your data disks.
The Networking tab provides settings to create virtual networks and load balancing.
On the Management tab, you can enable automatic shutdown and specify backup details.
On the Advanced tab, you can configure agents, scripts, or virtual machine extensions.
Other settings are available on the Monitoring and Tags tabs.