Exercise – Connect to a virtual machine by using Azure Bastion
In this unit, you'll create a virtual machine (VM) to act as your internal app VM and deploy Azure Bastion to connect to it.
This exercise is optional. To complete it, you need access to an Azure subscription where you have permissions to create resources like a VM. If you don't have an Azure subscription, create a free account before you begin.
Create a resource group
Create a resource group to contain all the resources that you'll create for the exercises.
Sign in to the Azure portal.
Search for or select Resource groups.
Select Create. The Create a resource group pane appears.
On the Basics tab, enter the following values for each setting.
Setting Value Project Details Subscription Select your subscription Resource group learn-bastion-rg Resource details Region Choose the region near you Select Review + create. After validation passes, select Create.
Create a VM
Create a Linux VM that's not exposed to the internet.
In the Azure portal, search for or select Virtual machines.
Select Create, and then select Azure Virtual machine from the dropdown. The Create a virtual machine pane appears.
On the Basics tab, enter the following values for each setting. Leave any other settings as their defaults.
Setting Value Project details Subscription Your subscription Resource group learn-bastion-rg Instance details Virtual machine name internalappvm Region Choose a region near you Image Ubuntu Server 20.04 LTS - x64 Gen2 Administrator account Username azureuser SSH public key source Generate new key pair Key pair name internalappvm_key Internal port rules Public inbound ports None Use the default values for the rest of the settings on this tab.
Select the Networking tab and enter the following values for each setting. Leave any other settings as their defaults.
Setting Value Network interface Public IP None Public inbound ports None Select Review + create. After validation passes, select Create. The Generate new key pair dialog appears.
Select Download private key and create resource.
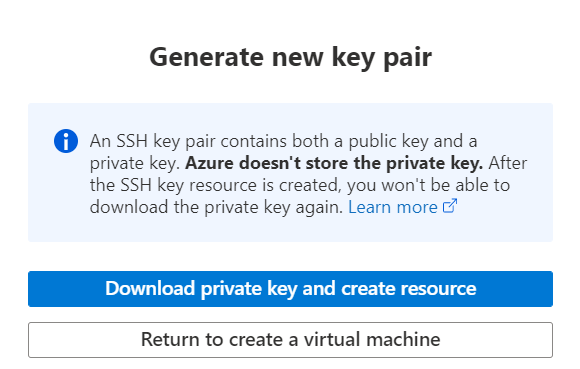
Because you created the internal app VM without a public IP, you can't connect to it over the internet. Instead of using a jumpbox VM to connect to the internal app VM, let's use Azure Bastion.
Create a subnet for Azure Bastion
Before you can use Azure Bastion, you need to create a subnet on the virtual network that the internal app VM uses.
In the Azure portal, select or search for Resource groups.
Select learn-bastion-rg.
From the list of resources, select the virtual network learn bastion-rg-vnet.
In the left menu pane, under Settings, select Subnets.
In the top menu bar, select + Subnet to add a subnet. The Add subnet pane appears.
Enter the following information to create a subnet.
Field Name Name AzureBastionSubnet Subnet address range Enter an address space with a subnet mask that's /26 or larger, like /26, /25, and so on. An example is 10.0.1.0/24. Use the default values for the rest of the fields.
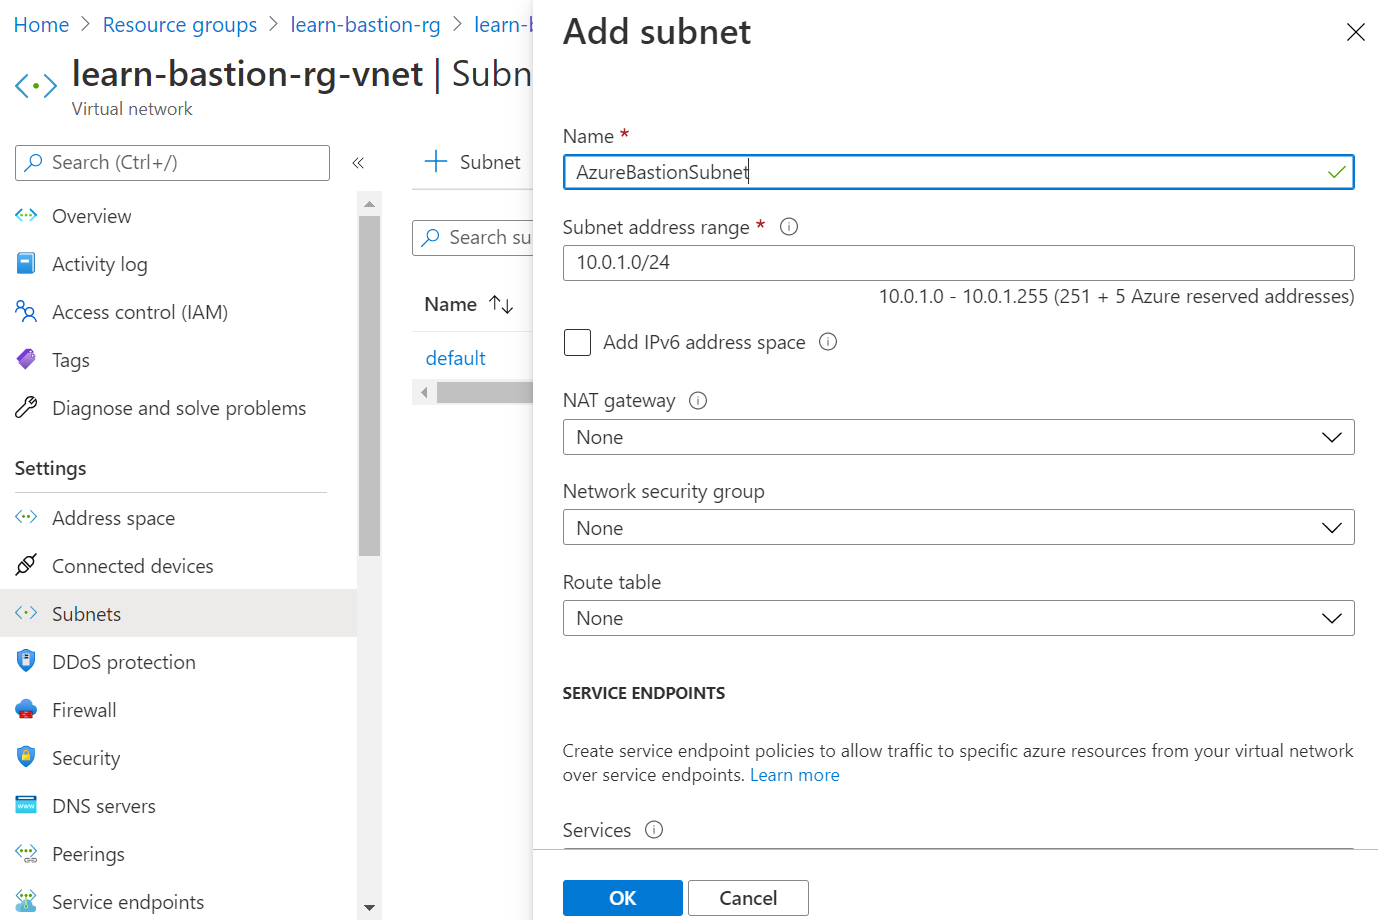
Select Save.
Deploy Azure Bastion
In the Azure portal, select or search for Virtual machines.
Select the virtual machine internalappvm.
Select Connect > Bastion > Deploy Bastion.
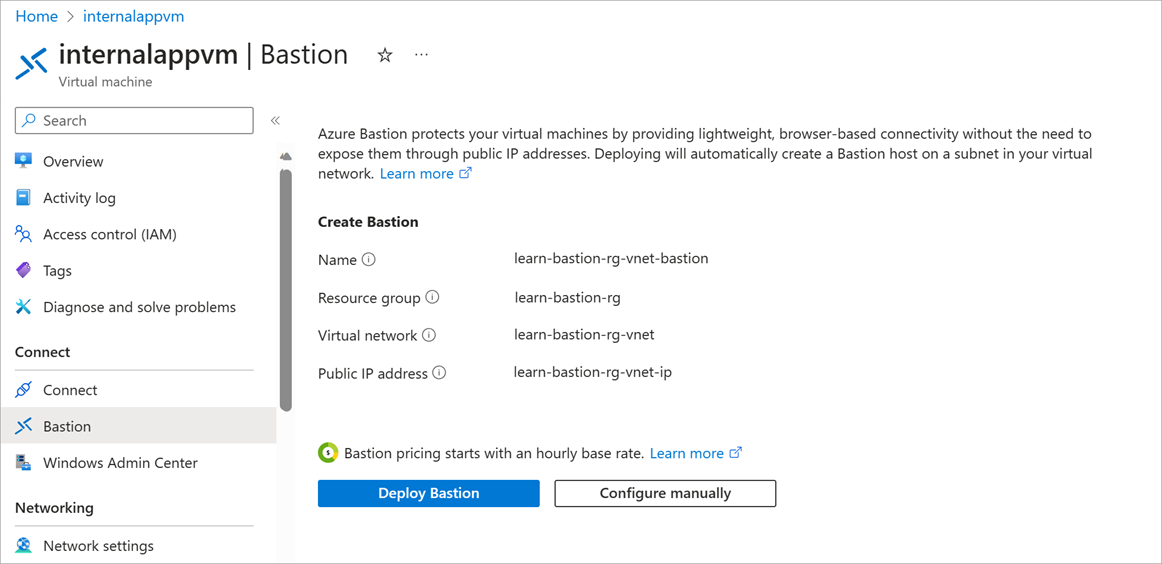
Wait a few minutes for the Azure Bastion resource to be created.
Connect to the internal app VM
After the Azure Bastion resource is created, you're prompted to enter credentials to connect to the VM.
Enter the Username azureuser.
Select SSH Private Key from Local File in the Authentication Type drop-down.
For Local file, select the internalappvm_key.pem file that you downloaded when you created the VM.
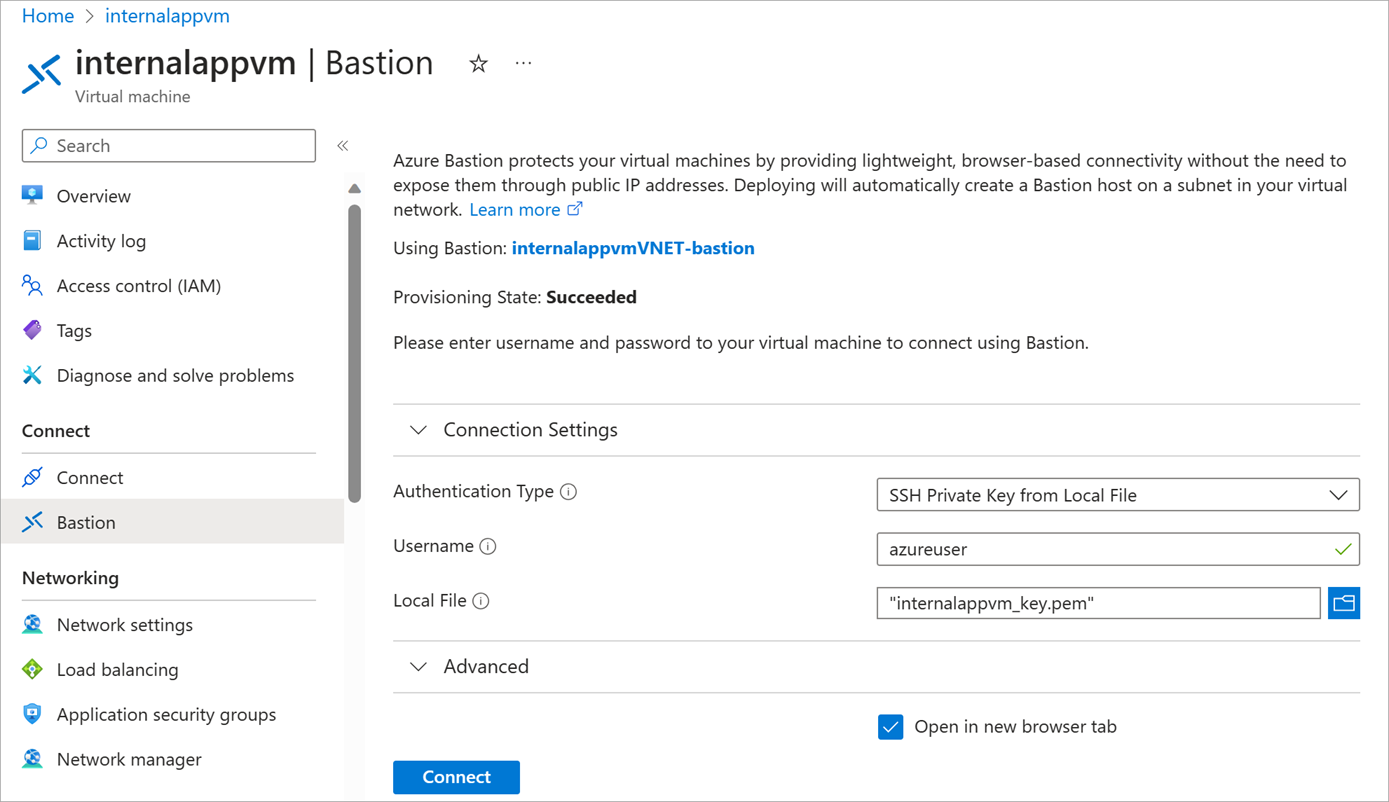
Select Connect.
In the remote shell, enter Linux commands like the following command that updates the system.
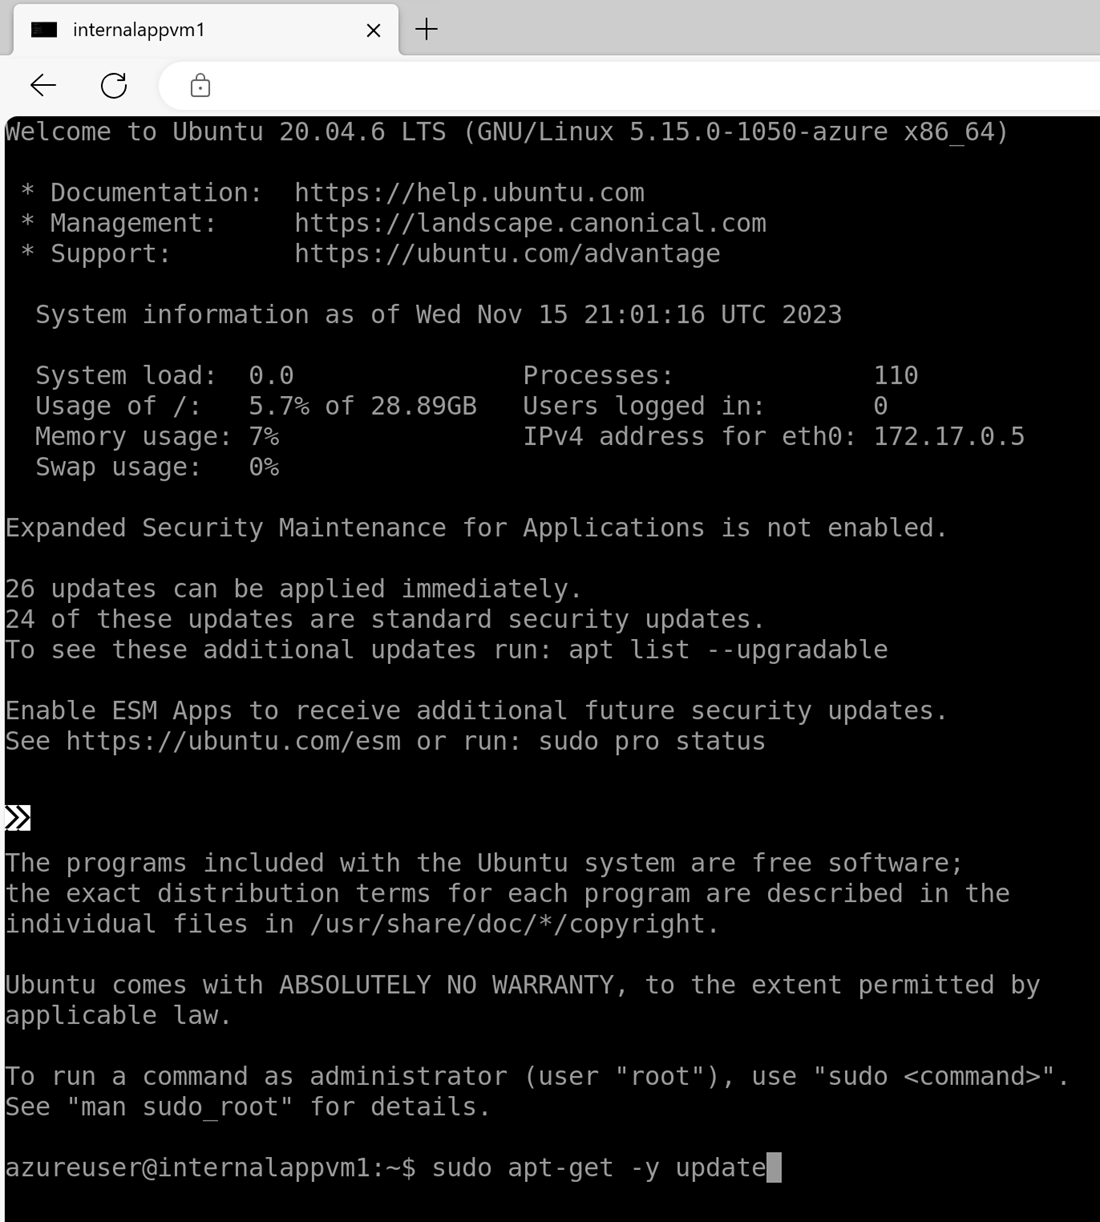
sudo apt-get -y updateWhen you're finished, enter
exit.
The next time you want to connect to the internal app VM, go to the virtual machine, select Bastion, and enter your credentials.