Exercise – Design a bicycle repair shop app by using Figma
In this exercise, you'll use the Figma UI Kit to explore certain components and to create a bicycle repair shop app.
Scenario
You work at a bicycle store and are responsible for an upcoming VIP sale. You need to plan the sale based on customer preferences for presentation topics.
You want to design a canvas app where your colleagues can register potential attendees and collect attendee preferences by using a dedicated tablet.
Your objective is to design the application and allow the store owner and marketing director to review it and provide recommendations.
The application should allow you and your colleagues to gather the following information:
Customer name, email, and phone number
Choices for a preferred presentation topic:
Mental and physical preparation for races
Five (5) off-season best practices
Preventive maintenance tips
How to select bicycle size for ages youth to adult
Exercise
Watch the following video for a demonstration of the steps in this unit.
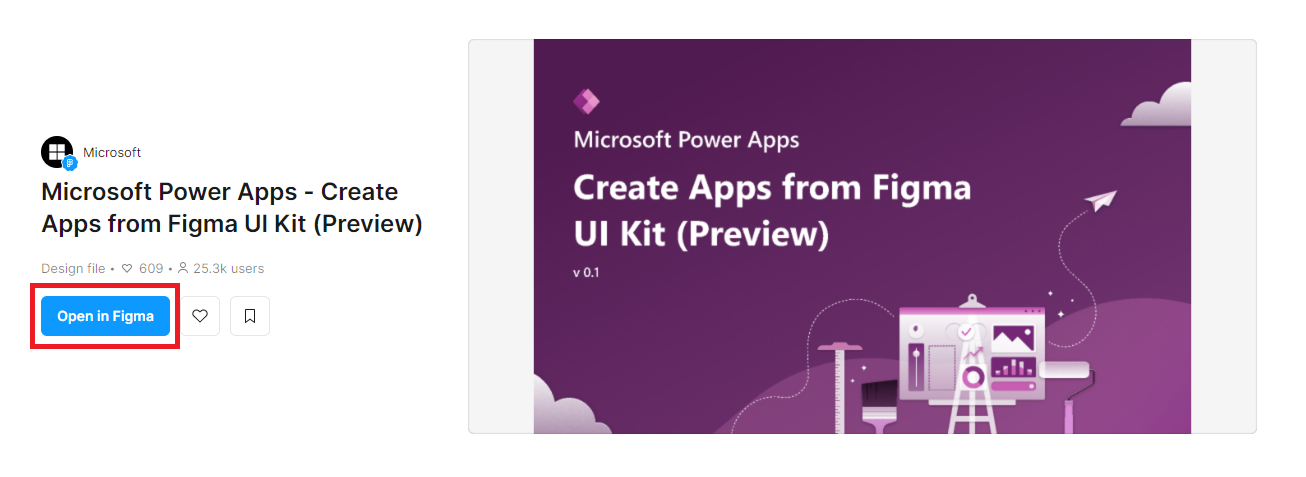
Go to the Figma UI Kit webpage.
Select Open in Figma.
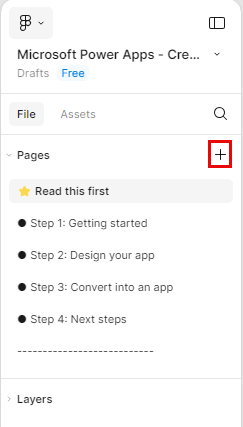
Under File in the left navigation pane, select the plus (+) symbol next to Pages to create a canvas for the app design.
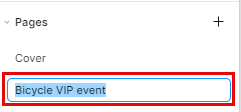
Rename the page to Bicycle VIP event.
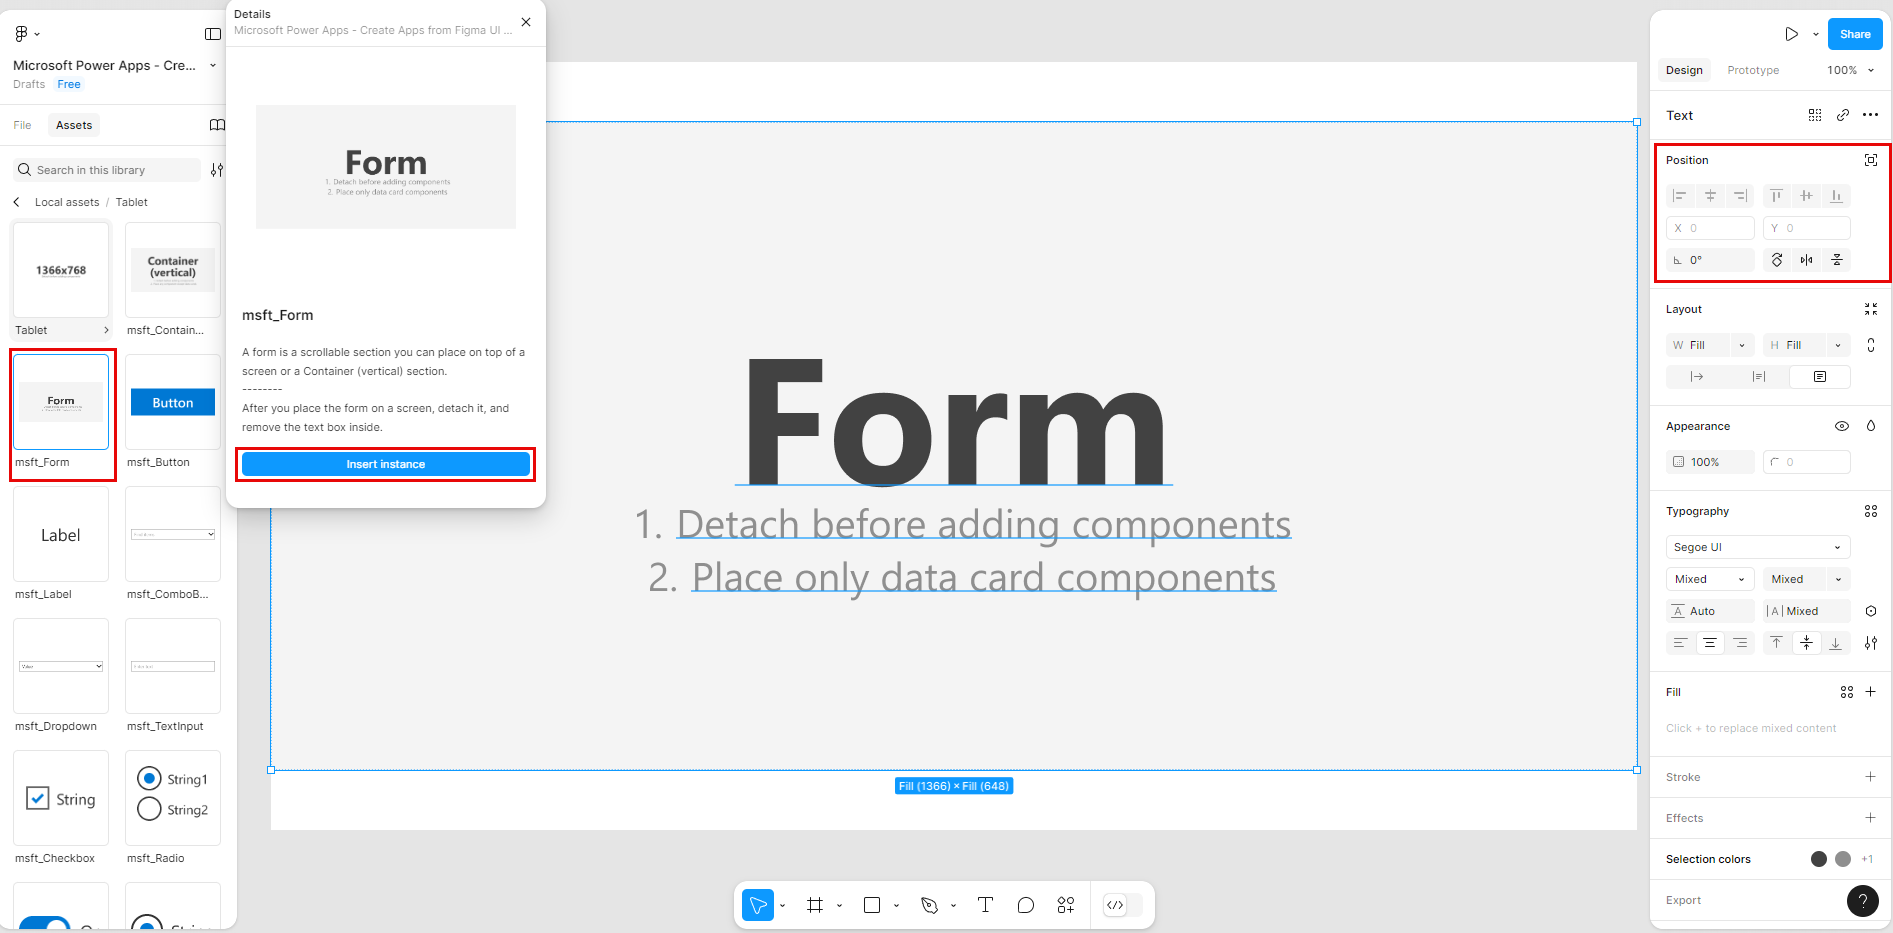
In the Assets section of the studio, select the Tablet form factor and then select Insert instance.

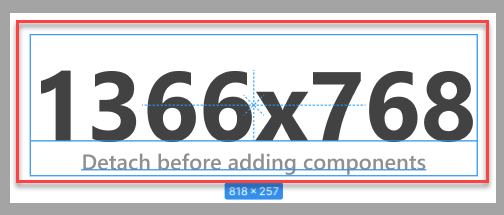
To allow the addition of components on the screen, you need to detach the screen first. Select Detach instance in the context menu by right-clicking the screen component.

Remove the informational text box by selecting it and then pressing the Delete key on your keyboard.
To rename the screen component, double-click the label located on top of the screen component, and then enter Home Screen as its name.

Add the required components from the Tablet list. These components allow employees to register customers for the event.
Under the Tablet components area, in the 00 Scrollable section, add a Form component.
Resize and move the form to have the following coordinates and dimensions:
X = 0
Y = 60
Width = 1366
Height = 648
Follow the instructions in step 7 to detach the form.
In the upper-left, select Layers and then under Home Screen and msft_Form remove the information text label by selecting it and then pressing the Delete key on your keyboard.

In the form, add the input fields to capture the customer information for the event. In consideration of the tablet form factor and data entry in a form component, select all new components from the Tablet / Horizontal DataCards section in the Assets left navigation pane.

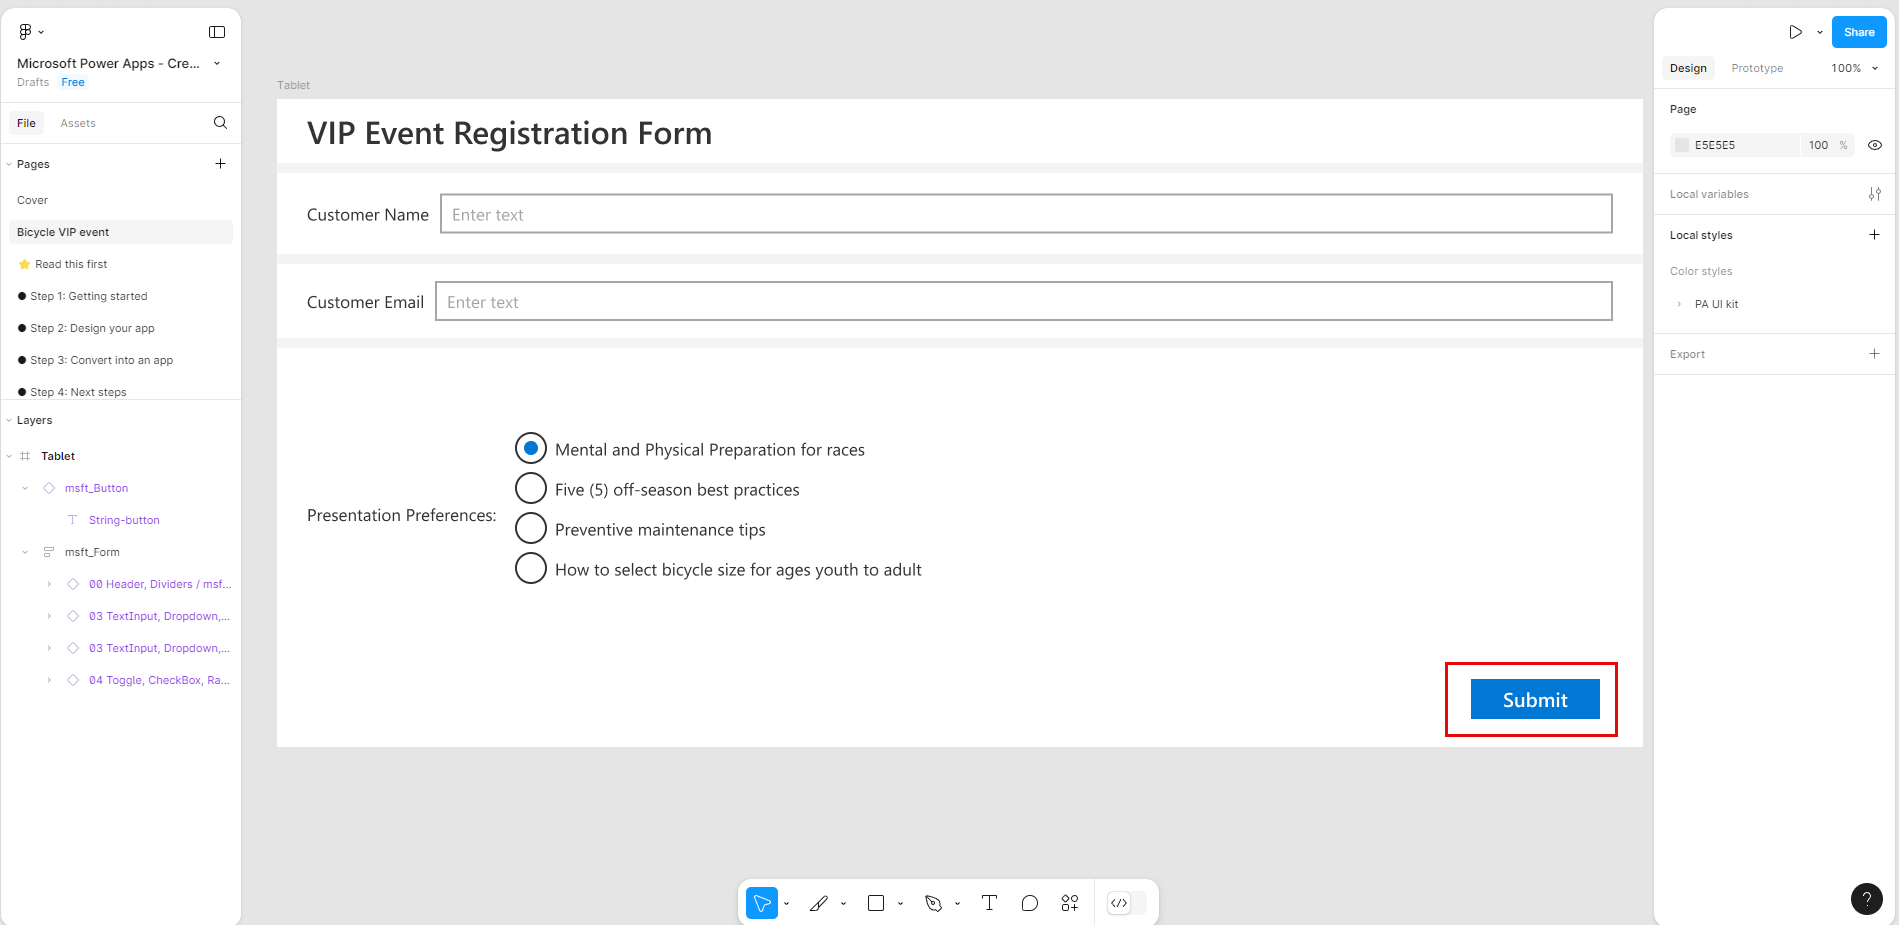
Add the following components, and by using the right navigation pane, define the component properties. To change the Text property of each one, triple select the text in the component itself until a blue highlight appears over the text, and then type in the text:
00 Header, Dividers (a title text box with the following properties):
Text: VIP Event registration form

03 TextInput, Dropdown, ComboBox (an input text box to capture a customer name):
Text: Customer Name:
03 TextInput, Dropdown, ComboBox (an input text box to capture a customer email address):
Text: Customer Email:
03 TextInput, Dropdown, ComboBox (an input text box to capture a customer phone number):
Text: Phone Number:
04 Toggle, CheckBox, Radio (a set of presentation options to select from):
Text: Presentation Preferences:
Option labels:
Mental and physical preparation for races
Five (5) off-season best practices
Preventive maintenance tips
How to select bicycle size for ages youth to adult
Add a Submit button outside of the form and set the X property to 1194 and the Y property to 580. Change the text of the button to be Submit.


Next steps
You've now learned how to design an app by using the Figma UI Kit, which you can use to create a canvas app. Your next step is to learn how to create a canvas app based on a Figma design.