Exercise - Create intelligent object placements with solvers
Solvers are one of the components of the Mixed Reality Toolkit (MRTK). Let's take a look at two types of solvers and their respective functionalities.
Location of solvers in the MRTK
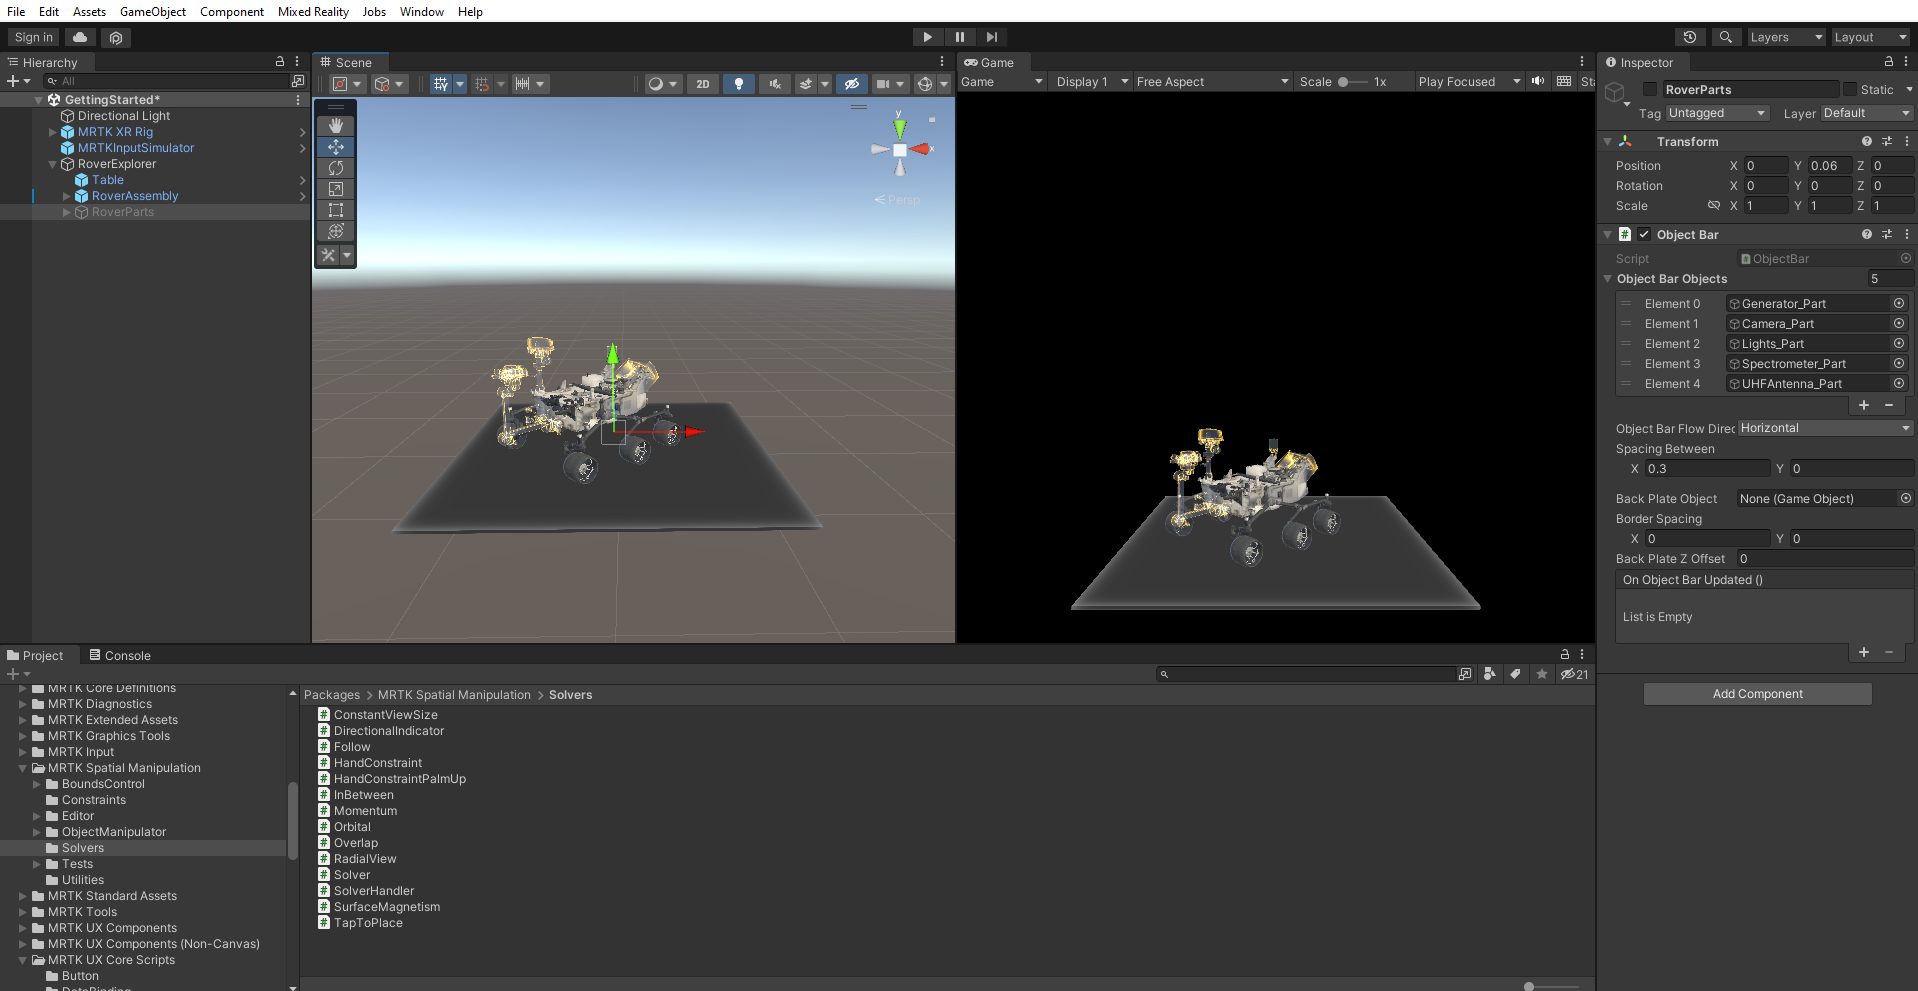
The MRTK's solvers are located in the MRTK SDK folder. To see the available solvers in your project, in the Project window, go to Packages > MRTK Spatial Manipulation > Solvers.
The Directional Indicator solver
Use the Directional Indicator solver to direct the user to objects. Here's how:
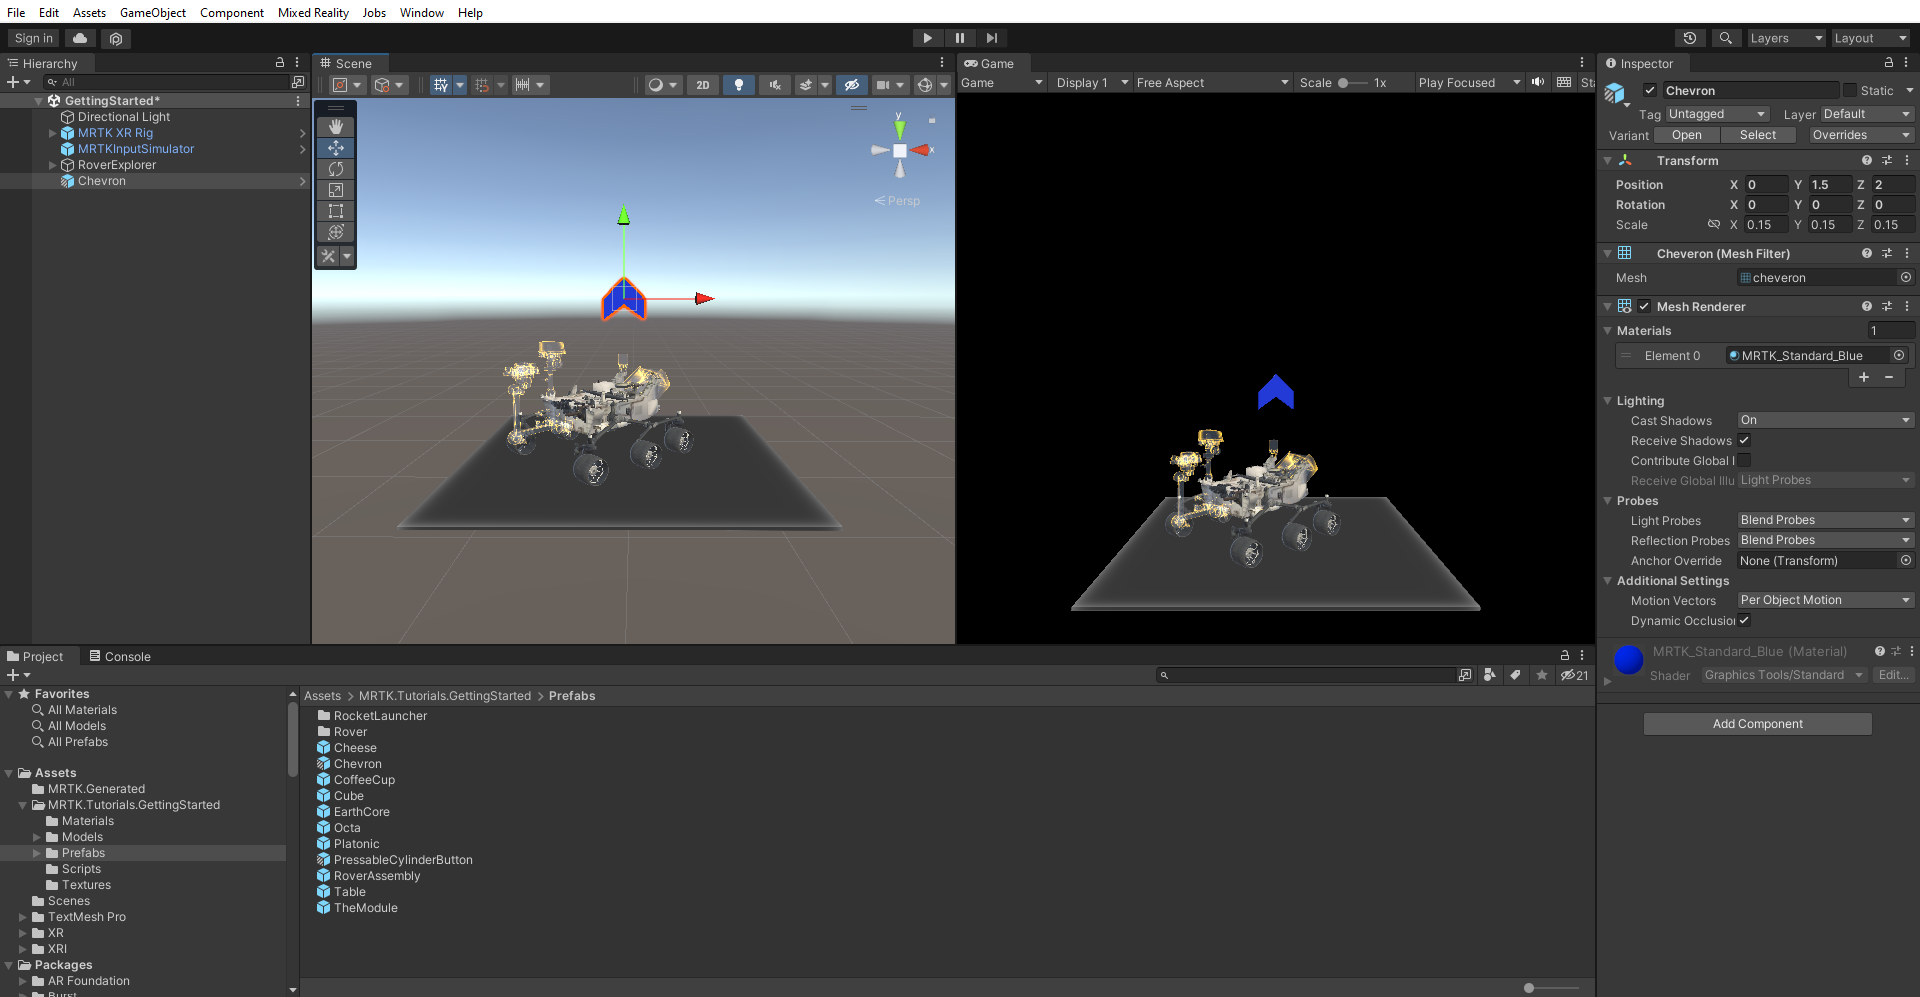
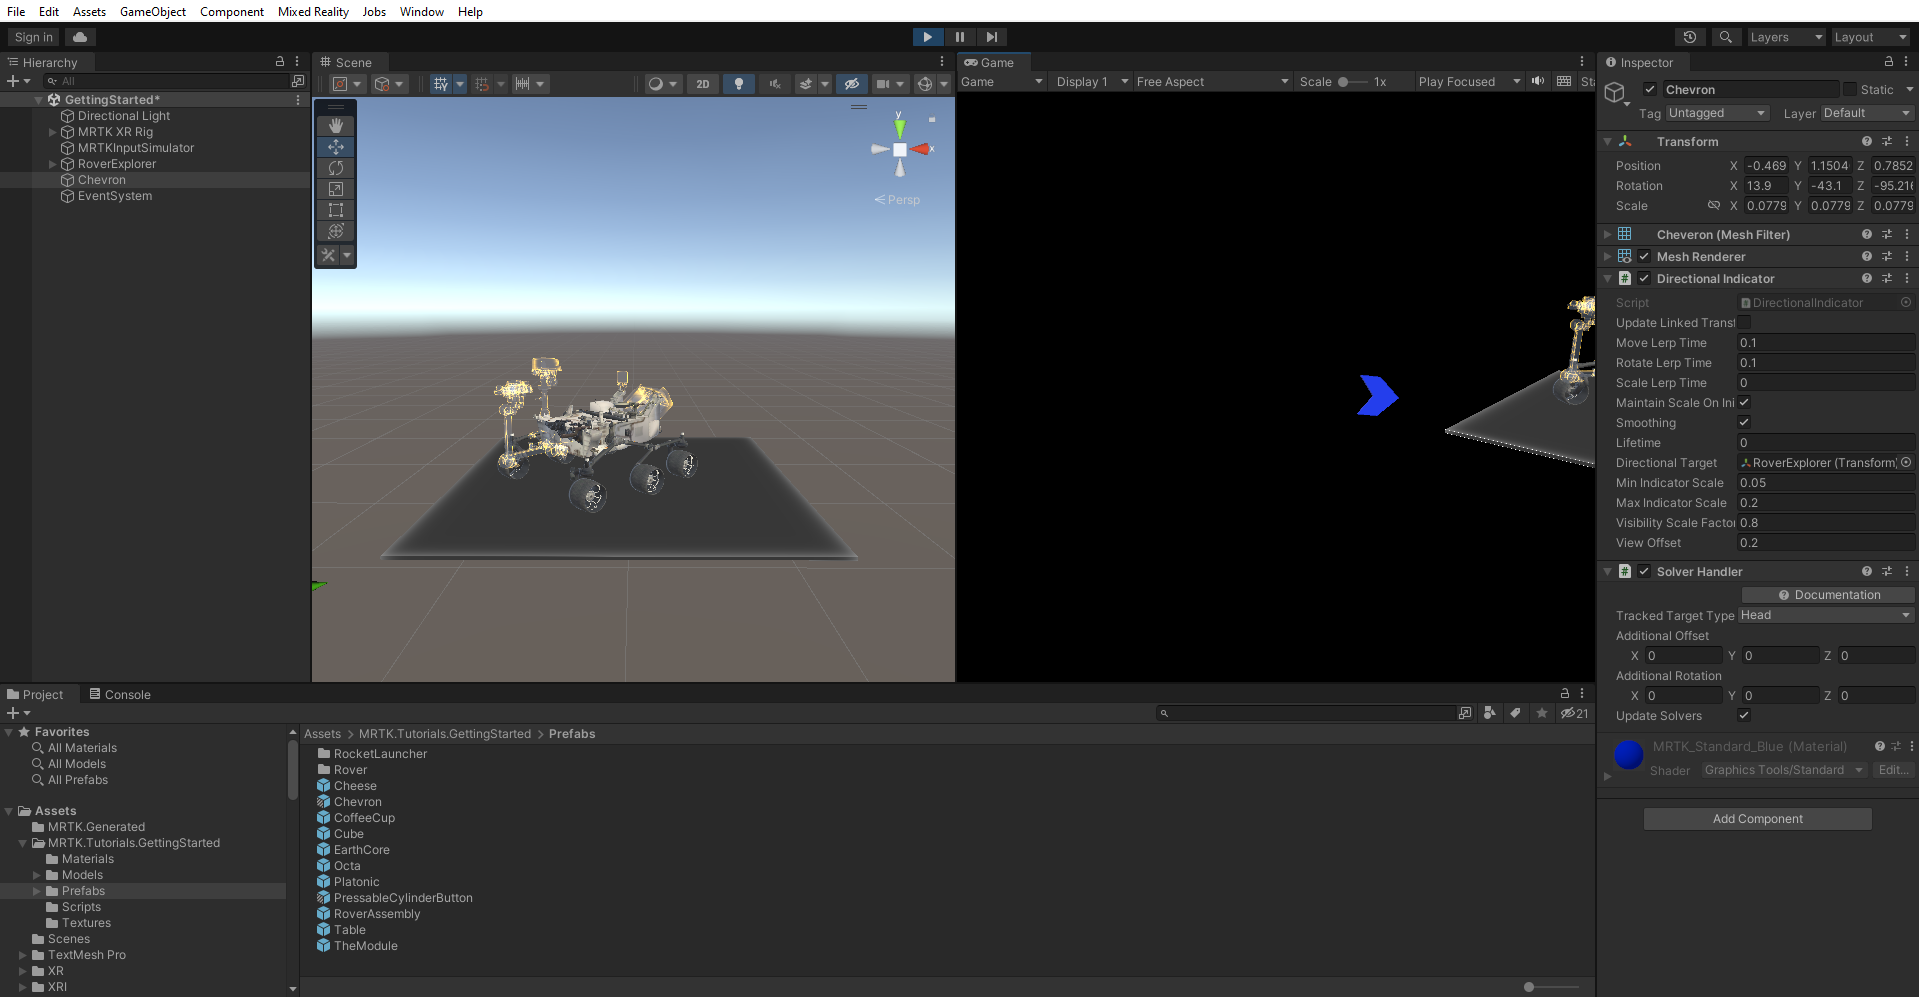
In the Project window, go to Assets > MRTK.Tutorials.GettingStarted > Prefabs. Drag the Chevron prefab into the Hierarchy window, and set its Transform Position to X = 0, Y = 1.5, Z = 2 to position it near the RoverExplorer object.
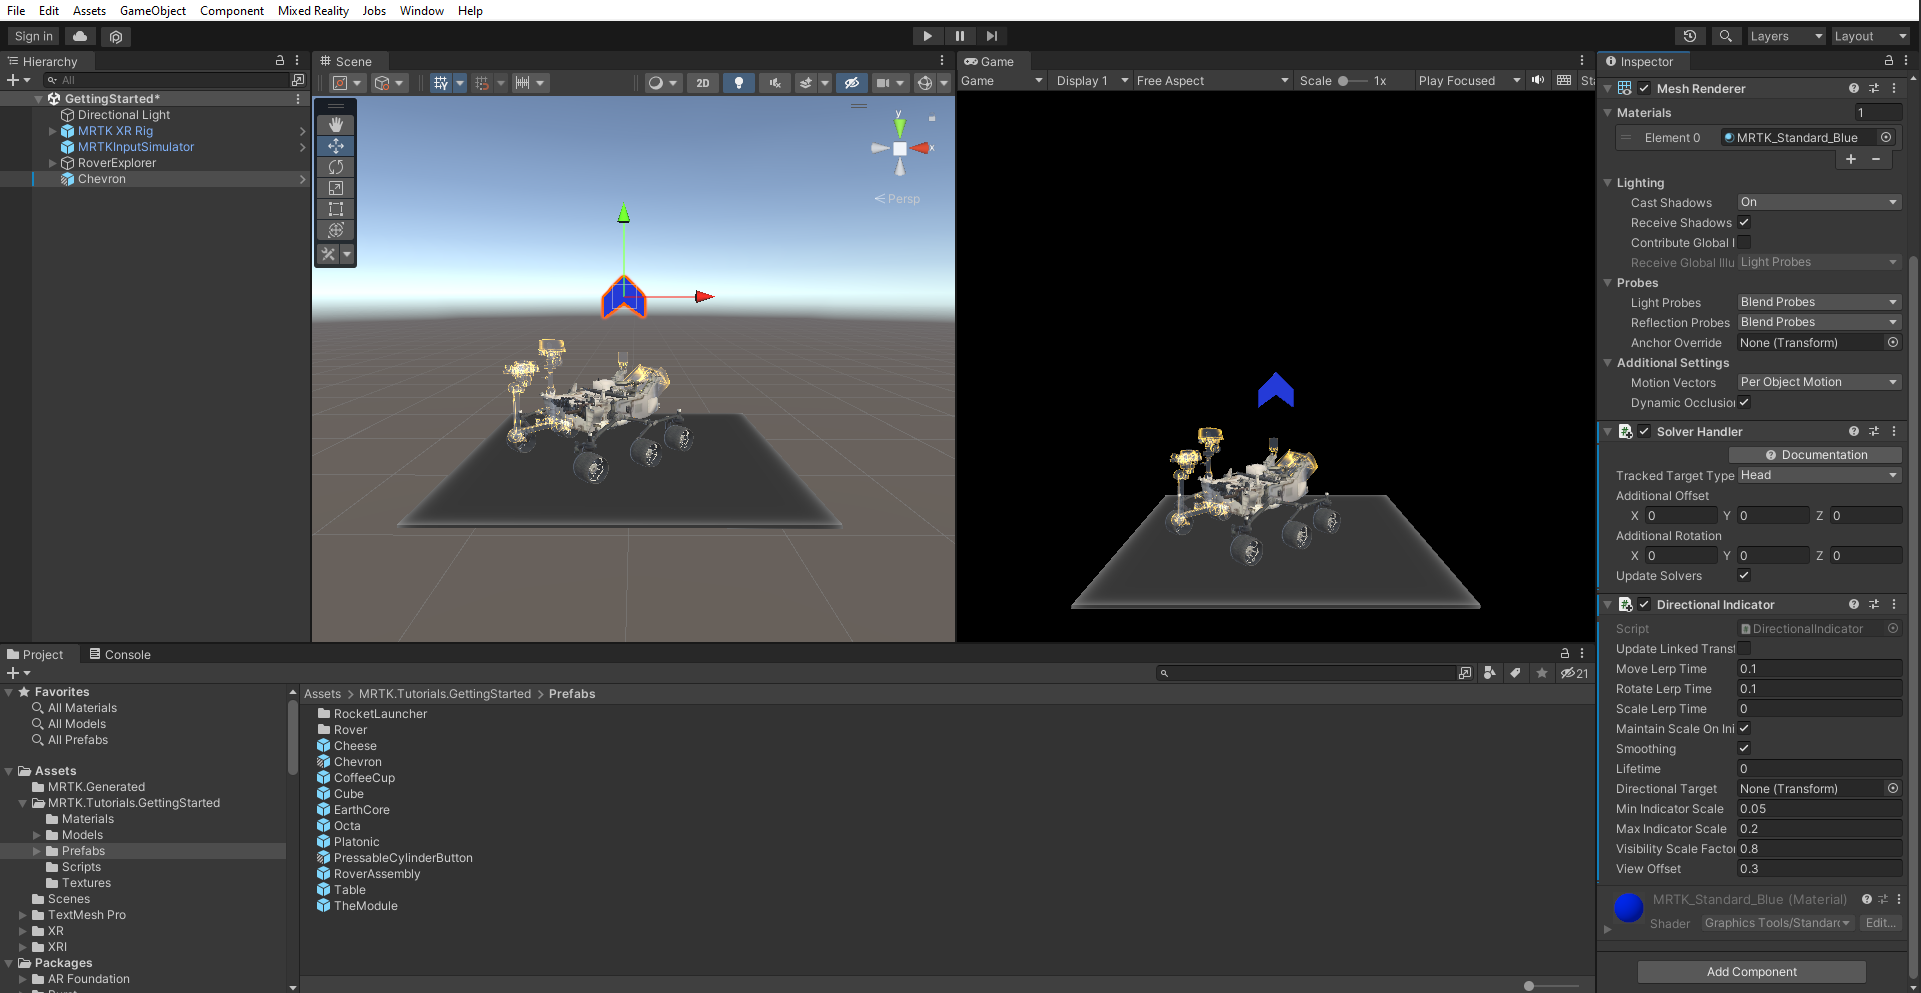
Rename the newly added Chevron object to Indicator. Then, in the Inspector window, select Add Component to add the DirectionalIndicator.
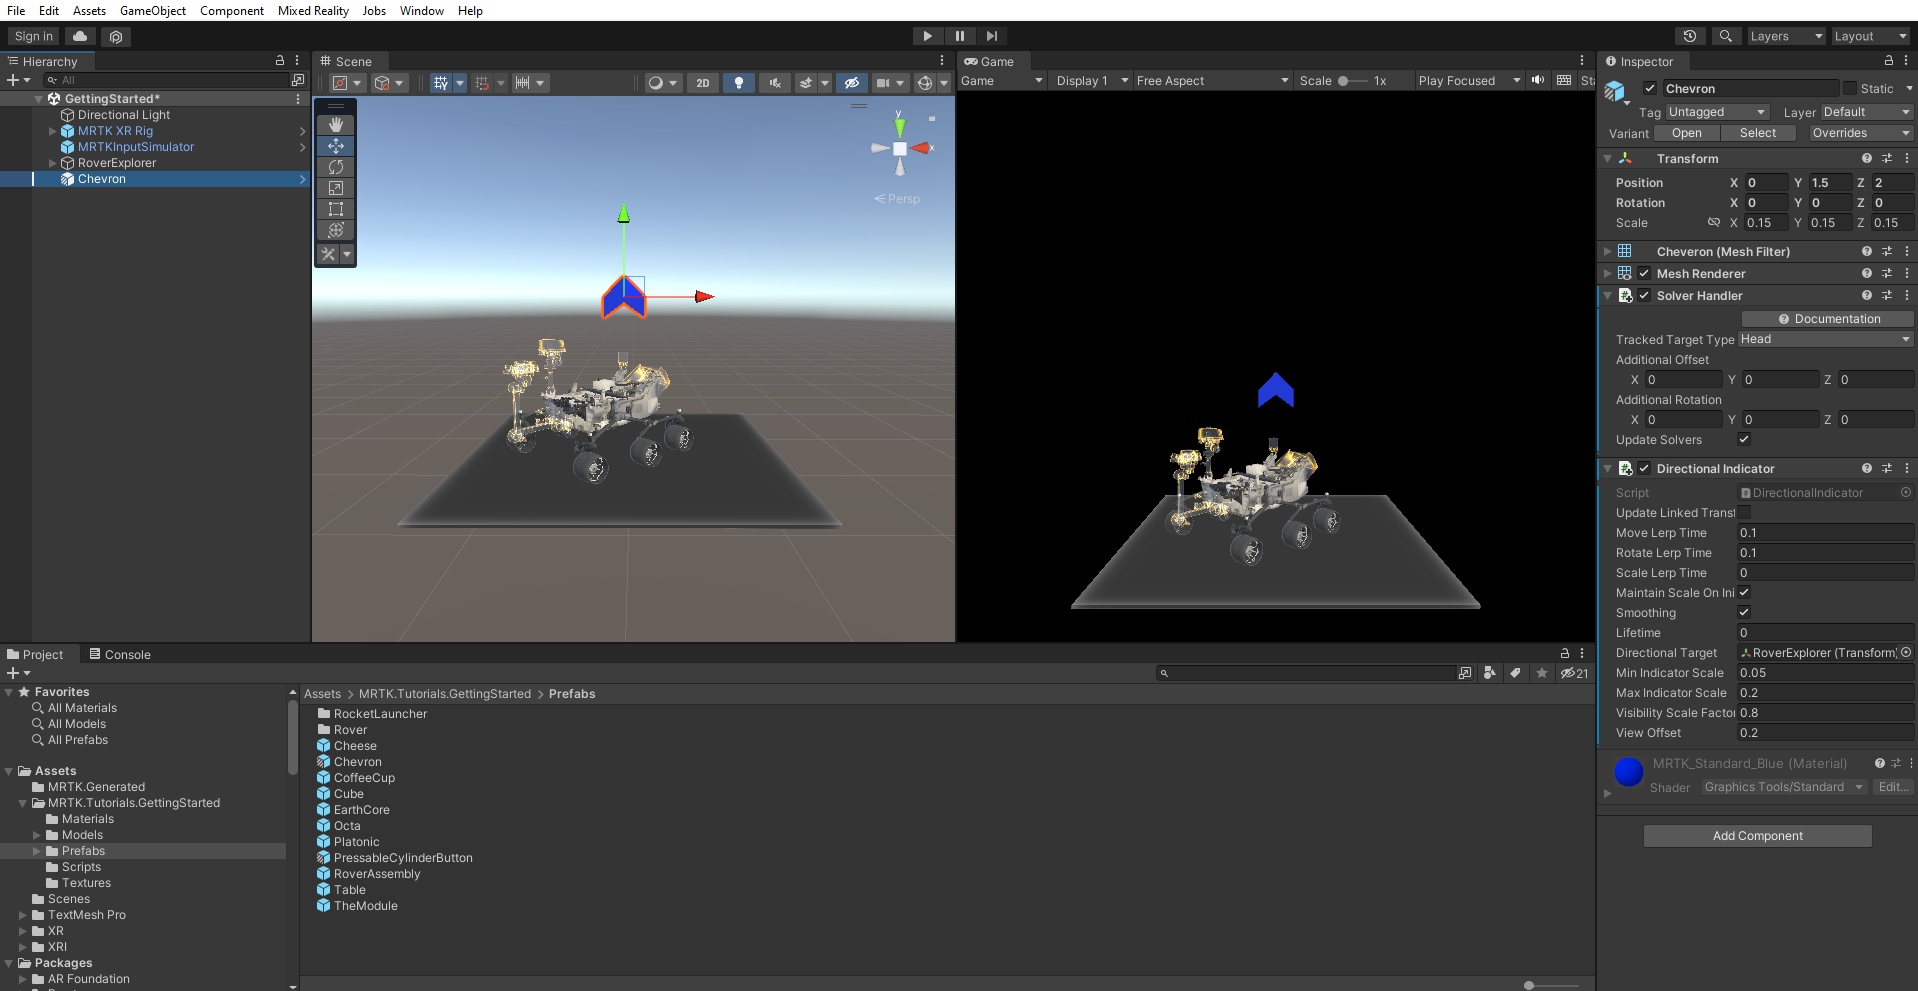
Configure the DirectionalIndicator and SolverHandler components as follows:
a. Verify that the SolverHandler component's Tracked Target Type is set to Head.
b. Assign the RoverExplorer to the DirectionalIndicator component's Directional Target, by dragging it from Hierarchy into the None (Transform) field.
c. Change the View Offset to 0.2.
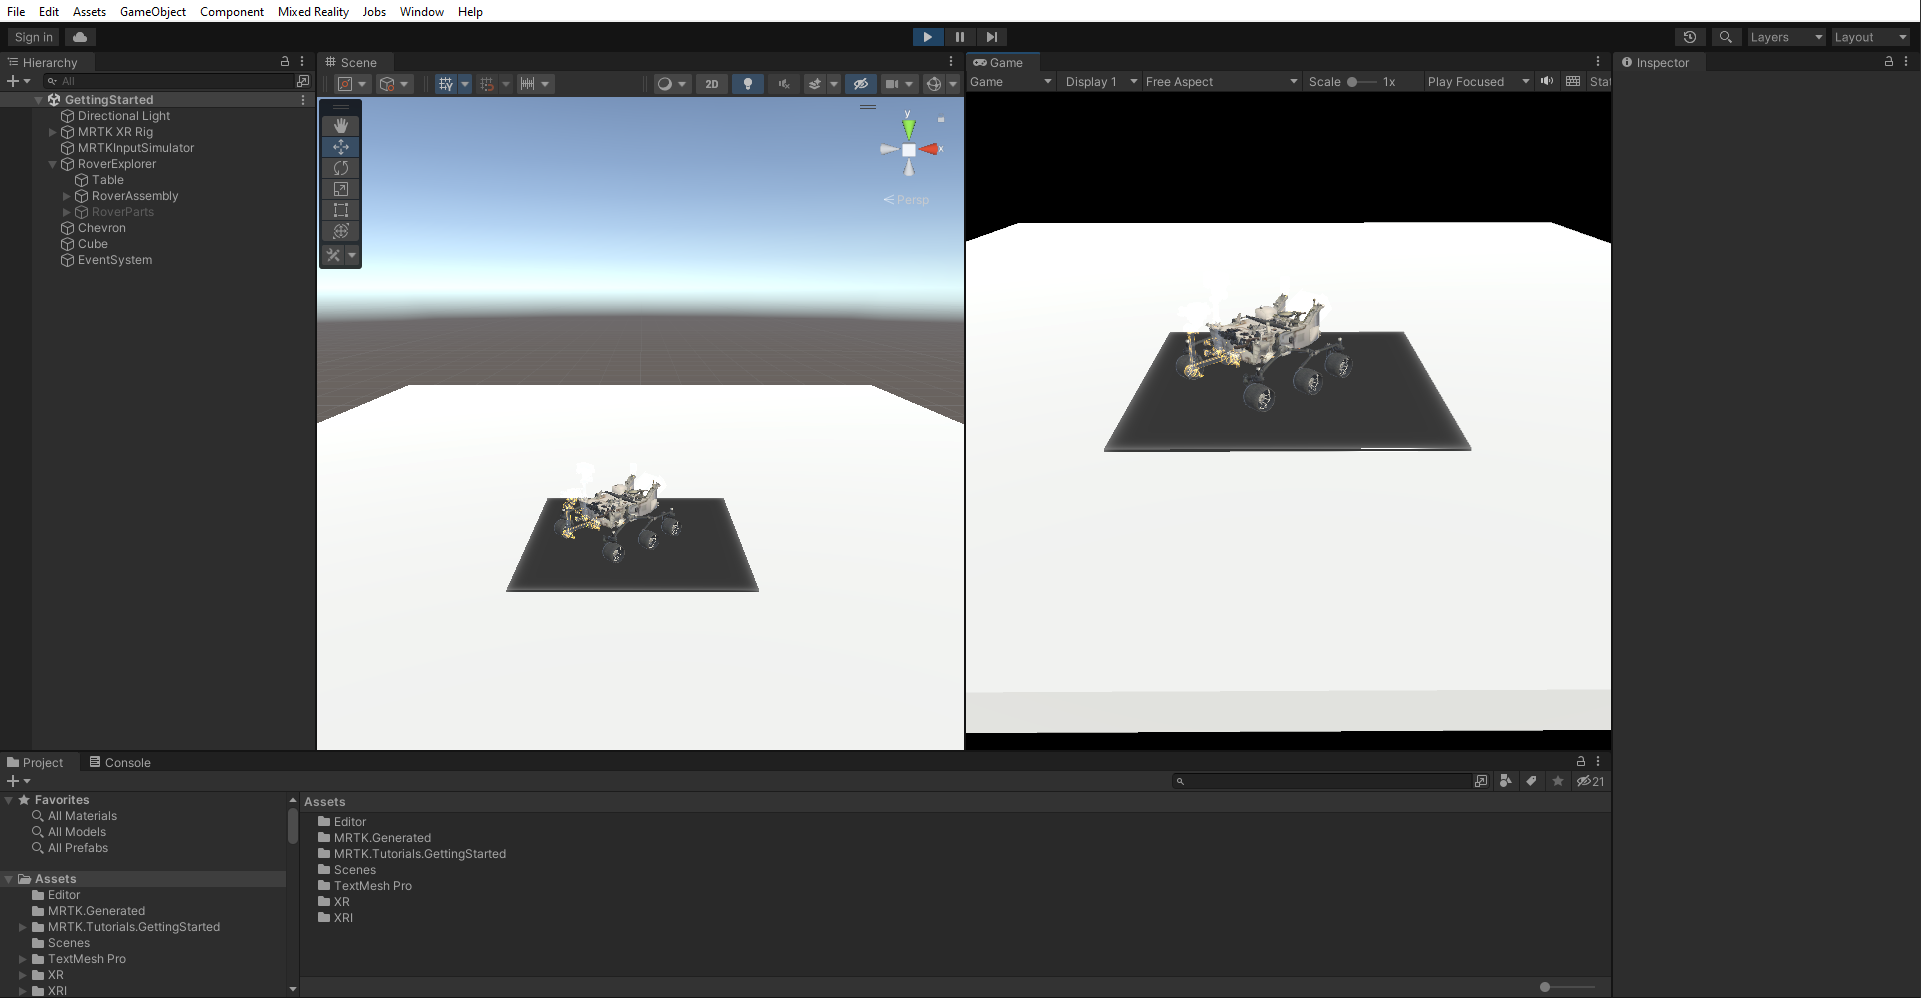
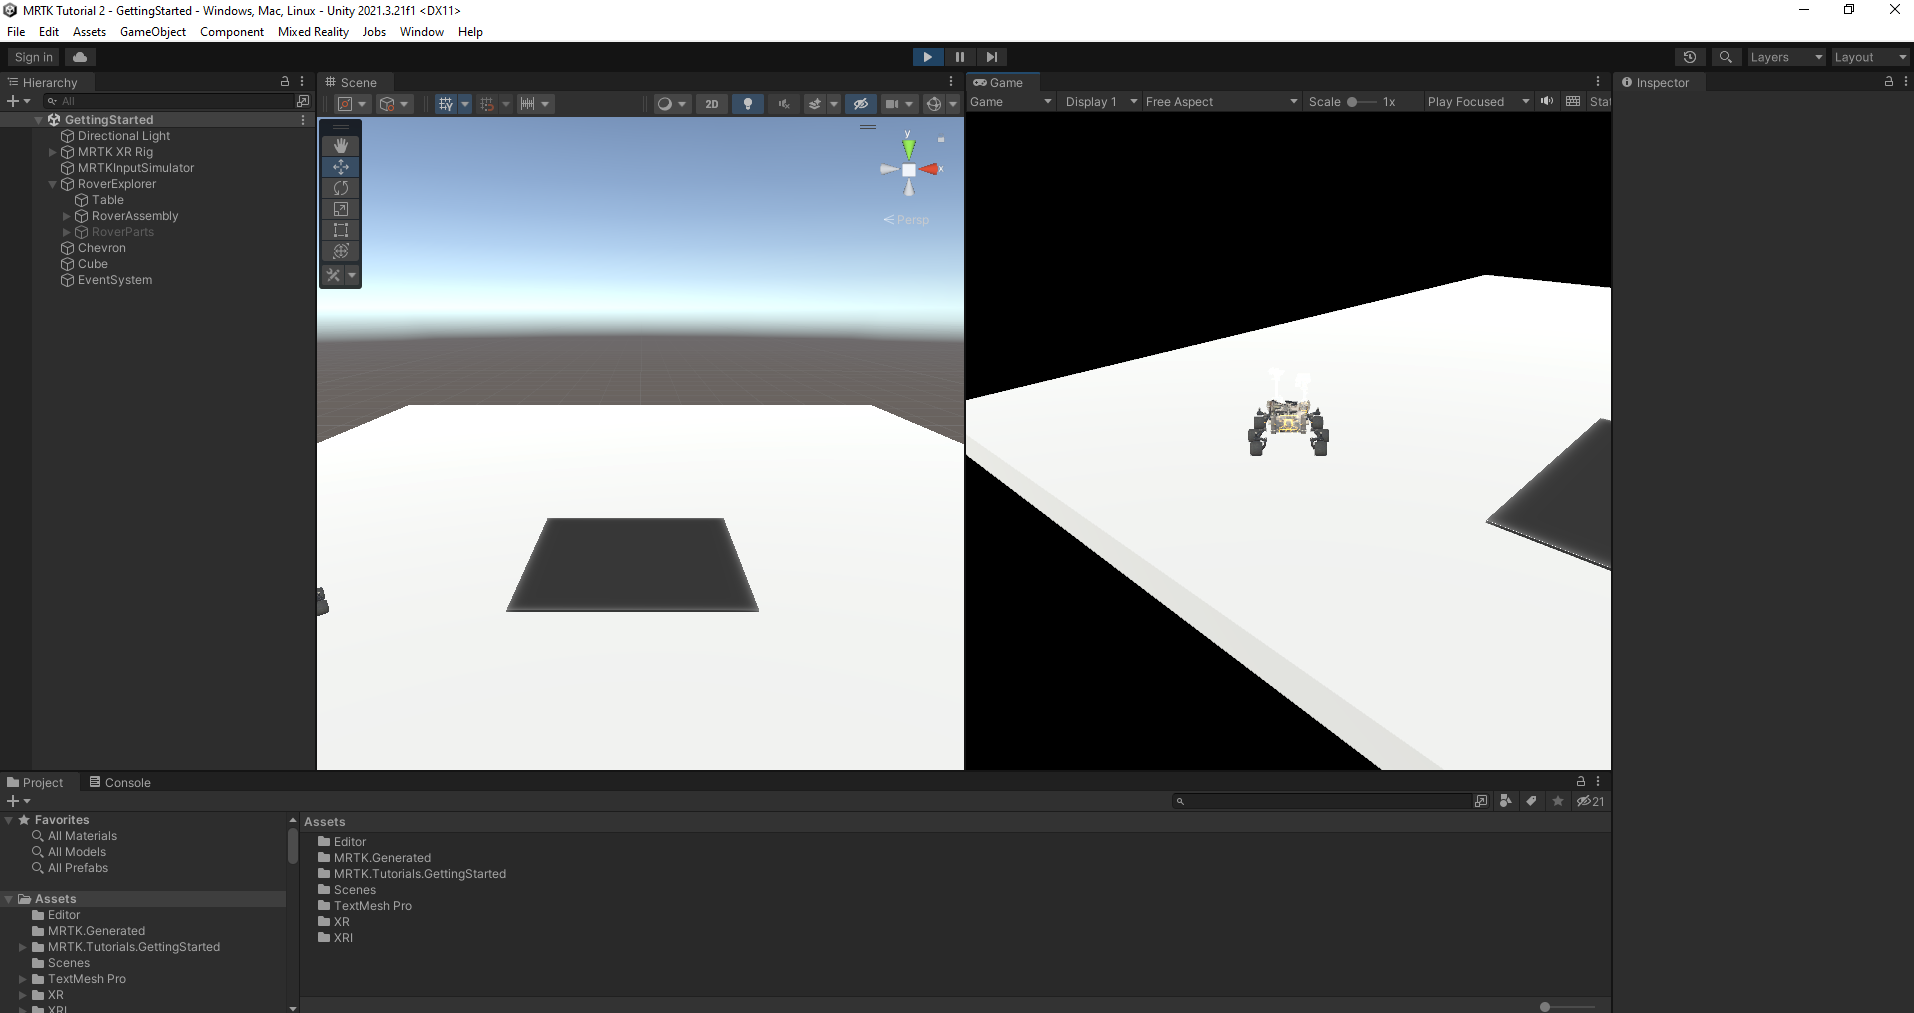
To enter Game mode, press Play. Press and hold the right mouse button while moving your mouse to the left or right to rotate your gaze direction.
Notice that when you look away from the RoverExplorer object, the Indicator object will appear and point toward the RoverExplorer object.
The Tap To Place solver
Use the Tap To Place solver to reposition objects. Here's how:
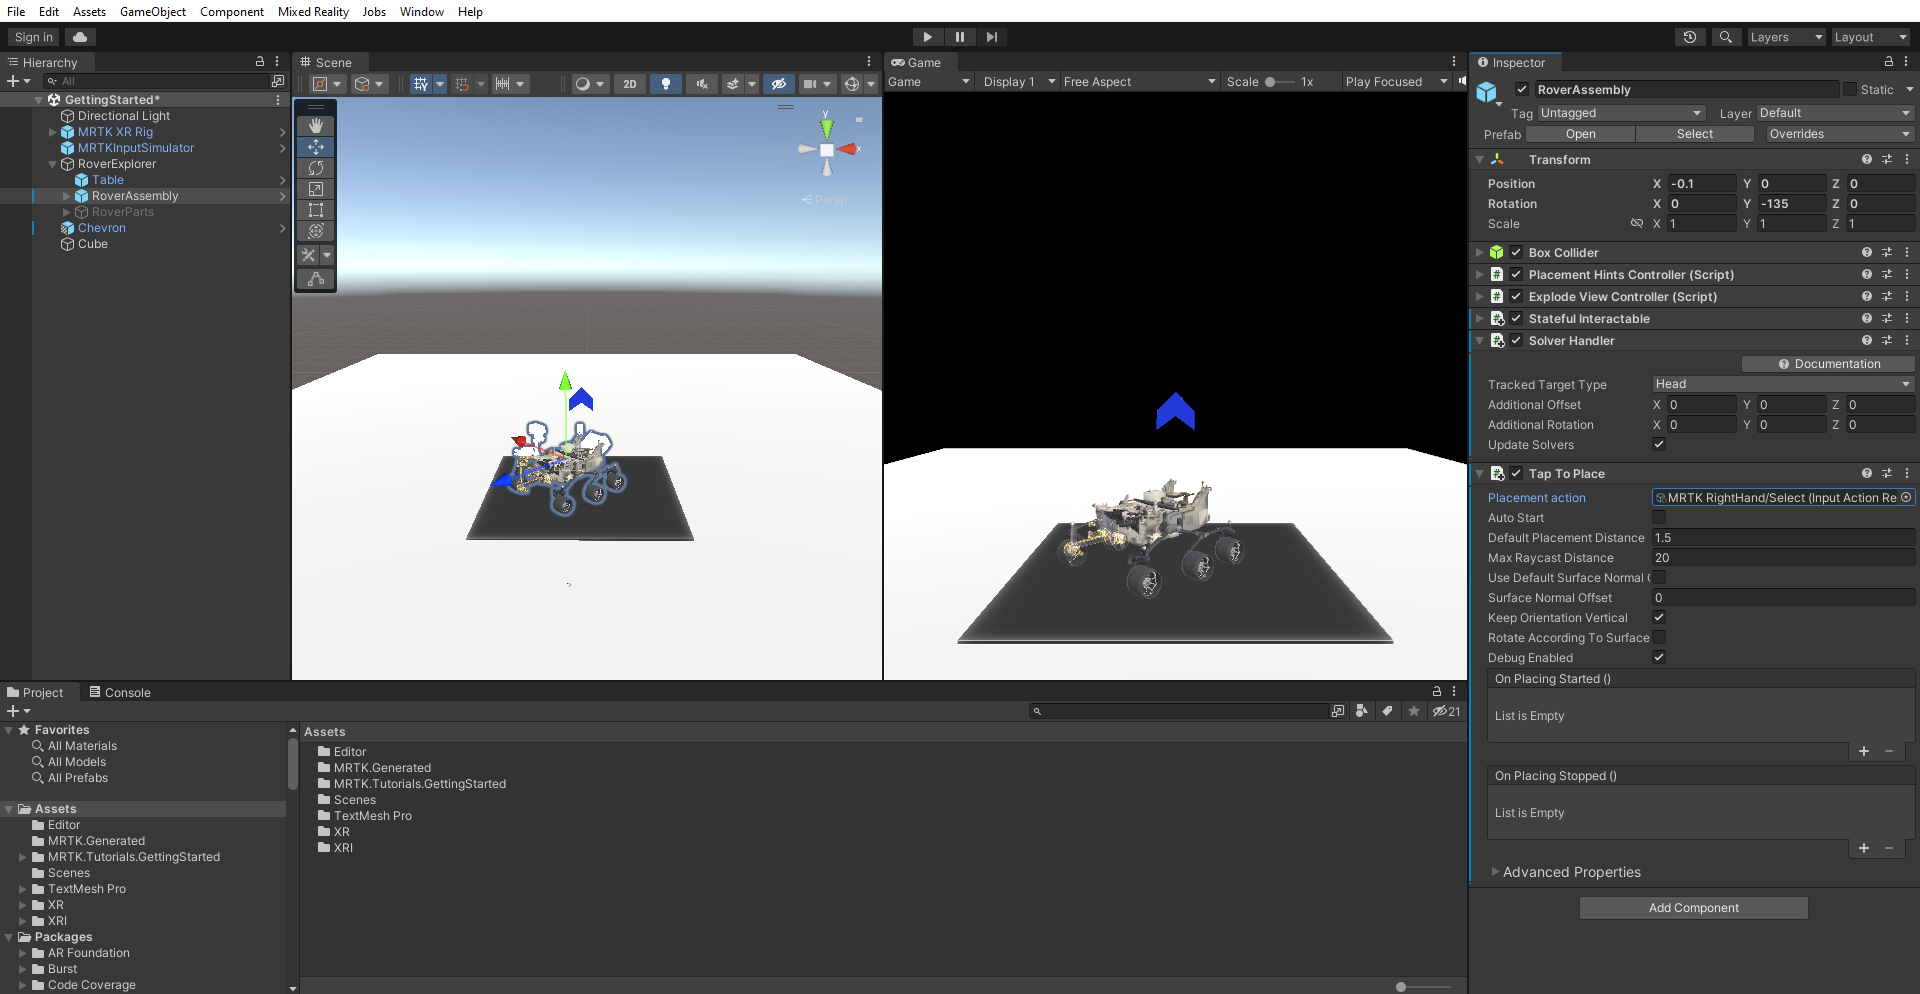
In the Hierarchy window, select the RoverExplorer > RoverAssembly object. Then, in Inspector, use Add Component to add the Tap To Place component. Configure the component as follows:
a. Verify that the SolverHandler component's Tracked Target Type is set to Head.
b. Uncheck Use Default Surface Normal Offset, and ensure that Surface Normal Offset is set to 0.
c. Select the Keep Orientation Vertical checkbox.
Next, use Add Component to add the Stateful Interactable component. In the Inspector window, locate the On Clicked () event. Select the + icon to add a new event. Configure the event as follows:
a. Assign the RoverAssembly object as a listener for the On Clicked () event, by dragging it from Hierarchy into the None (Object) field.
b. From the No Function dropdown list, select TapToPlace > StartPlacement() to call this method when the event is triggered.
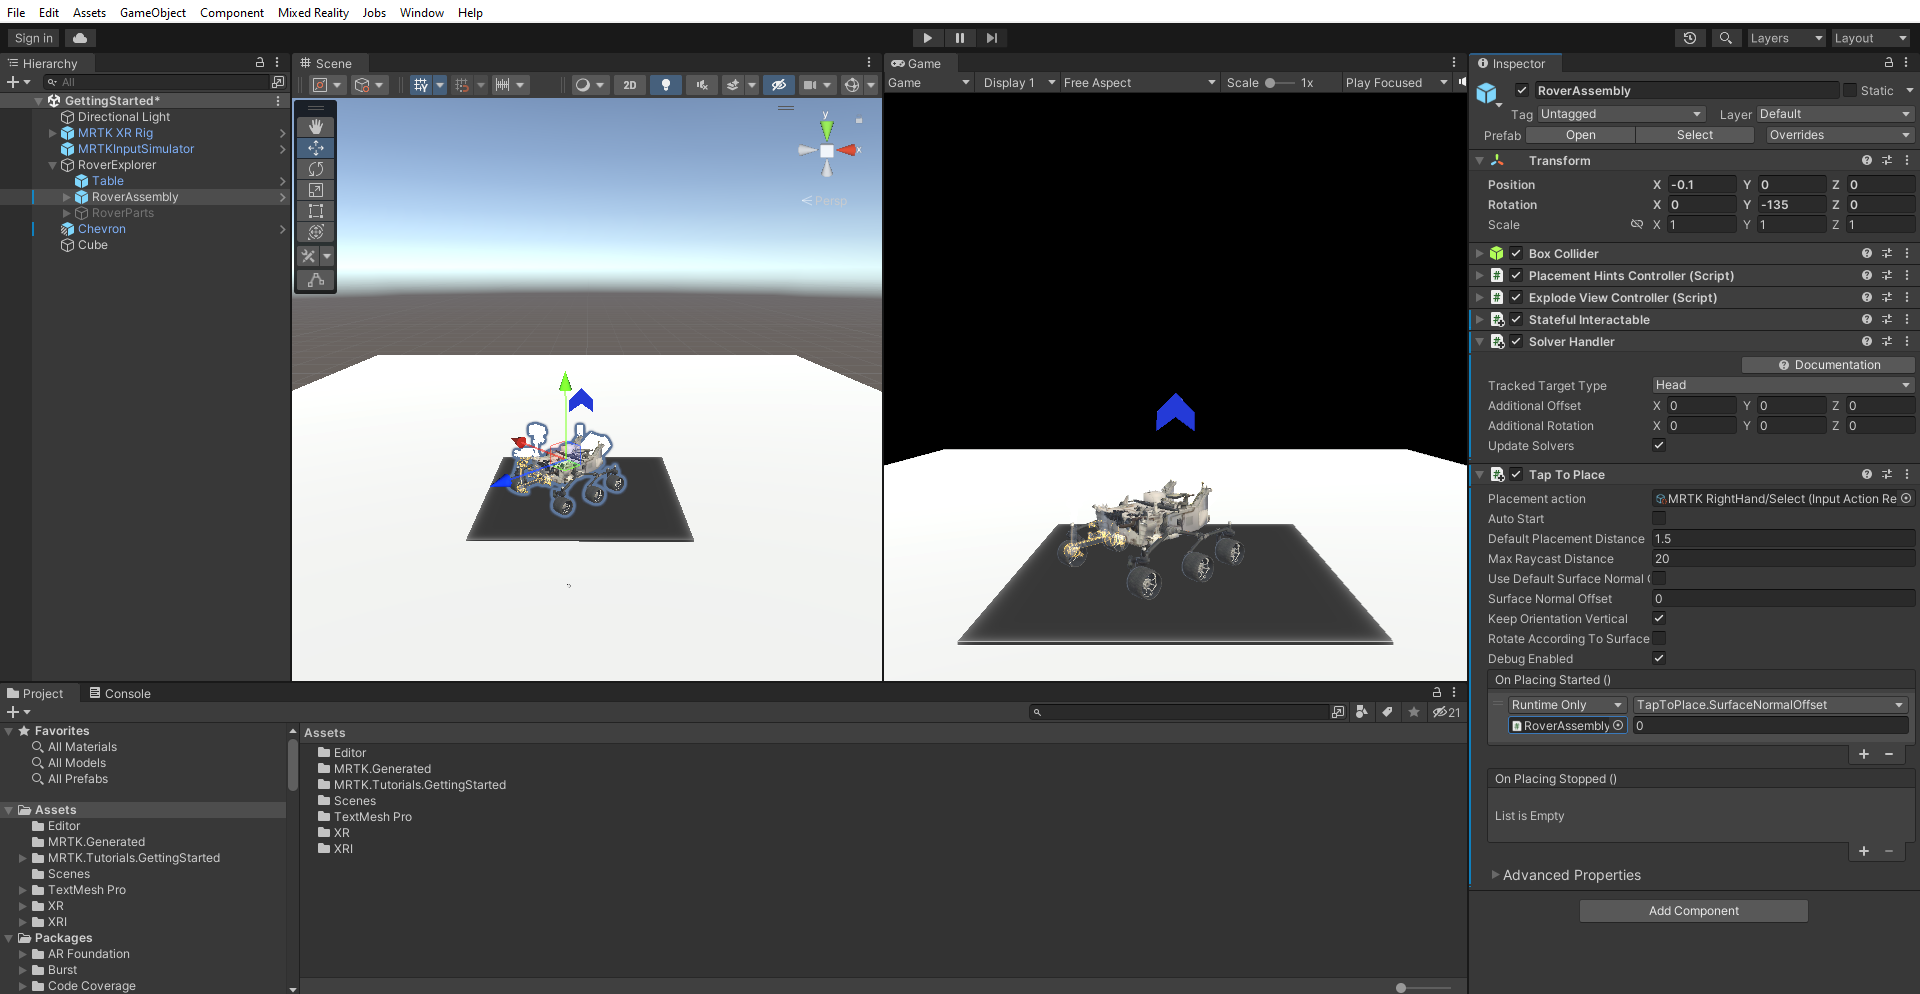
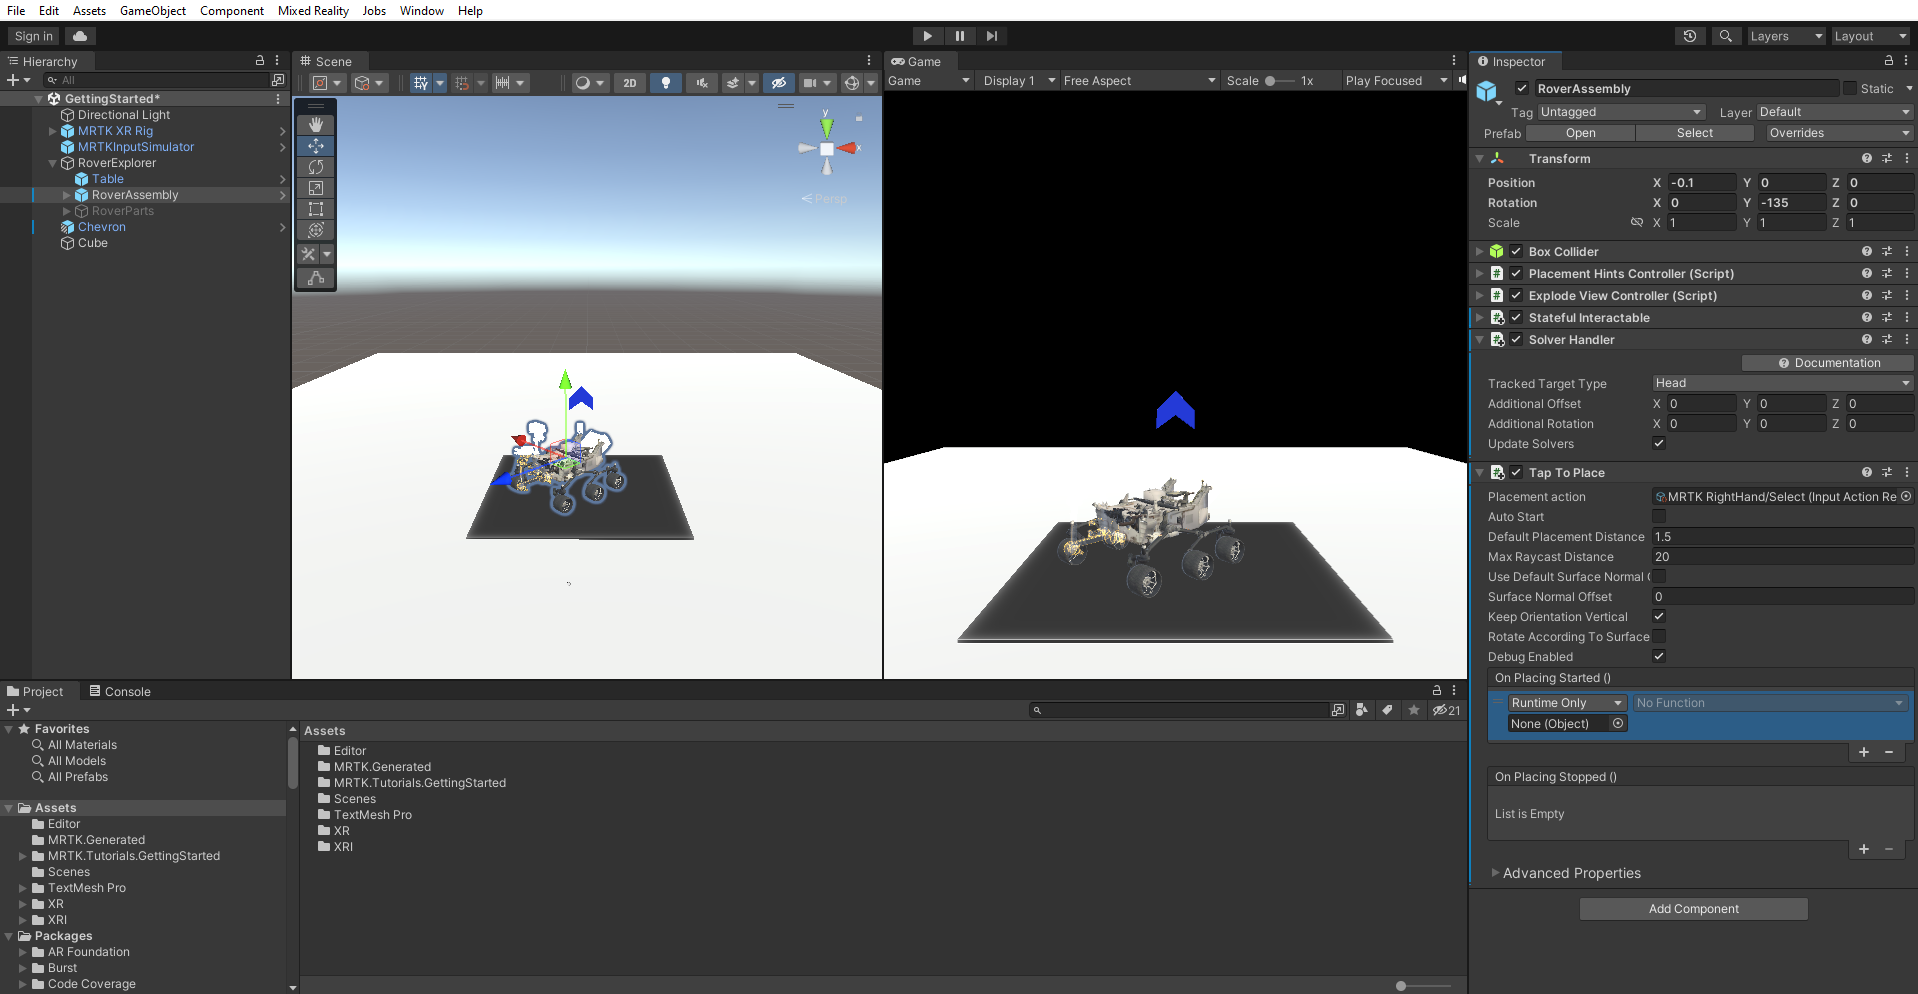
With the RoverAssembly object still selected in the Hierarchy window, in the Inspector window, locate the On Placing Started () event. Select the + icon to add a new event.
Configure the event as follows:
a. Assign the RoverAssembly object as a listener for the On Placing Started () event, by dragging it from Hierarchy into the None (Object) field.
b. From the No Function dropdown list, select TapToPlace > float SurfaceNormalOffset to update the SurfaceNormalOffset property value when the event is triggered.
c. Verify that the argument is set to 0.
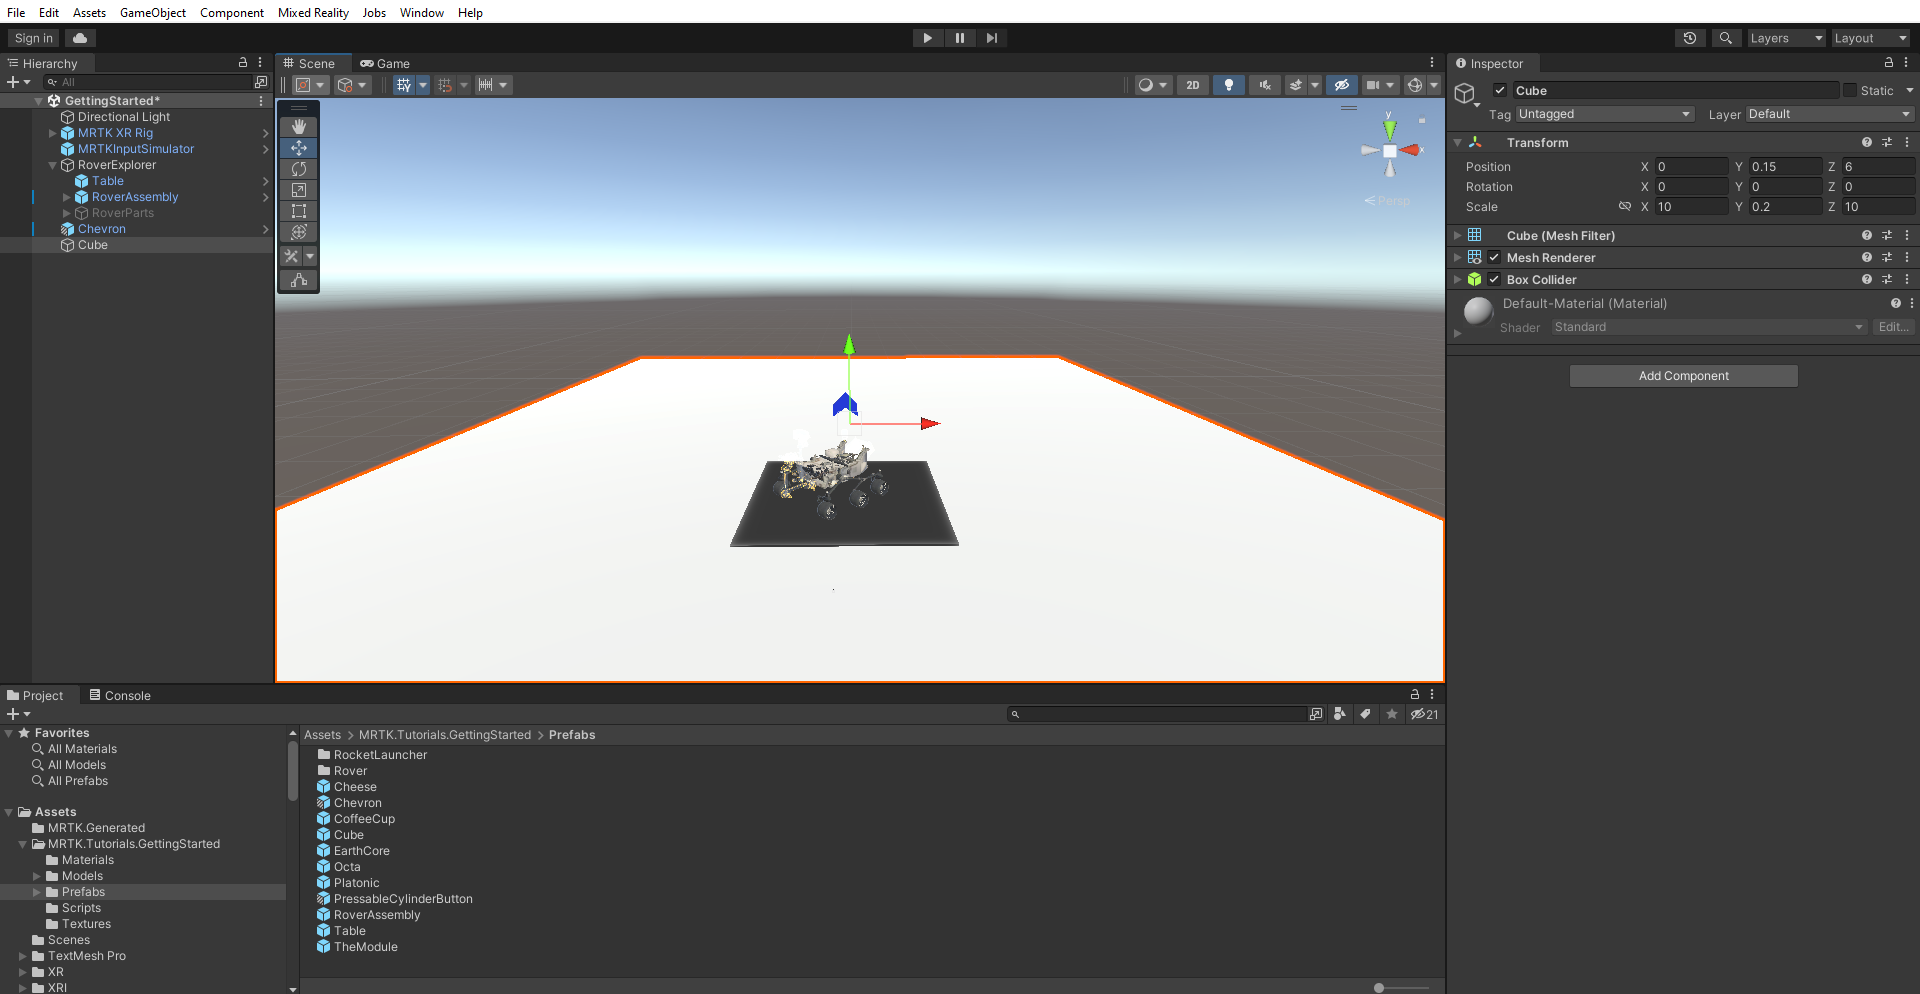
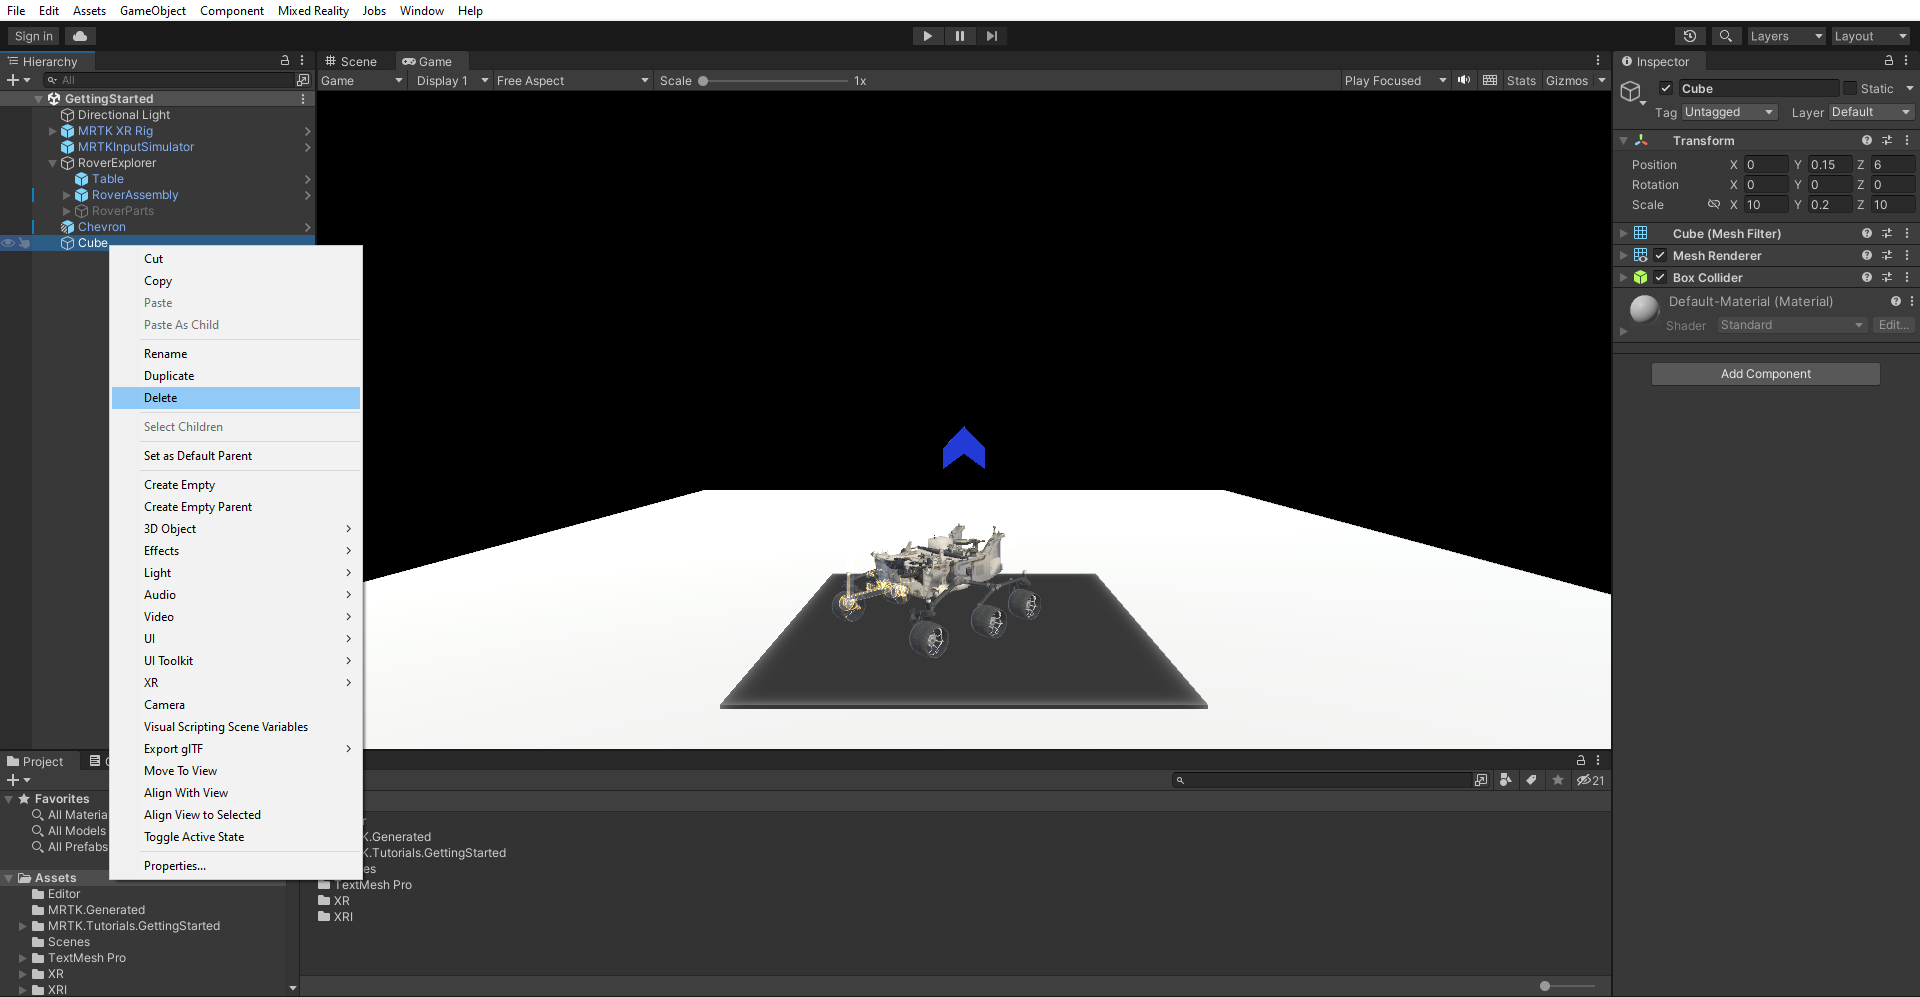
In Hierarchy, right-click on an empty spot. Select 3D Object > Cube to create a temporary object representing the ground, and configure the Transform component as follows:
- Position: X = 0, Y = 0.15, Z = 6
- Rotation: X = 0, Y = 0, Z = 0
- Scale: X = 10, Y = 0.2, Z = 10
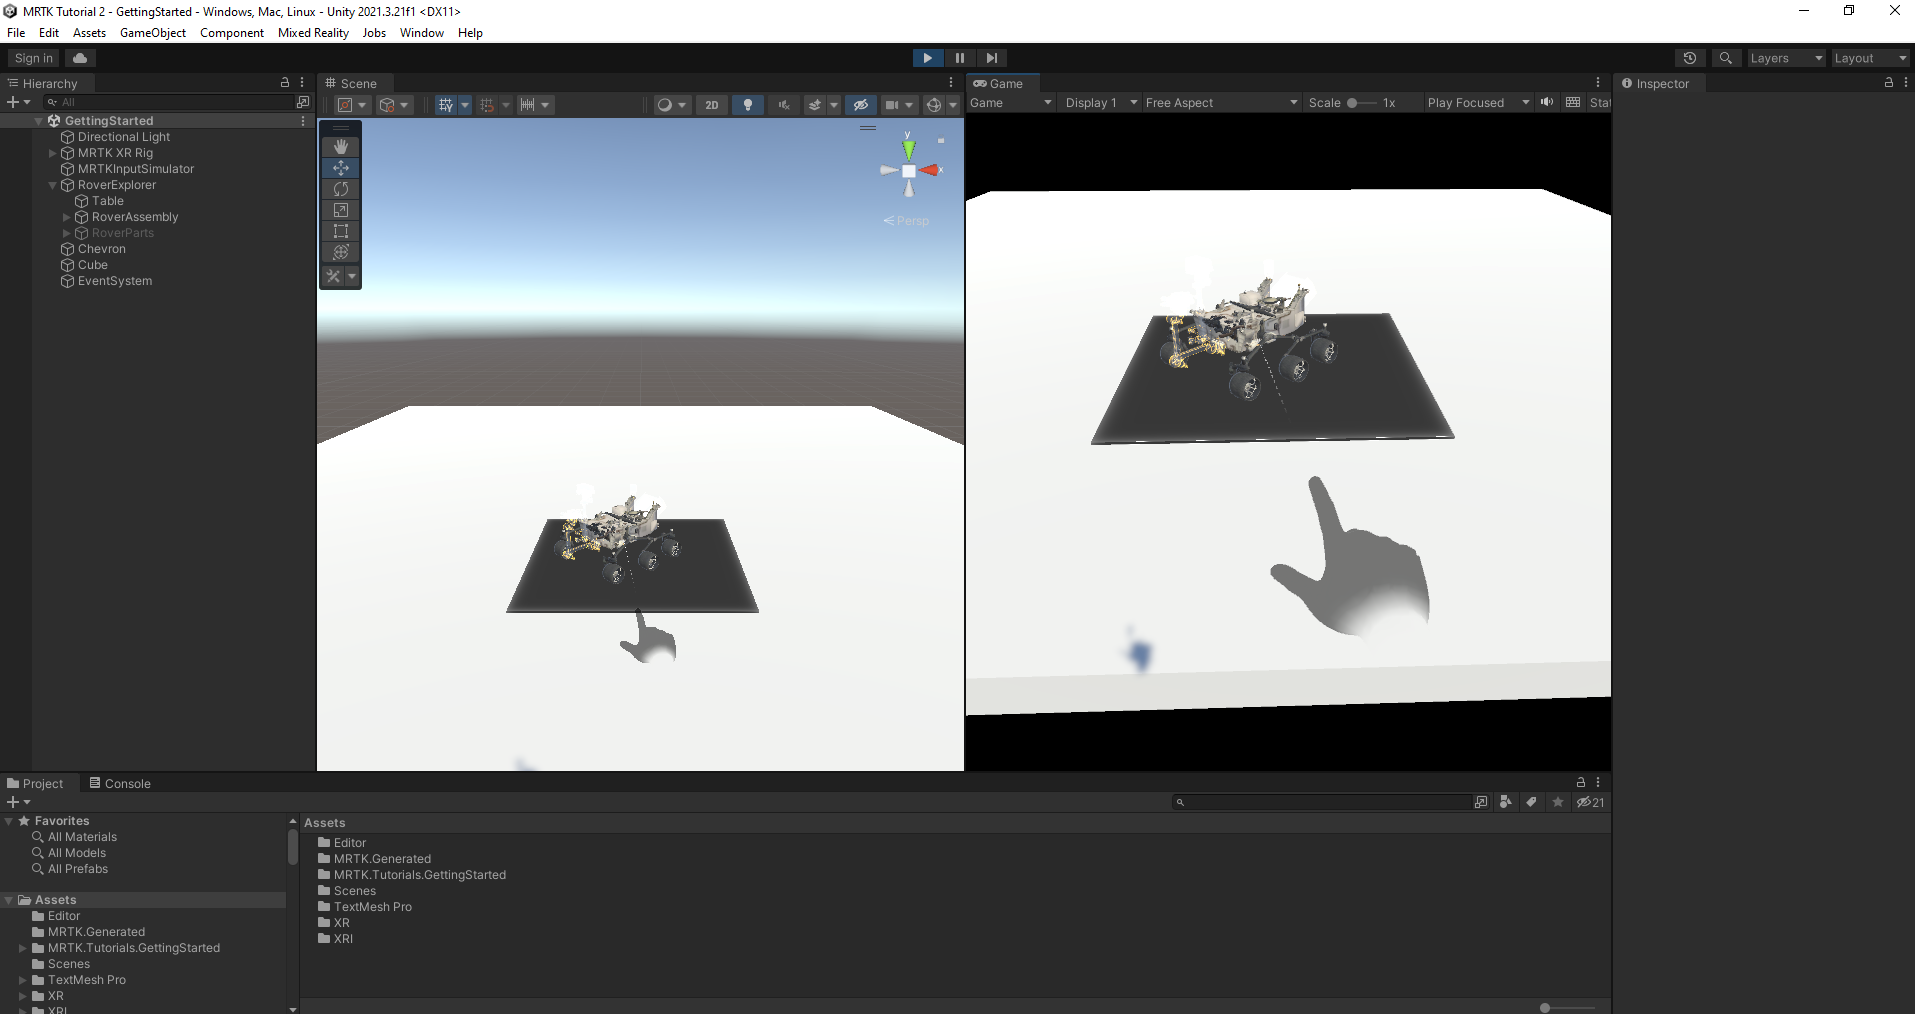
To enter Game mode, press Play. Then press and hold the right mouse button while moving your mouse down, until the gaze hits the RoverAssembly object.
Hold space bar and click the left mouse button to do an air tap, and start the tap-to-place process.
Press and hold the right mouse button while moving your mouse to the left or right to rotate your gaze direction. When you're happy with the placement, hold the space bar and click the left mouse button to do an ending air tap.
When you're done testing the feature in Game mode, right-click on the Cube object, and select Delete to remove it from the scene.
