Exercise - Create Translator service
Let's get keys for the Translator service. As mentioned previously, we'll need an Azure account. We'll create the key using the Azure portal and store it in a .env file in our application.
Get Translator service key
Browse to the Azure portal
Select Create a resource
In the Search box, enter Translator
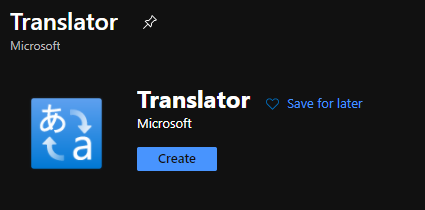
Select Translator

Select Create
Complete the Create Translator form with the following values:
- Subscription: Your subscription
- Resource group:
- Select Create new
- Name: flask-ai
- Resource group region: Select a region near you
- Resource region: Select the same region as above
- Name: A unique value, such as ai-yourname
- Pricing tier: Free F0
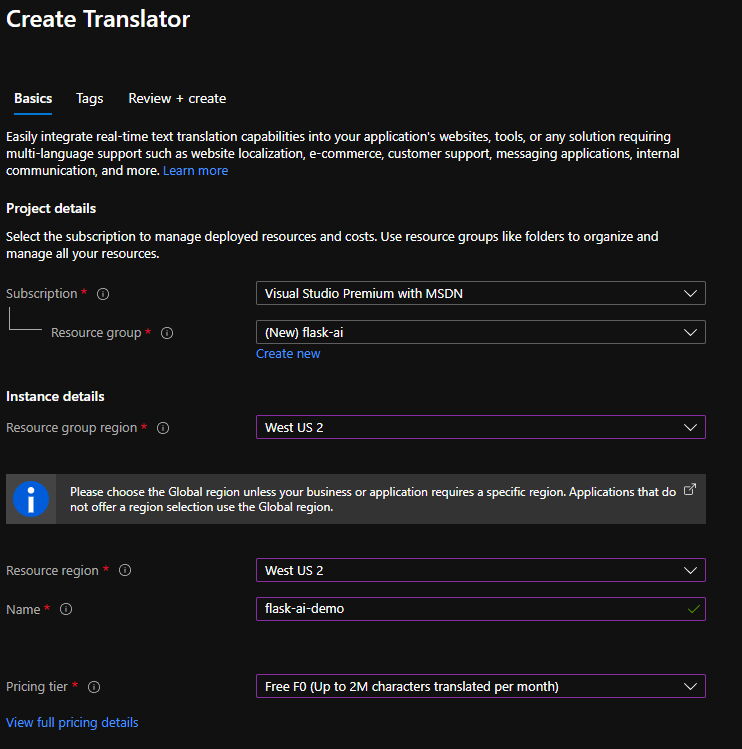
Select Review + create
Select Create
After a few moments the resource will be created
Select Go to resource
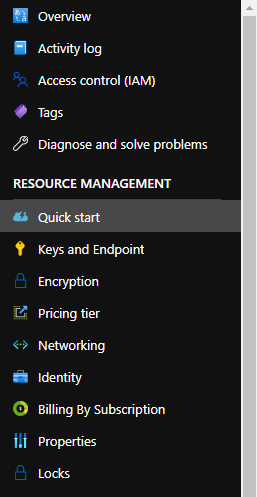
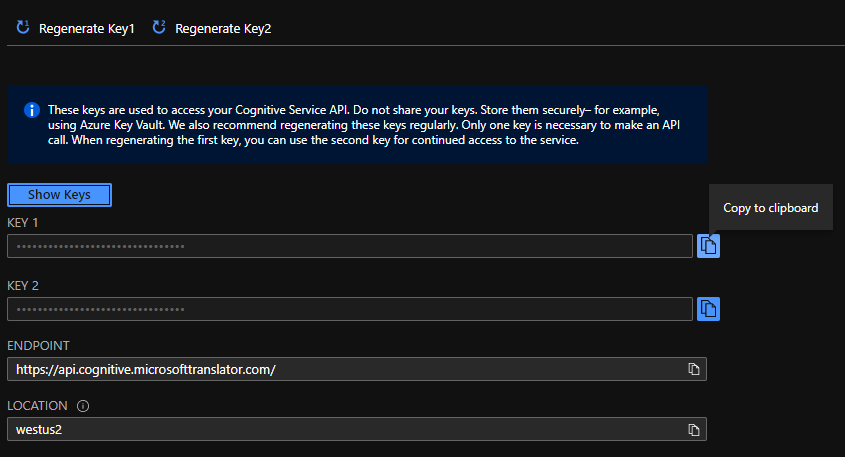
Select Keys and Endpoint on the left side under RESOURCE MANAGEMENT
Next to KEY 1, select Copy to clipboard
Note
There's no difference between Key 1 and Key 2. By providing two keys you have the opportunity to migrate to new keys, by regenerating one while using the other.
Make a note of the Text Translation and location values
Create .env file to store the key
Return to Visual Studio Code and create a new file in the root of the application by selecting New file and naming it .env
Important
The . at the beginning of the file is required.
Paste the following text into .env
KEY=your_key
ENDPOINT=your_endpoint
LOCATION=your_location
Replace the placeholders
- your_key with the key you copied above
- your_endpoint with the endpoint from Azure
- your_location with the location from Azure
Your .env file should look like the following (with your values):
KEY=00d09299d68548d646c097488f7d9be9
ENDPOINT=https://api.cognitive.microsofttranslator.com/
LOCATION=westus2
Next steps
Now that our Translator service is configured and variables are set in .env, we can turn our attention to adding the necessary code!