Create and personalize email templates
After creating a survey, it’s time to start sending it to customers and begin gathering feedback. Before that point, you should consider the branding and marketing that an organization might require regarding the appearance of the email that's sent. If the survey appears well done and is fully branded with a company logo and color scheme, it makes sense that the email should match and tie in with the survey. This situation is where email templates in Dynamics 365 Customer Voice are beneficial.
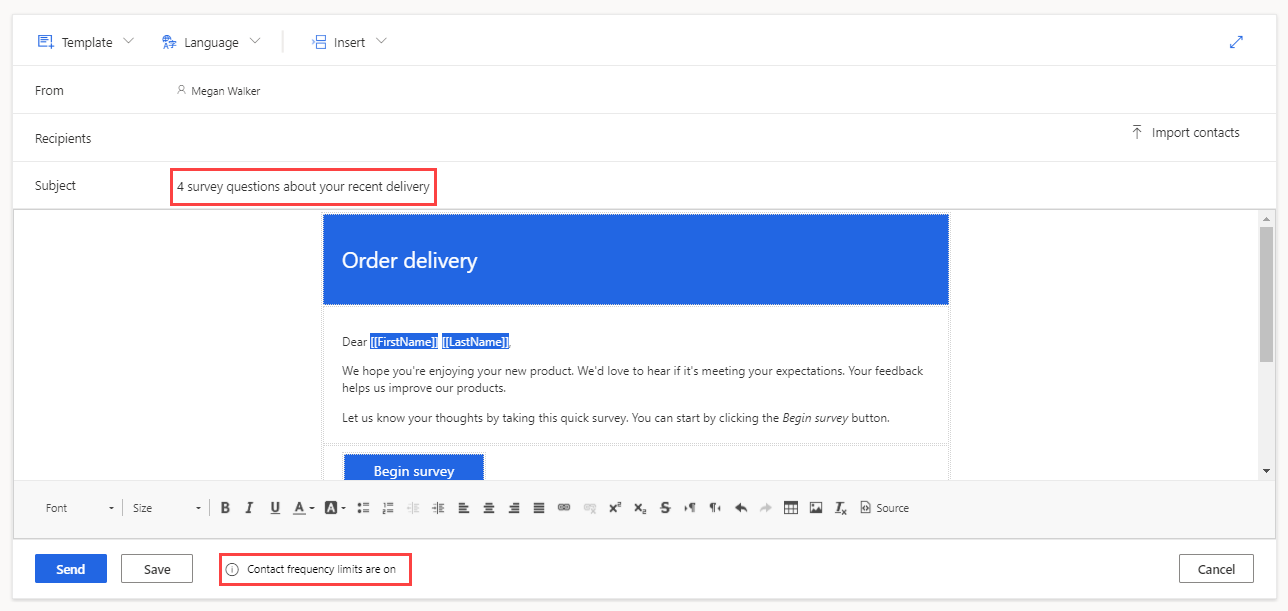
You can access the email templates from a survey in Customer Voice by selecting the Send tab and then selecting the Email option. Every project, regardless of whether a project template was used or if it was created from blank, will include at least one email template. Email templates for a project that are created from blank will include a generic subject and basic styling in the body of the email. Project templates might have a slightly customized subject and a more aesthetically pleasing layout in the body of the email. The screen that is used to edit the template is the same screen that is used to send the emails. Make sure that you check for an indicator letting you know that contact frequency limits are on. This indicator is based on a setting in the distribution settings area that can verify that contacts are only sent the survey if they haven't already received an invite in the last X number of days.
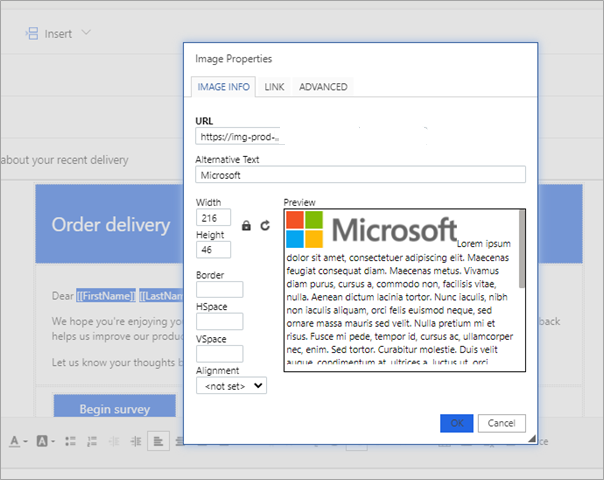
You can modify the email body by using the WYSIWYG editing controls. You can edit and highlight text to change the font style and size, make it bold, italic, or underlined, and change the font color and background color. Additionally, you can add tables and images to assist in creating a well-formatted, brand-aware template. If images are needed, they must be hosted and will need a URL to pull in the image. Make sure that only images that are hosted on your corporate domain or other public facing website are used. Then, you can set the size and alignment of the image, along with alternative text, resizing, and a hyperlink.
A benefit of customizing email templates is the ability to insert content. To assist with and encourage the feedback ratio, you can add the first question of the survey. This approach can make a difference in the number of responses that you receive. Inserting the first question is only possible if you have a multiple choice (single answer), rating (star or smiley), or Net Promoter Score (NPS) question as the first question in the survey. If the option to shuffle questions has been enabled on the survey, you won't be able to use this feature.
The Personalized variables option from the Insert menu can help you provide further recognition for the email recipient. Adding content can help the recipient recognize why they're being asked for feedback, and it can also encourage them to respond with feedback. After adding variables in the Personalization menu, you can insert them directly into the email subject or the email body.
Two items that must be included in every email template and are required before you can save the template are: the survey link and the unsubscribe link. If either link is removed, a notification will display at the top of the screen stating that it must be included.
If an organization has email templates that have been created in a different emailing tool, you can add the HTML by using the Source button from the bottom of the email template. You might be required to make a few adjustments after you've added the HTML, and you'll need to add the survey and unsubscribe links. However, this approach could be a time-consuming way to make sure that all email templates are branded to meet an organization’s brand guidelines.
Before using the email template, make sure that you save it. Avoid sending an email prior to saving because all changes will be lost. You can create more templates from new or import them from a list of other created templates or other surveys that include email templates.
Watch the following video for a quick demonstration about templates.


