Create a test recording in Store Commerce
To create a recording by using the Test recorder feature, you first need to enable test recording in Store Commerce. To turn on the test recording functionality in Store Commerce, follow these steps in Commerce:
- Go to Retail and Commerce > Channel Setup > POS Setup > Registers.
- Select the register where the test recording functionality should be turned on.
- On the Register tab, on the General FastTab, set the Enable task and test recorder option to Yes.
- Select Save.
- Go to Retail and Commerce > Retail and Commerce IT > Distribution schedule.
- Select the Registers (1090) job, and then select Run now.
Watch the following video for a demonstration on how to use the Task recorder with finance and operations apps so that you can create test cases to use with RSAT. The method is the same as it is with Commerce.
Follow these steps to create a new recording by using the test recorder:
Launch Store Commerce for web.
Select the hamburger icon on the left pane and then select Settings. Don't sign in to Store Commerce for web. The sign-in step must be recorded as part of the test recording flow, so you need to launch the recorder before you sign in.
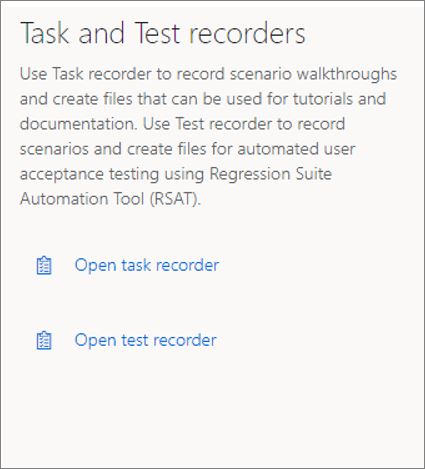
On the Settings page, in the Task and Test recorders section, select Open test recorder.

Select Create a new recording.
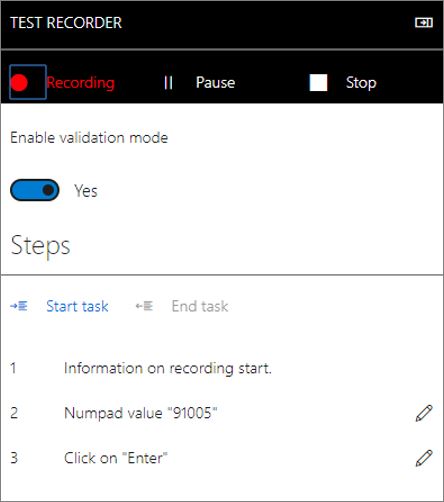
Enter a Name and Description for the recording, and then select Start. The test recorder enters recording mode, and the recording session begins. The Test Recorder page shows information and controls that are related to the recording session.

All test recording must begin from the Store Commerce for web sign-in page. If the recording is started from the home page, any transaction or other page playback will fail, and you will need to start the recording again from the sign-in page.
Perform the recording in the Store Commerce user interface.
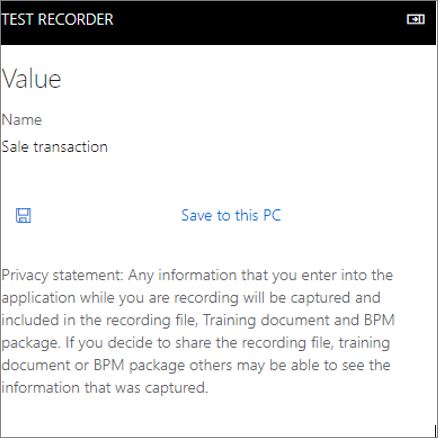
After you end a recording session, you can download the recording by selecting Save to this PC.

The .axtr file is saved to the local file system. You must manually upload this file to Lifecycle Services or Azure DevOps and then either delete it from the file system or secure it.
To upload to Azure DevOps directly:
- Change the .axtr file extension to .zip.
- Open the .zip package.
- Inside the package will be a file with the name Recording.xml. Upload the Recording.xml file to the test case in Azure DevOps. Don’t upload the entire .zip or. axtr package.