Exercise - Add computed properties
Now you'll create a computed property to display information about the selected cabin. You'll also add the necessary HTML to display the selection on the page.
Add the computed property
Add the computed property to display a string for the selected cabin:
In Visual Studio Code, open the index.js file.
On the line after the
TODO: Add computed valuescomment, add the following JavaScript code to create the computed value.// TODO: Add computed values computed: { bookingCabinDisplay() { const cabin = this.product.cabins[this.booking.cabinIndex]; return `${cabin.name}: $ ${cabin.price.toLocaleString('en-US')}` } },
Notice that you can use this to access product.cabins. You use booking.cabinIndex to find the cabin the user selected. You then create the display string by using the ECMAScript template.
Add the display to the page
Now add the display to the page:
In Visual Studio Code, open the index.html file.
On the line after the
TODO: Add success displaycomment, add the following HTML to display the booking.<!-- TODO: Add success display --> <div v-show="booking.completed"> <h2 class="row"> You are on your way! </h2> <div class="row"> <div>Booking details:</div> <div>{{ bookingCabinDisplay }} </div> <div>Notes: {{ booking.notes }}</div> </div> </div>
Notice that you're using v-show to display content when booking.completed is set to true. You set up this behavior earlier for the button. Also notice that you can read bookingCabinDisplay like you would any other string value inside Vue to display it to the user.
Test the page
Now check out the page in action!
Save all files by selecting File > Save all.
Open the command palette by selecting Ctrl+Shift+P. On a Mac, select Cmd+Shift+P.
Ensure Live Server is running by typing Live Server and then selecting Live Server: Open with Live Server.
Open a browser and go to
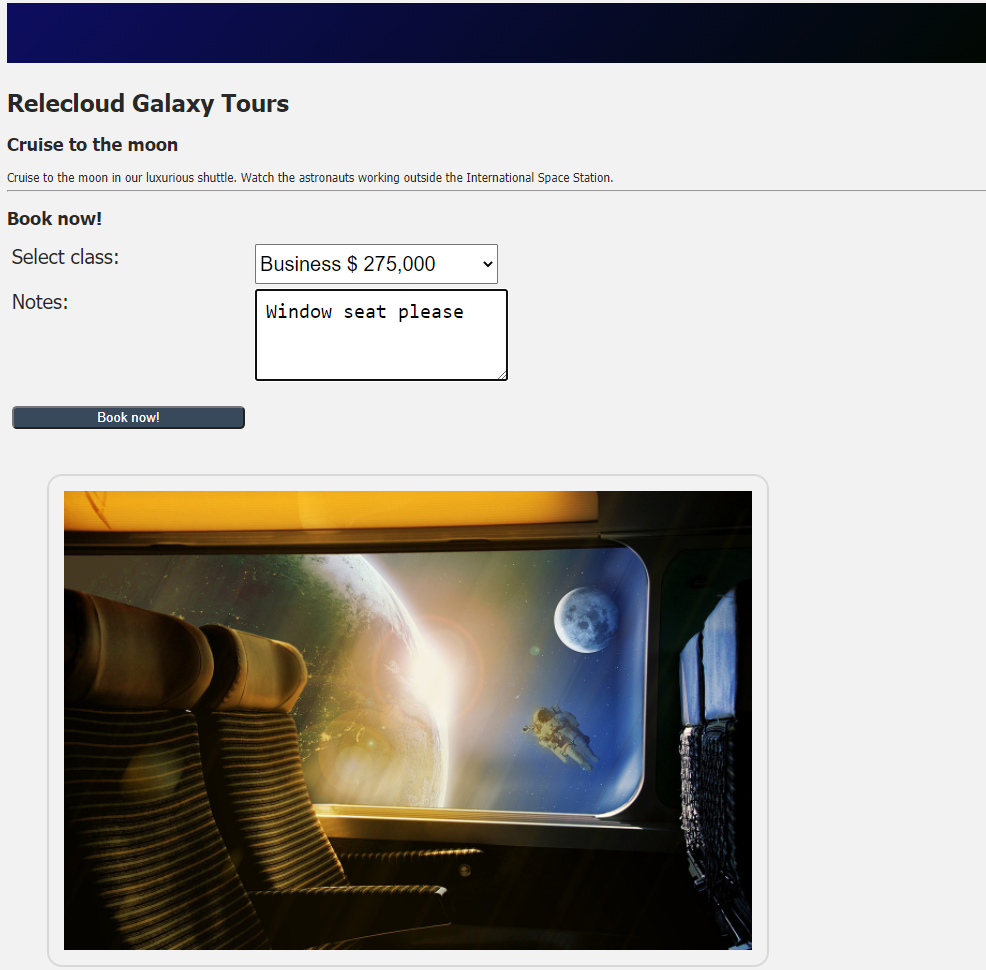
http://localhost:5500. The page appears.Fill out the form.

Select the button and notice the display.

You've now added a computed property to a Vue application.