Custom User Role setup in Viva Glint
Custom access is intended for users who need to have the default access overridden or are in a role that is so specific, it needs to be per user rather than at the User Role level. For example, use custom access for HRBPs who serve unique combinations of employee groups in your organization. To grant custom access in bulk to multiple users for survey, Focus Area, and Admin access, see: Advanced Configuration uploads.
Grant custom survey access for a user
From your Glint dashboard, select Configuration and then People.
Go to the User Role that needs custom access granted.
Search for or select a user.
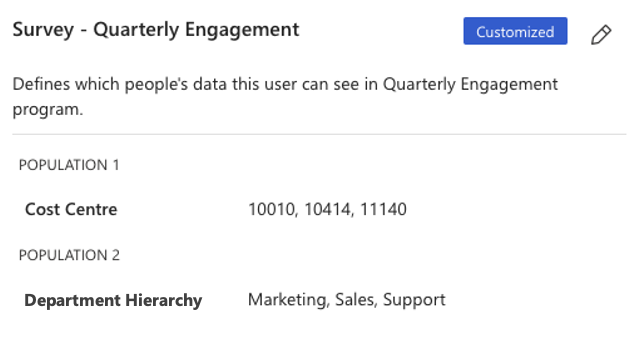
On the user's profile, next to the survey name who needs access, select the pencil symbol to edit.
Note
The person needs to be granted access to a survey program in a survey's Reporting section in order for it to appear on their user profile.
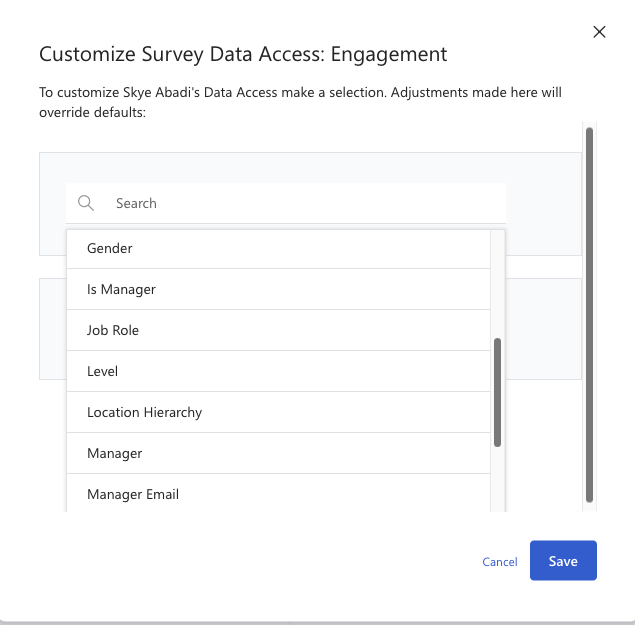
Select + Population and then + Add Filters.
Select attributes and values that define the segment of employee data that this user be able to access and select Done.
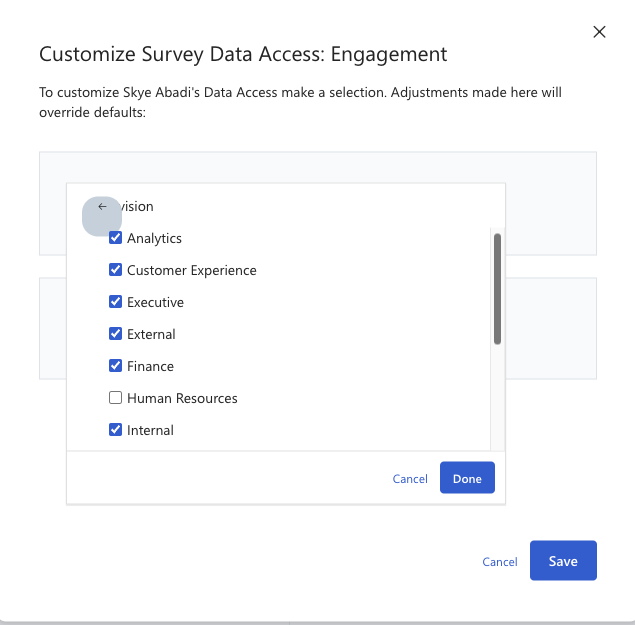
Select Save to apply custom access for this user and survey program.
Custom access to direct reports
For direct reports to have custom access, they need to be identified by their "manager ID" and not "manager hierarchy." Using "manager hierarchy" can inadvertently lead to granting reporting access to unintended users and blocking reporting access from intended users.
Custom admin and Focus Area access
Users can have Focus Areas and admin access customized.
From your Glint dashboard, select Configuration and then People.
Search for or select a user.
On the user's profile, next to Admin Access or Focus Area Access, select the pencil icon to edit.
Select attributes and values that define the segment of employee data that this user should have access to and select Done.
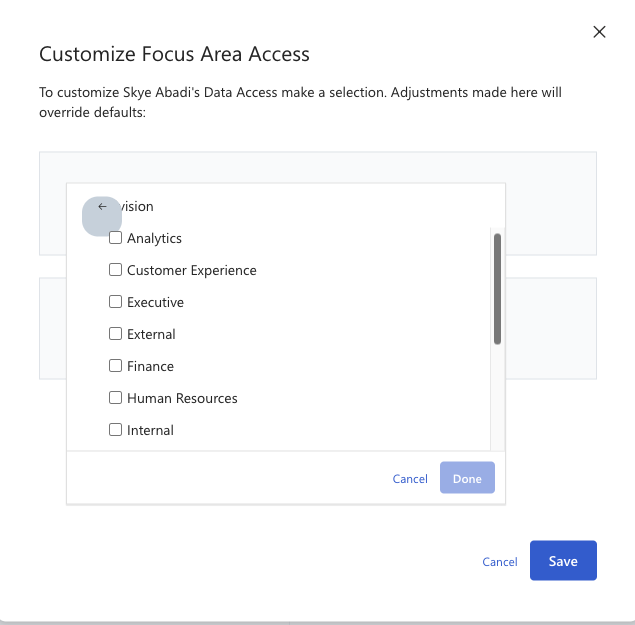
Select Save.
Grant custom Focus Area and Admin access in bulk for multiple users.
Access to one or multiple populations
For survey, Focus Area, and Admin access, you can grant access to one or multiple populations, depending on how a user should see data in their reports.
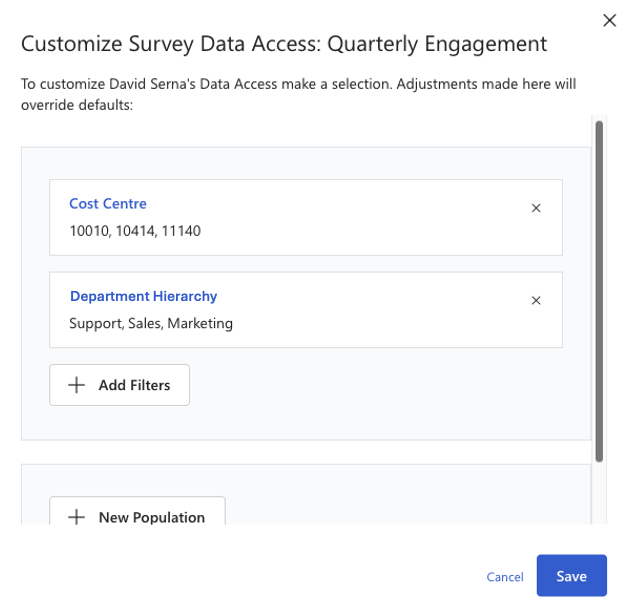
- To give a user access to the overlap of different employee groups, add all attribute selections to one population.
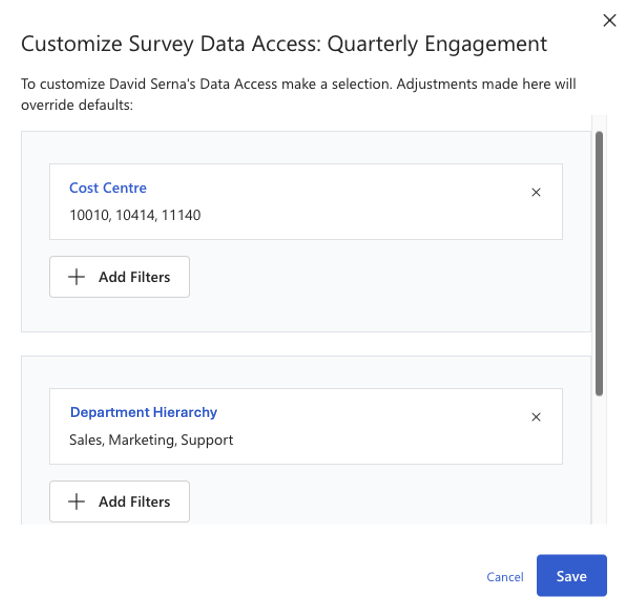
- To give a user access to multiple populations separately, add them as separate populations.
Example:
For this manager to have access to the overlapping data between Cost Centres: 10010, 10414, 11140 and Departments: Support, Sales, and Marketing, select all values in one population:
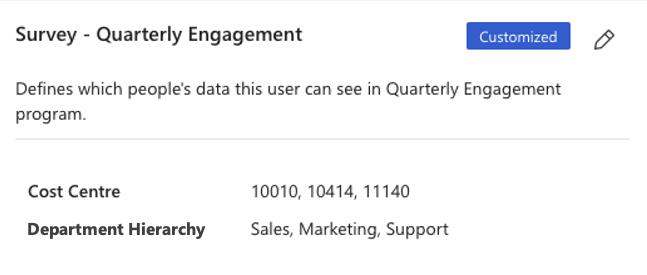
This appears on their user profile as one population. with values from both attributes:
But, to grant this user access to these employee groups separately -so they don't have access to only the overlap of these populations - add the attribute values selections in separate populations:
Now this appears on their user profile as two populations, with values from each attribute:
