Export and import Viva Glint User Role members
Viva Glint Administrators can export lists of members associated with specific roles from the People page and import users in User Roles.
View User Roles on the People page
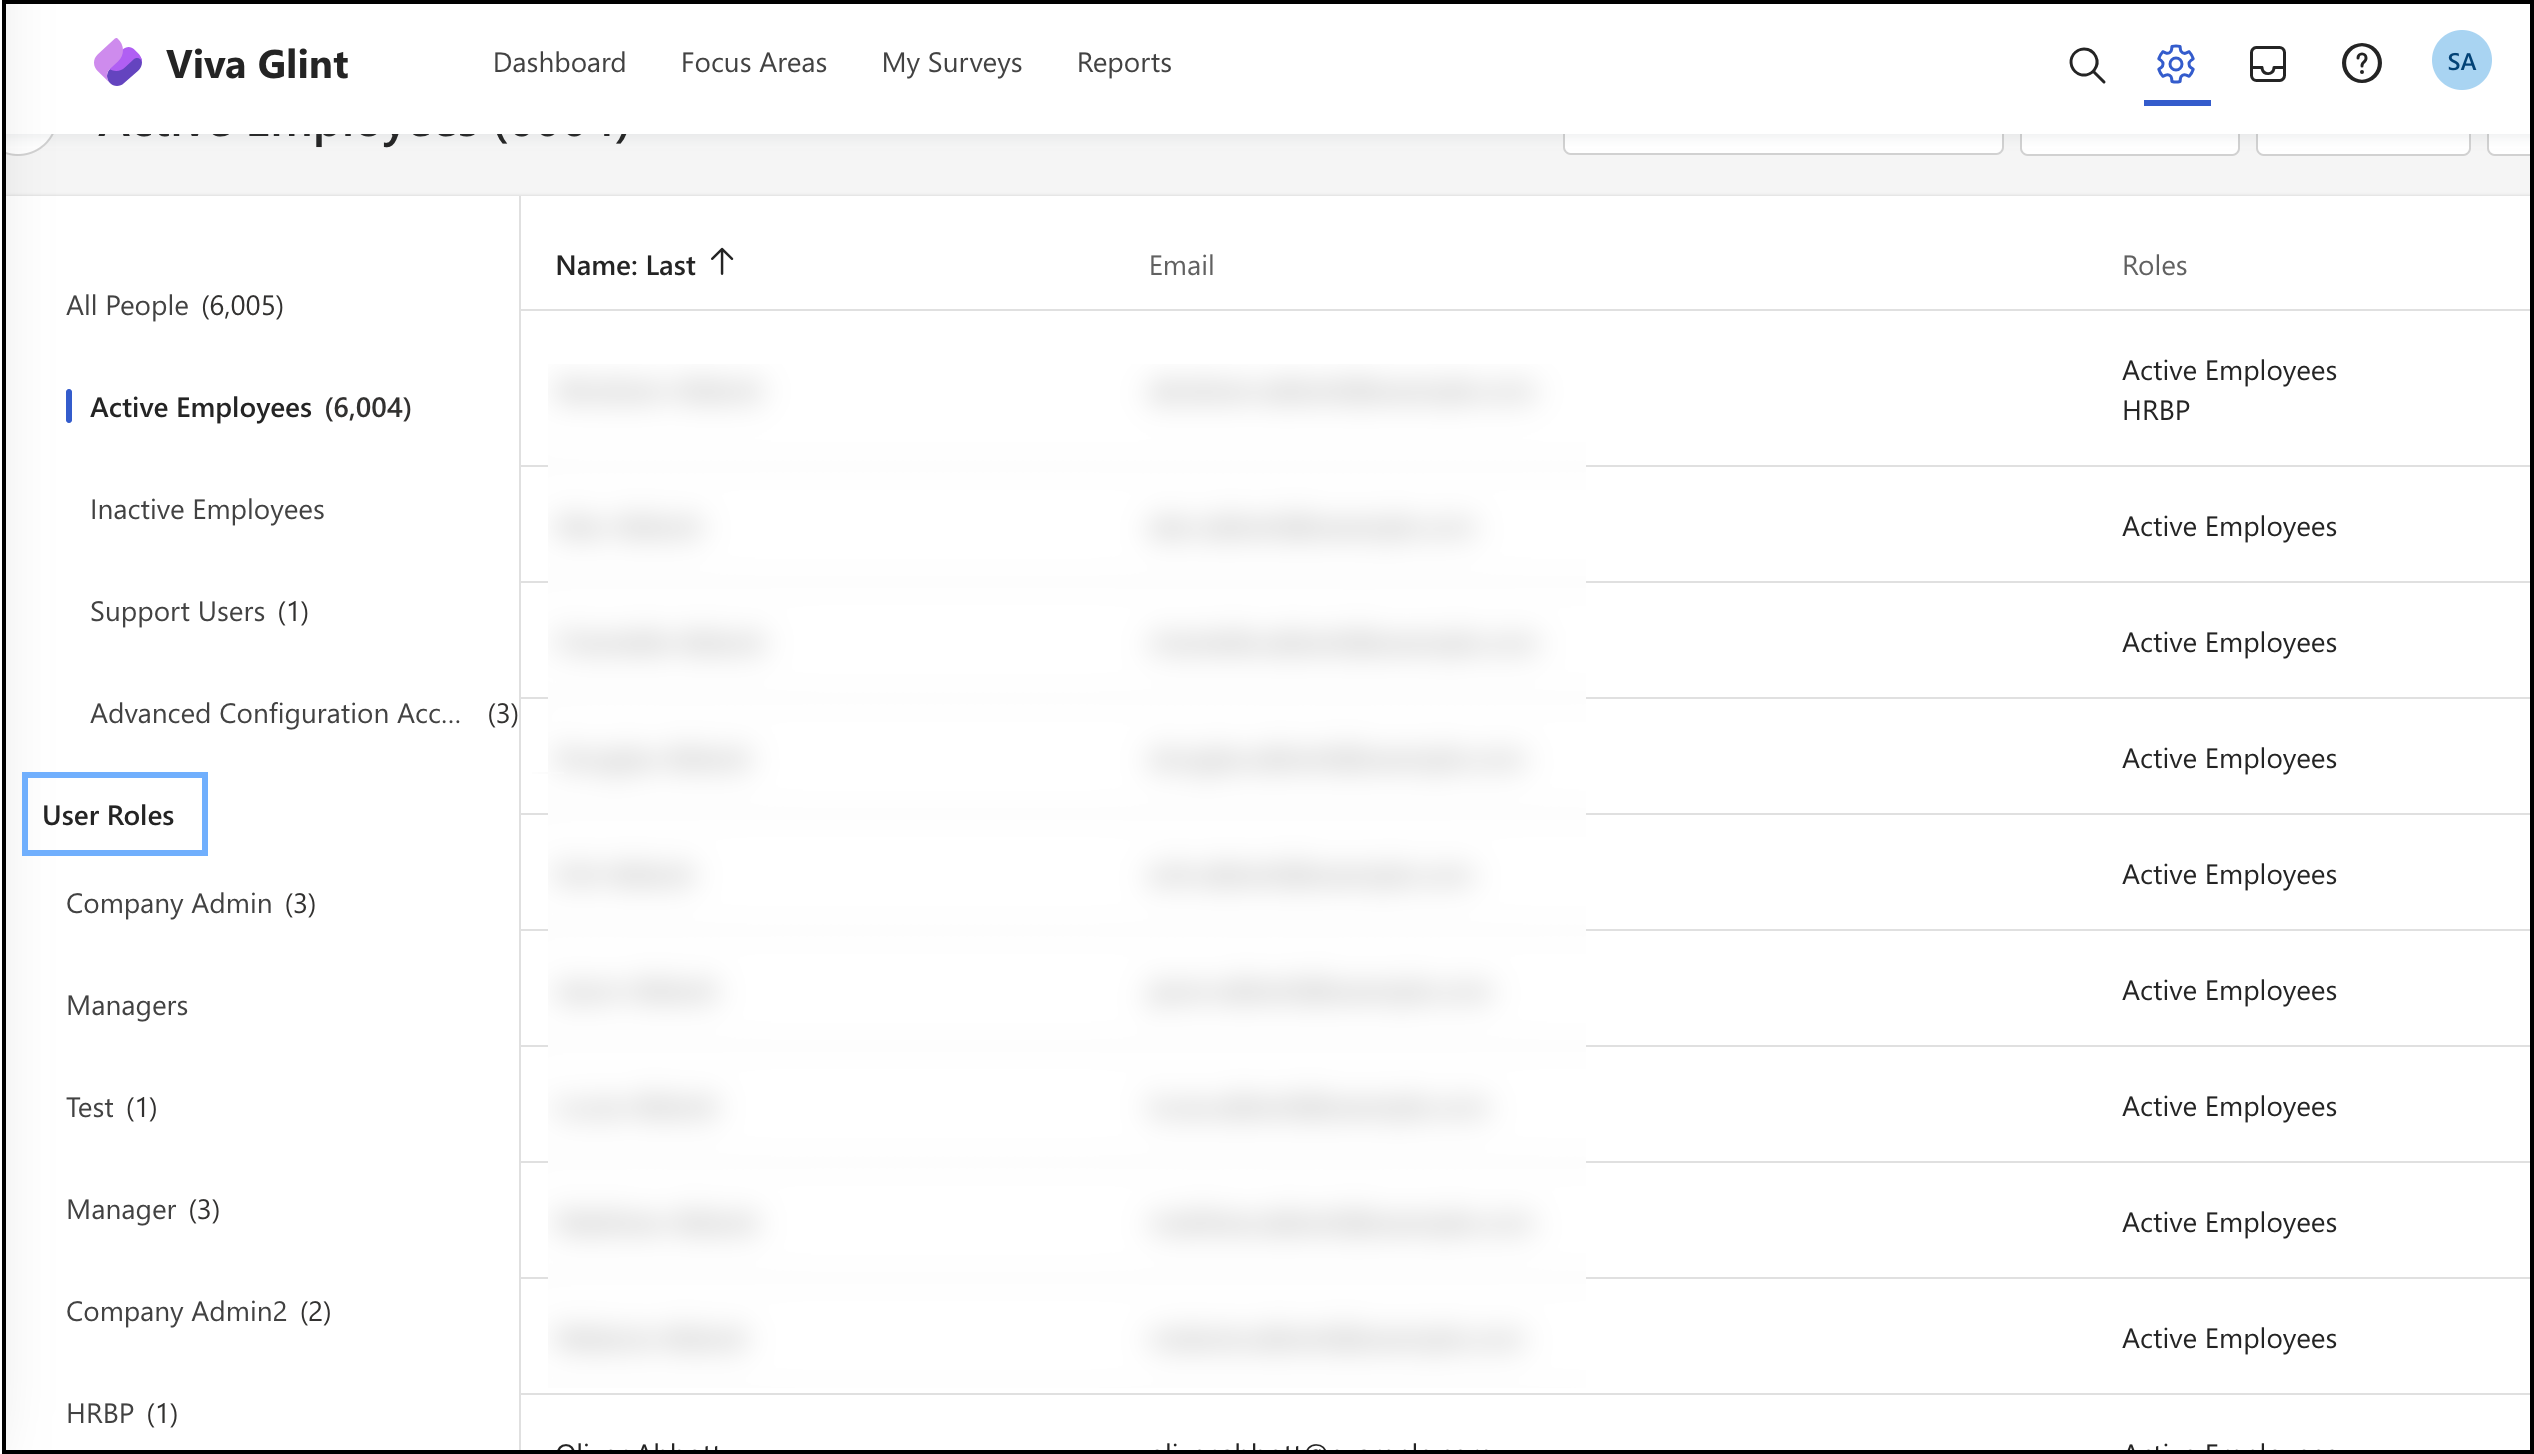
The left-most column shows all User Roles set up for your organization.
Export an individual role
All exports generate a .csv download. Downloads may take a few minutes, depending on the number of members.
Select a User Role and then select Export.
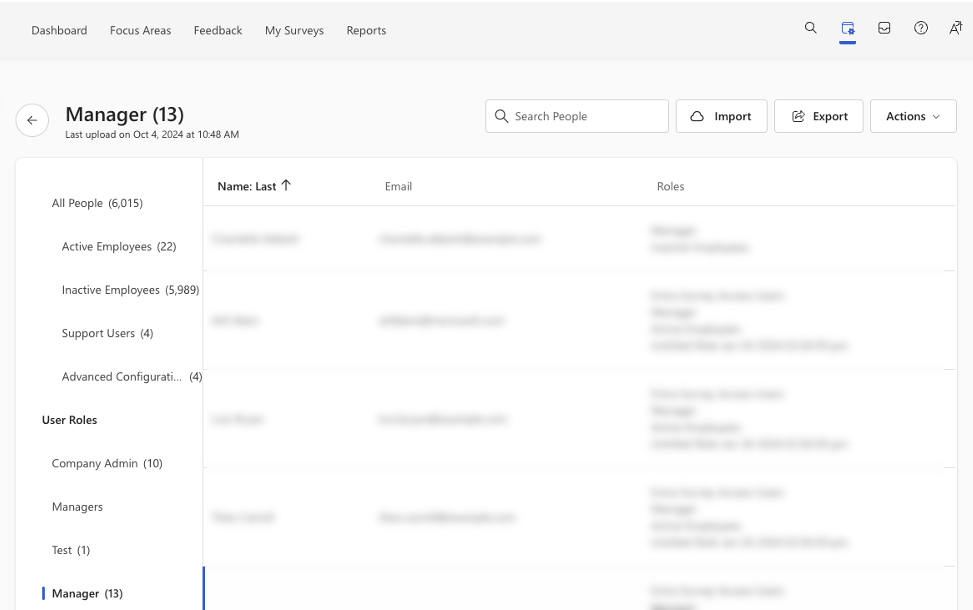
A new Export dialog opens.
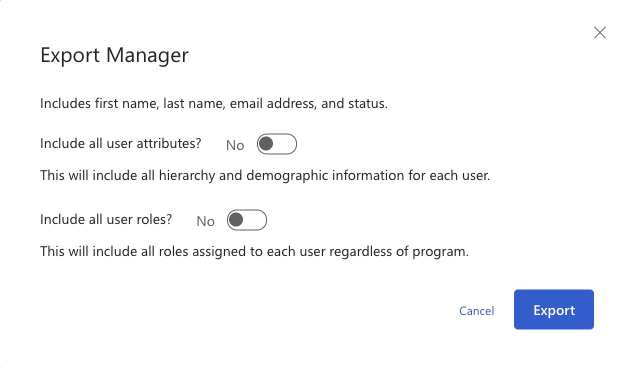
The .csv report includes first and last names, email address, and employee status. Choose whether to include all user attributes and User Roles.
Select Export.
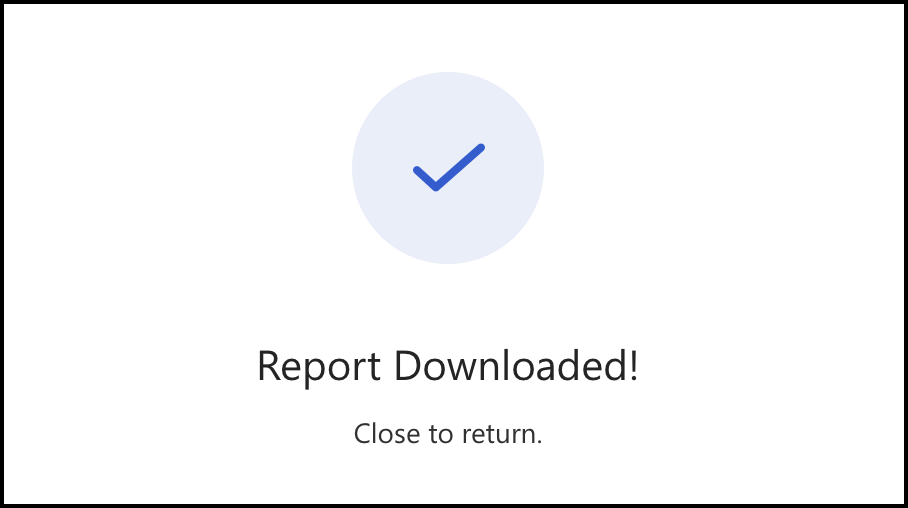
After following these steps, you'll receive a "Report Downloaded" message in a new browser tab.
Import users to a User Role
Important
Importing a list of users to a User Role removes attribute rules that automatically add users based on their attribute values.
As a Viva Glint Admin, go to Configuration and select User Roles in the Employees section.
Select a User Role to update.
On the role's detail page, select Add/Edit Employees.
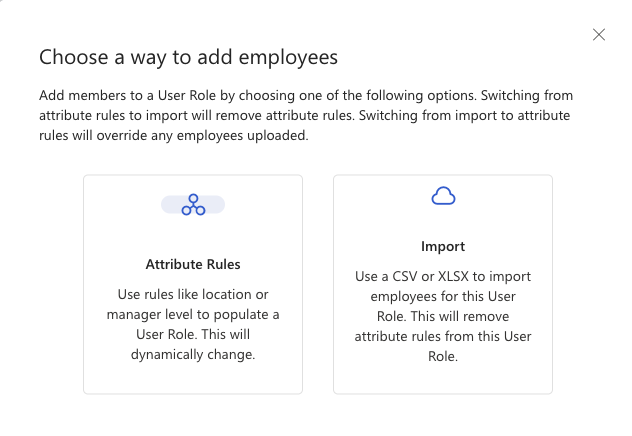
In the dialog that appears, select the Import option.
In the Import Employees to role dialog that appears, select Download CSV to download a list of users that are in the User Role.
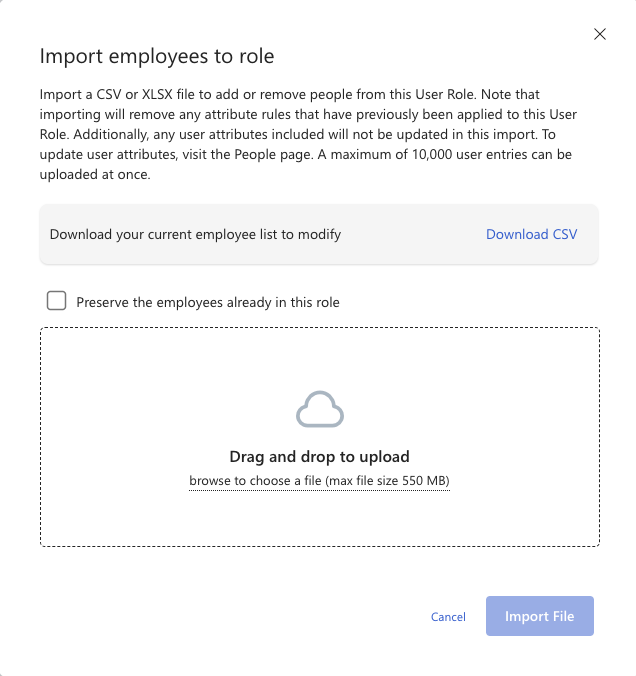
A .csv file downloads to your device with an email column. Add or remove email addresses for users that should leave or join this role. Save the edited file as .csv or .xlsx.
- Users in this file must already have a record in Viva Glint and the email address added to the User Role file must match their email in Viva Glint.
In the User Role Import Employees to role dialog, drag and drop to upload or browse to choose your list of users for this role.
- Select Preserve the employees already in this role to keep existing users
- Deselect Preserve the employees already in this role to replace all existing users with the users in the uploaded file.
Select Import File.
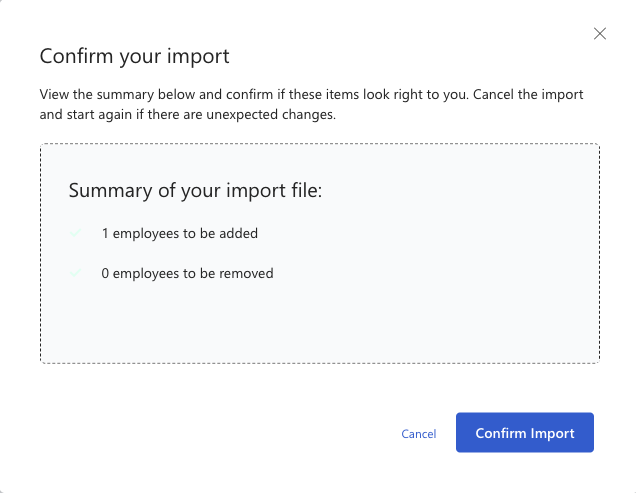
In the Confirm your import dialog that appears, review the summary of changes and select Confirm Import or Cancel.
Return to the User Role details page and check that the number of members decreased or increased as expected.