Import members to a Viva Glint Distribution List
Use the import option in Microsoft Viva Glint Distribution Lists to add employees in bulk when they don't share a common attribute value.
Important
Importing members to an existing Distribution List removes any attribute rules from that list.
Imports members
To import employees to a Distribution List:
- From the admin dashboard, select Configuration and then choose Distribution Lists.
- Select the Distribution List that you need to add employees to.
- Select Add/Edit Employees.
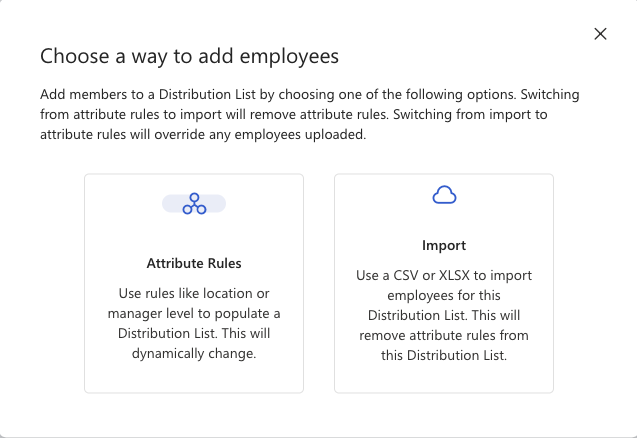
- From the Choose a way to add employees dialog, select Import.

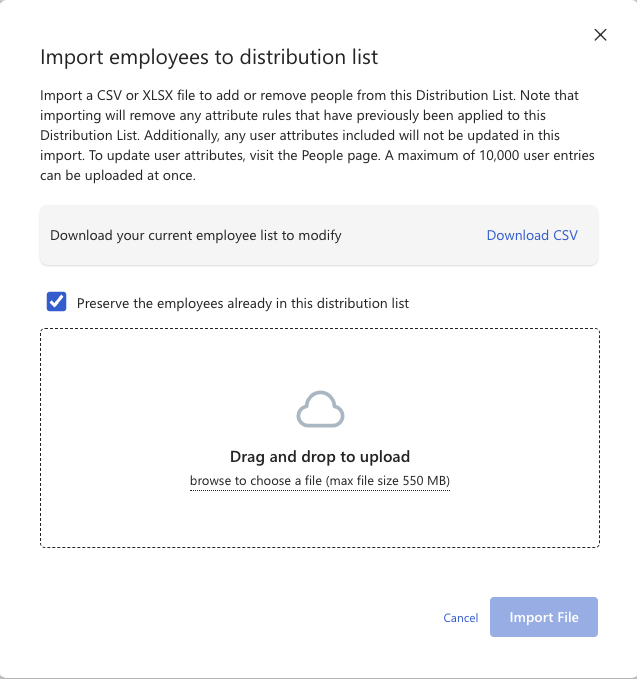
- In the Import employees to distribution list dialog, select Download CSV in the Download your current employee list to modify section.
- Use the downloaded file as a template and add employee email addresses in the email column. Include the header row, which is labeled differently when there are or aren't users in the list. Both column labels import successfully:
- The header row label in the template file is email when there are already users in the Distribution List.
- The header row label in the template file is Employee Email when there are no users in the Distribution List.
- After adding all email address values, save the file as .csv or .xlsx.
- In the Import employees to distribution list dialog, drag and drop or browse to choose the file (maximum size 550 MB, maximum row count 10,000).
- To keep any existing users in the list, select Preserve the employees already in the distribution list.

- Select Import File.
- The Confirm your import window displays. If the correct number of employees to be added and removed are correct, select Confirm Import.