Reporting outages
Log in to the Customer Support Portal to access your full case history, knowledge base articles, or request support.
An outage occurs when an essential production feature is broken with no viable workaround. Examples include:
- Loss of ad serving or severe ad serving latency.
- The UI is not accessible.
- Persistent API time-outs.
- Reporting is not accessible or reports are delayed for over six hours.
For more information, see Welcome to Client Services.
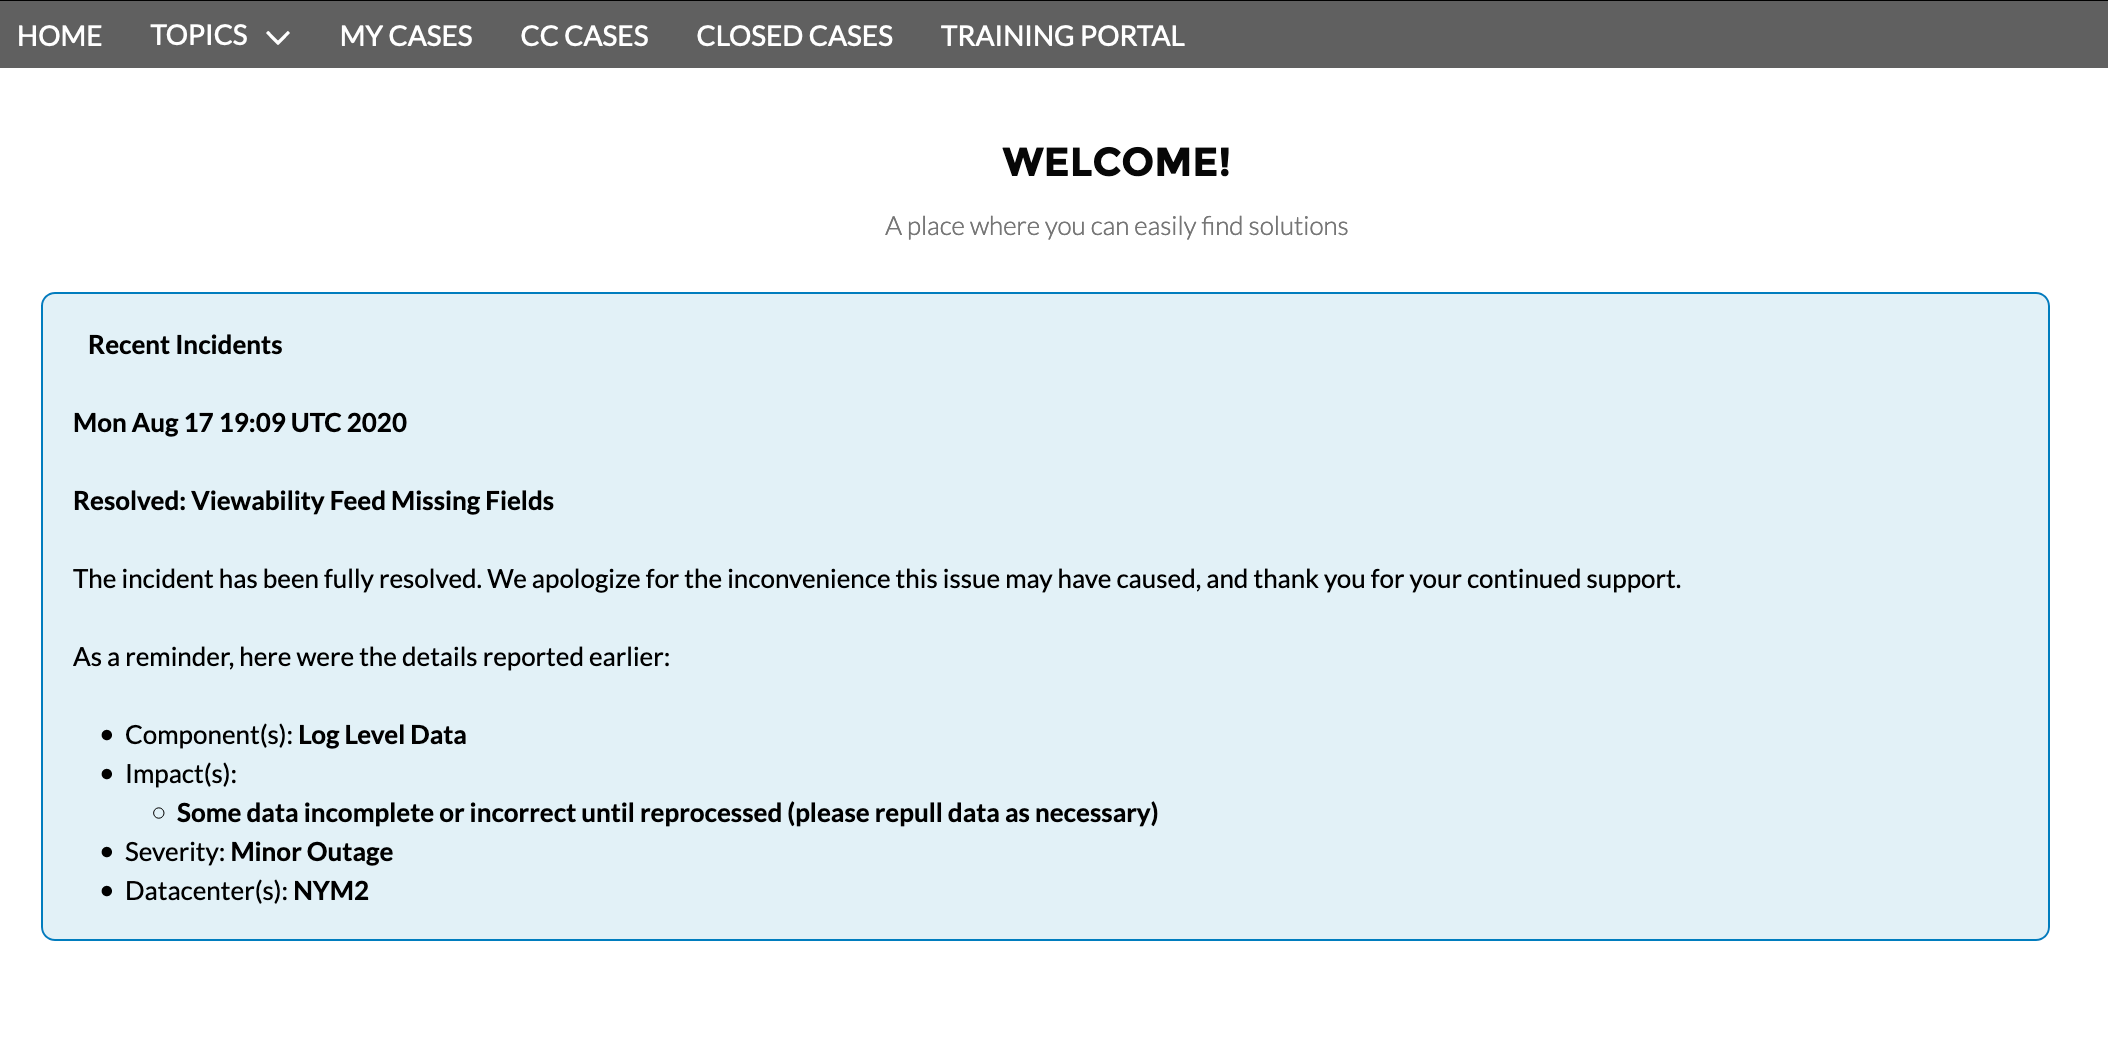
Outage alerts are displayed on the Customer Support Portal page when you log in, as shown in the example below.

If you are experiencing an outage and don't see an alert, you can report the outage to Product Support by following the directions below. This will page an on-call team, who will respond immediately.
Step 1: Log in and open a case
Log in to the Customer Support Portal and click Contact Support.
Note
- Before you open a case, you may want to double-check that the contact information in your profile is accurate.
- Only logged in users can submit Outage type cases.
Step 2: Select a category
For Category, select Product Support.
Warning
Product Support is the only category with the severity option for an outage.
Step 3: Select an issue
Select an issue from the What Can We Help With drop down menu.
Step 4: Select a severity
Select This is an outage, wake everyone up!. This option will page the on-call support team to respond to your request immediately. Ensure that your request requires immediate attention.
Step 5: Add a subject and a description
Enter a brief summary of the case in the subject field and a detailed account in the description field.
For the summary, be concise but specific. For example, "UI latency" is more helpful than "UI not working".
In the description, try to include all the information necessary to reproduce the problem. Typically, this includes:
- A description of the issue.
- A summary of the impact on your immediate goals.
- Steps to reproduce the issue, including test pages and URLs.
- All relevant object IDs.
- Product environment (if applicable).
- The browser and operating system affected, including version numbers (if applicable).
Step 6: Select a Member ID (Optional)
Select the Member ID related to your request from the drop down menu.
Step 7: Add cc email addresses (Optional)
You can add up to ten email addresses to be cc'd on case updates. These users will be emailed the case details and any new comments added to the case. Ensure that the email addresses are correct, separated by "," and that everyone you've cc'd would like to receive updates. You can update the cc addresses after the case is opened or request that an agent do so.
If anyone you've cc'd on a case would like a portal account, they can visit the Login page, proceed as a Guest, and click Contact Support.
Step 8. Add attachments (Optional)
Click Upload File or drag and drop your file in the attachment section to attach files that will help reproduce or troubleshoot the case, for example, an error log, a creative that's causing problems, a report that has helpful results, or a screenshot of the screen that's not displaying properly.

Step 8: Submit the case
Once you have completed all required fields, click Submit. The Case Submitted confirmation message will appear. The confirmation page will include the subject, severity, and case number. A confirmation message will also be emailed to the address in your profile. The message will include the information you entered, as well as a link to the open case. The on-call team will be paged to respond to your request immediately.