Setting up CI/CD for Docker Container Running in Kubernetes using VSTS
Context
In my last post, I covered how you can create a simple Web API, run the Web API in a Docker container and then deploy the container to a Kubernetes cluster provisioned using Azure Container Service (ACS) in Azure. You can find the full post here.
In this blog, I will cover how CI/CD can be implemented so that the sample Web API can be deployed automatically as soon as a change is made to the Web API code. To create the Web API code with Docker support, follow the section “Creating a simple web API with Docker Support using Visual Studio” in my last post here. This blog assumes you have a VSTS account setup and a Team Project created. You can create a VSTS account for free here. It also assumes that the sample API code is checked in to the Team Project version control.
Pre-requisites
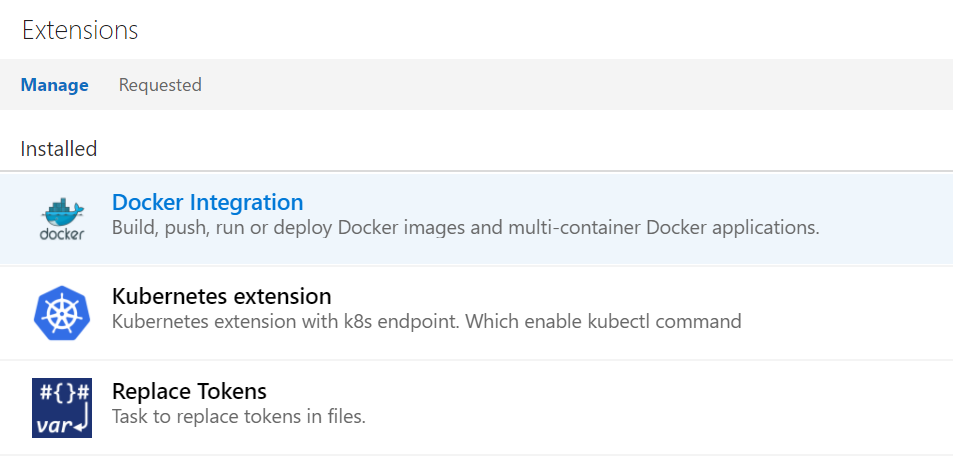
Some tasks we will be using to set up CI/CD don’t come out of the box with VSTS. Instead, you will need to install them from the VSTS Marketplace. The following extensions need to be installed:
- Docker Integration
- Kubernetes extension
Setting up Continuous Integration
- Login to the Team Project in VSTS where the code is checked-in
- Tap Build and Release tab and then click on Builds
- Click New definition button
- Click on empty process link
- Add Docker Compose task from the Docker integration extension installed from Marketplace. Set Docker Compose File field to docker-compose.ci.build.yml. Set Command field to up
- Add another Docker Compose task from the Docker integration extension installed. Set Docker Compose File field to docker-compose.yml. Set Command field to build
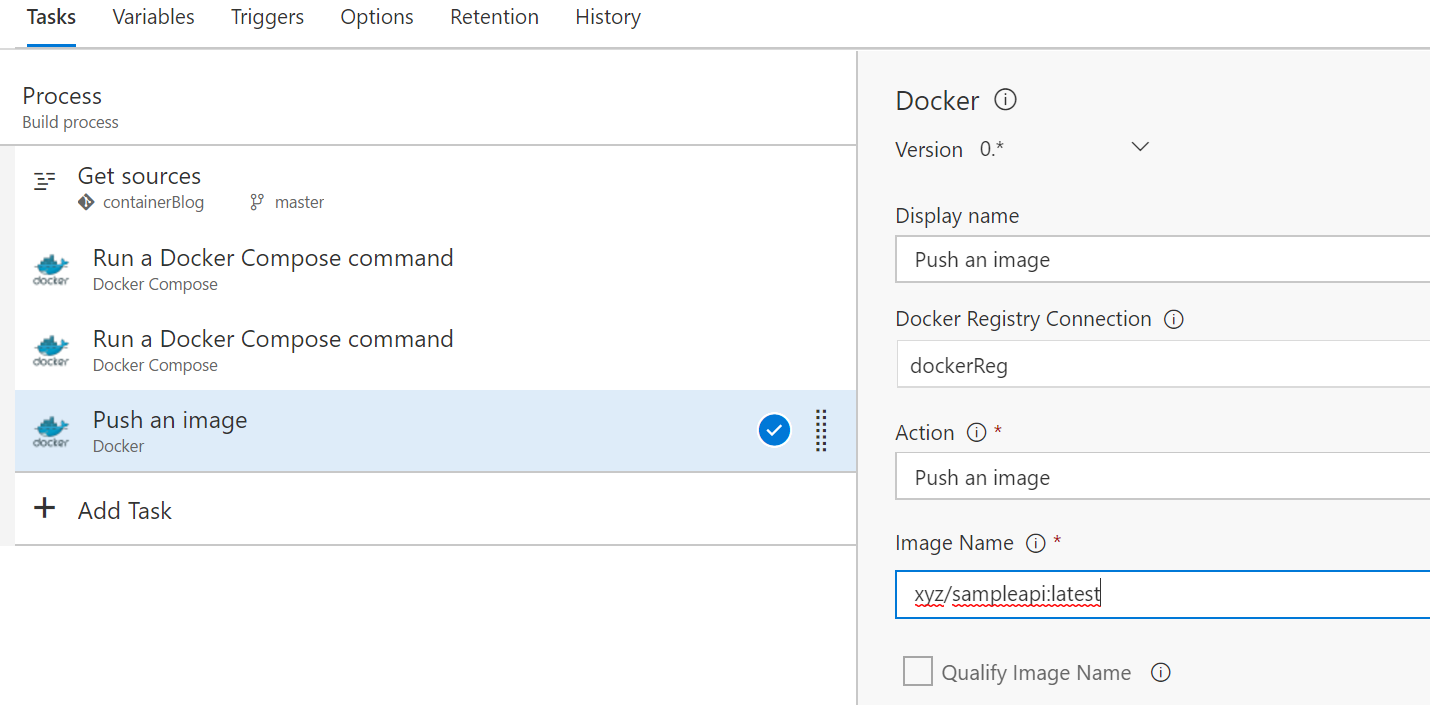
- Add Docker step from the Docker integration extension. For Docker Registry Connection field, click the plus sign (+) and you will be prompted to enter your Docker registry credentials. VSTS uses those credentials to push the generated Docker image. Set Action field to Push an image. Set image name to xyz/sampleapi:latest. Make sure you replace “xyz” with your actual Docker repo name
- Add Copy and Publish Build Artifacts task and configure it as shown below
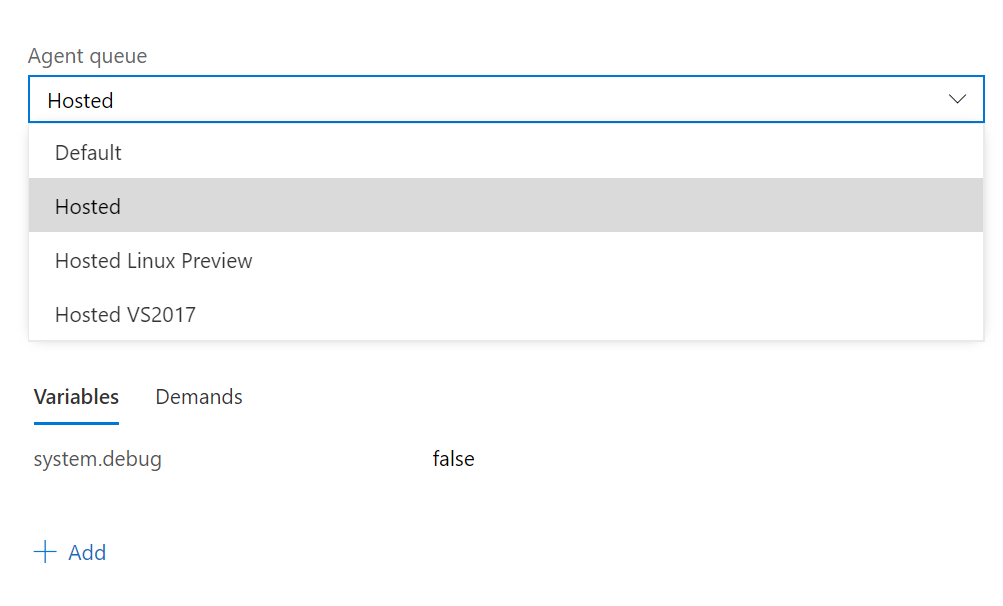
- Save and queue a build by clicking the Save & queue button. For the Agent queue field, select Hosted Linux Preview option
- Click Queue and the build should be queued and executed once an agent is available
Setting up Continuous Deployment
Now that we have a build setup, we can set up a release that can deploy the application to our Kubernetes cluster. The following are the steps to do so
- Create a deploy file called yml with the content below and check it in to the repository:
 apiVersion: extensions/v1beta1
kind: Deployment
metadata:
  name: sampleapi-deployment
spec:
  replicas: 3
  template:
    metadata:
      labels:
        app: sampleapi
    spec:
      containers:
      - name: sampleapi
        image: xyz/sampleapi:latest
        ports:
        - containerPort: 80
- Download kubectl from here and check it in to the repository
- Tab on Build & Release and click Releases
- Click on New Definition
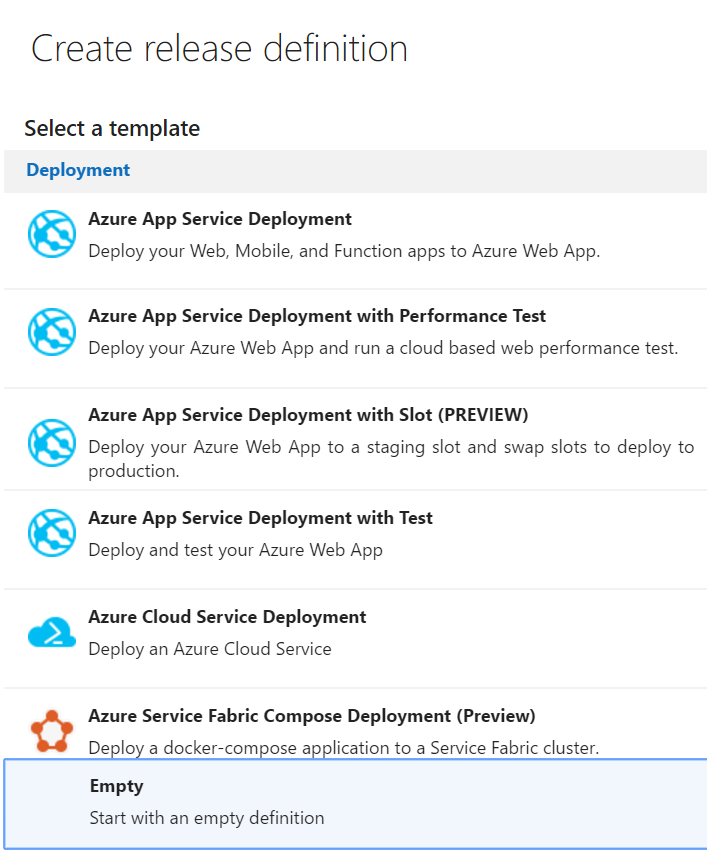
- Select Empty as the release template and click Next
- Check Continuous Deployment option
- Click on Add Tasks
- Select Kubernetes Apply Task. Click on Add next to k8s end point field and fill out the information for your Kubernetes cluster with information similar to below
- For Kubeconfig field, set it to the content from the config file inside .kube directory generated when the az acs kubernetes get-credentials is run as show in the previous post
- Click OK to return to the task
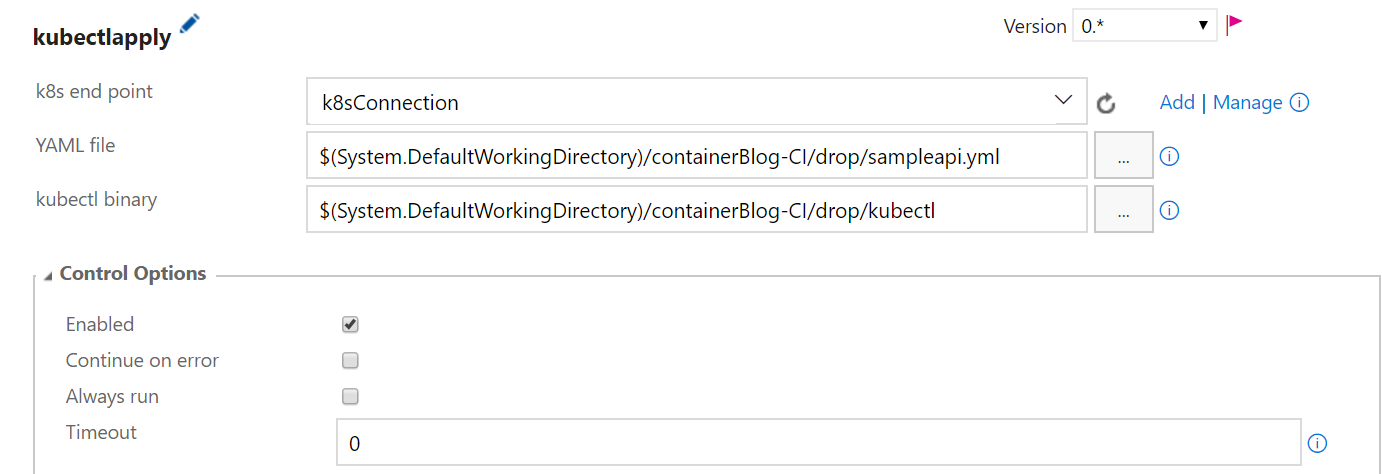
- Set the YAML file and kubectl binary as shown below
- Click on Run on agent and make sure you select Hosted Linux Preview
- Click save icon and queue a release and this should conclude setting up Continuous Deployment.
Note: if you make a change to the code, the image version number will need to be updated so that Kubernetes can trigger a deployment. One way to do this is to include a placeholder in the sampleapi.yml as well docker-compose.yml files and then replace these placeholders with actual version numbers for each build during build time. A task such as Replace Tokens can be used to accomplish this substitution.
We have just walked through how to setup CI/CD for a Web API with Docker support running on a Kubernetes cluster. I hope this was informative.
Please leave us your feedback.
Comments
- Anonymous
July 19, 2017
Great guide, thanks! One question though: how would you go about getting unit tests to run during the CI stage?
