Use the same SharePoint site for TFS that you have right now
TFS 2013

If your current SharePoint site meets the new requirements for TFS 2013, you can continue to use it, if you perform a few procedures. First you have to uninstall the old TFS extensions for SharePoint¹, and then install the new version of the extensions. You also want to make sure the service account that you will use on the upgraded Team Foundation Server is a member of the Farm administrators group. If you’re currently using Windows SharePoint Services 3.0 or SharePoint Server 2007, you’ll have to upgrade to supported version of SharePoint. For more information, see Upgrade from Office SharePoint Server 2007 or Windows SharePoint Services 3.0 to SharePoint Server 2013 or SharePoint Foundation 2013
Tip
If you’re upgrading TFS 2012, you don’t have to uninstall the old version of TFS extensions.
Prerequisites
To perform these procedures, you must be a member of the Administrators security group on Windows Server and a member of the Farm Administrators group in Windows SharePoint Services 3.0.
Uninstall the old TFS extensions
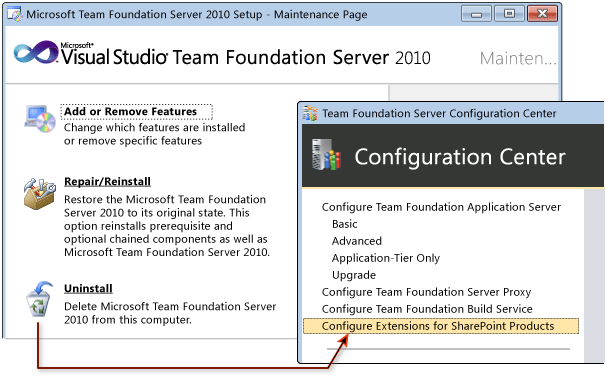
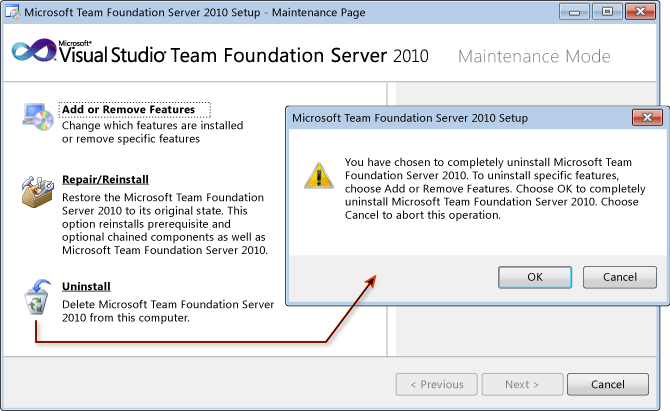
 On the SharePoint site you were using with TFS 2010, uninstall the TFS Extensions for SharePoint.
If SharePoint and the previous version of TFS were on the same computer, you have to uninstall the entire TFS application tier. In the new upgraded TFS deployment, your SharePoint server will be on a different server than the TFS application tier, and the only TFS component on the SharePoint server will be the TFS extensions for SharePoint.
Tip
If you’re upgrading TFS 2012, you don’t have to uninstall the old version of TFS. You can skip this step and install the new TFS extensions without uninstalling the old.
Install the new TFS extensions
Run the TFS installation program from the product DVD and then use the Configure Extensions for SharePoint Products wizard.
To run the Team Foundation Server installer
Insert the Team Foundation Server DVD in the drive and launch the tfs_server.exe file to begin the installation.
On the license terms dialog box, accept the license terms and then choose Install Now.
If you want to install Team Foundation Server to a specific location in the file system, choose the browse button (…) next to the default install location.
To configure Team Foundation Server Extensions for SharePoint Products
In the Team Foundation Server Configuration tool, choose Configure Extensions for SharePoint Products and then choose Start Wizard.
The Team Foundation Server SharePoint Extensions Configuration wizard appears.
Read the** Welcome** screen, and choose Next.
Since SharePoint Products is already installed, skip to the next step. If SharePoint weren’t installed, you’d take these steps:
Choose the big Install SharePoint Foundation 2013 button. Once the install completes, choose Next.
Type the name of the SQL Server or named instance that will host the configuration databases for SharePoint and choose Next.
Type a user account and password for the service account for SharePoint and then choose Next.
For more information, see Service account requirements
On the Review page, review the settings and choose ** Next**.
The wizard validates your configuration.
Choose Configure.
The wizard applies configuration settings. This process might take several minutes.
Choose Next, Close, Close.
The Team Foundation Server Administration Console appears.
Add the TFS service account to the Farm Administrator group
If you're using the same SharePoint site from your previous deployment, you may already have the TFS service account in the Farm Administrators group. If so, you can skip this step. Otherwise, you should follow the steps below to ensure the service account that you will use for TFS is added to the Farm Administrators group on SharePoint.
How do you know if this step is necessary? Here are two potential scenarios that would require you to perform this step.
If you're planning to change the account you're using for the TFS service account during TFS upgrade, you should add the new account to the Farm Administrators group.
If you are using Network Service and you're planning to migrate the TFS application tier to new hardware, you should add the name of the new hardware followed by a $ symbol (Domain\ServerName$) to the Farm Administrators group.
To add the service account to the Farm Administrators group
In a web browser, open the SharePoint Central Administration site.
Under Security Configuration, choose Manage the farm administrator's group.
Choose New.
In the Users/Groups box, enter the name of the service account for Team Foundation Server.
If you're using Network Service, add the server name followed by a $ symbol. For example, domain\servername$. SharePoint might not find the name but will allow you to enter it into the list.
Choose Share.
Next Step: Which server upgrade path are you on?
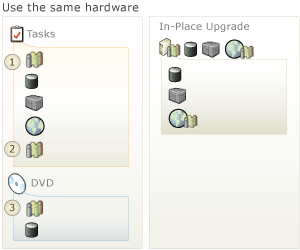
If you're doing an in-place upgrade, go to Step 3, [Run the TFS Upgrade Wizard]](../install-tfs/run-upgrade-wizard.md).
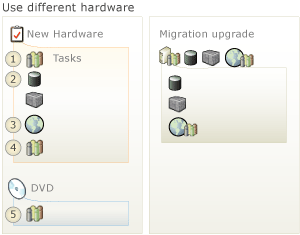
If you're doing a migration upgrade, go to Step 4, Back up and restore data for TFS.

