Visual Studio for Mac IDE tour
Important
Visual Studio for Mac was retired on August 31, 2024 in accordance with Microsoft’s Modern Lifecycle Policy. While you can continue to work with Visual Studio for Mac, there are several other options for developers on Mac such as the preview version of the new C# Dev Kit extension for VS Code.
In this introduction to the Visual Studio for Mac integrated development environment (IDE), we'll take a tour of some of the windows, menus, and other UI features.
Visual Studio for Mac is a .NET integrated development environment on the Mac that can be used to edit, debug, and build code and then publish an app. In addition to a code editor and debugger, Visual Studio for Mac includes compilers, code completion tools, graphical designers, and source control features to ease the software development process.
If you haven't already installed Visual Studio, go to the Visual Studio downloads page to install it for free.
Start window
The first thing you'll see after you open Visual Studio for Mac is the start window. It shows a list of recent projects and options to open an existing project or create a new one.
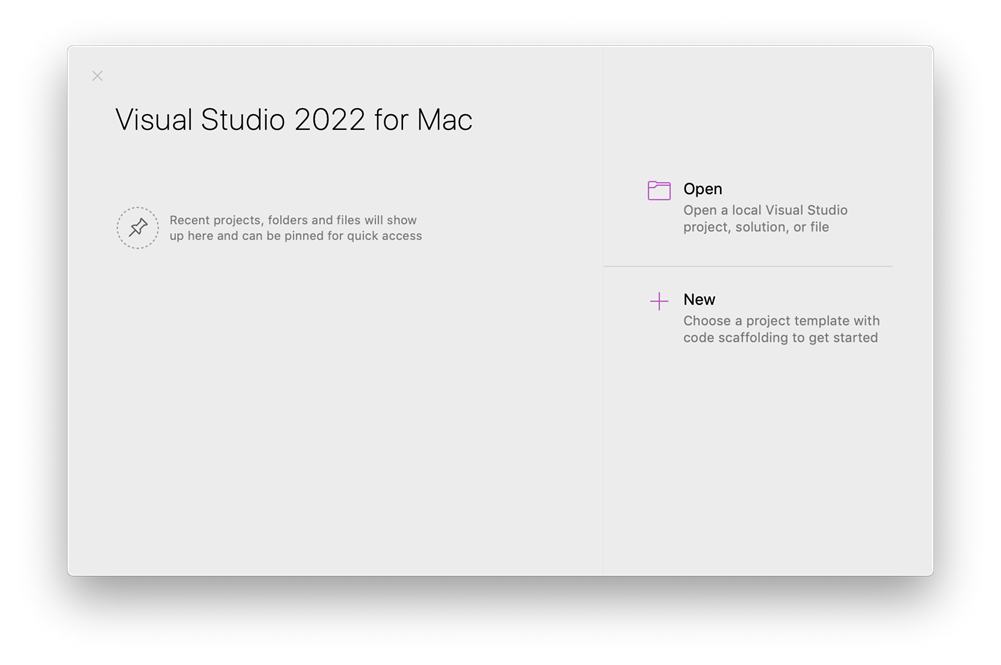
If this is the first time you're using Visual Studio, your recent projects list will be empty.
Create a project
To continue exploring features, let's create a new project.
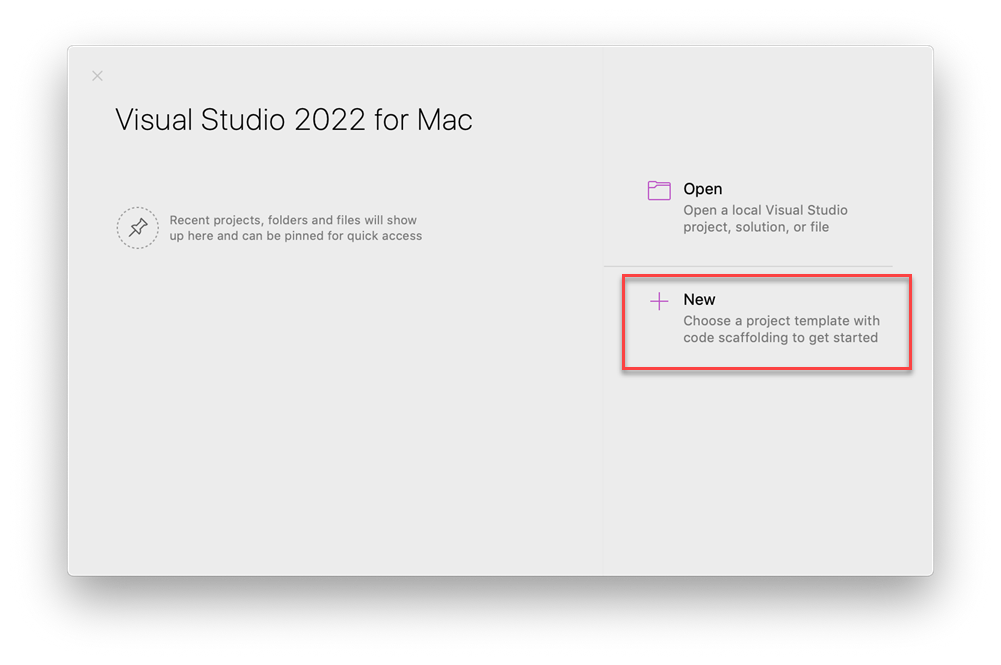
On the start window, select New to create a new project.
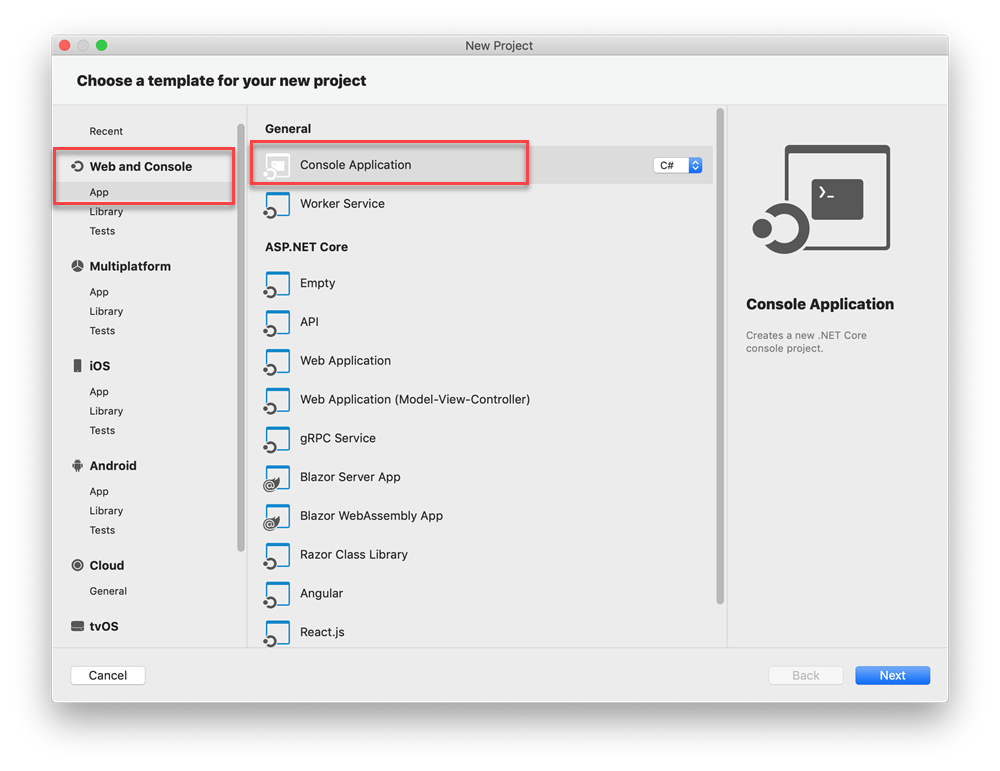
Choose a template for your new project window opens and shows several project templates. It also shows a list of your recently used project templates if you select Recent. A template contains the basic files and settings required for a given project type.
Select Console Application from App in the Web and Console section, and then select Continue.
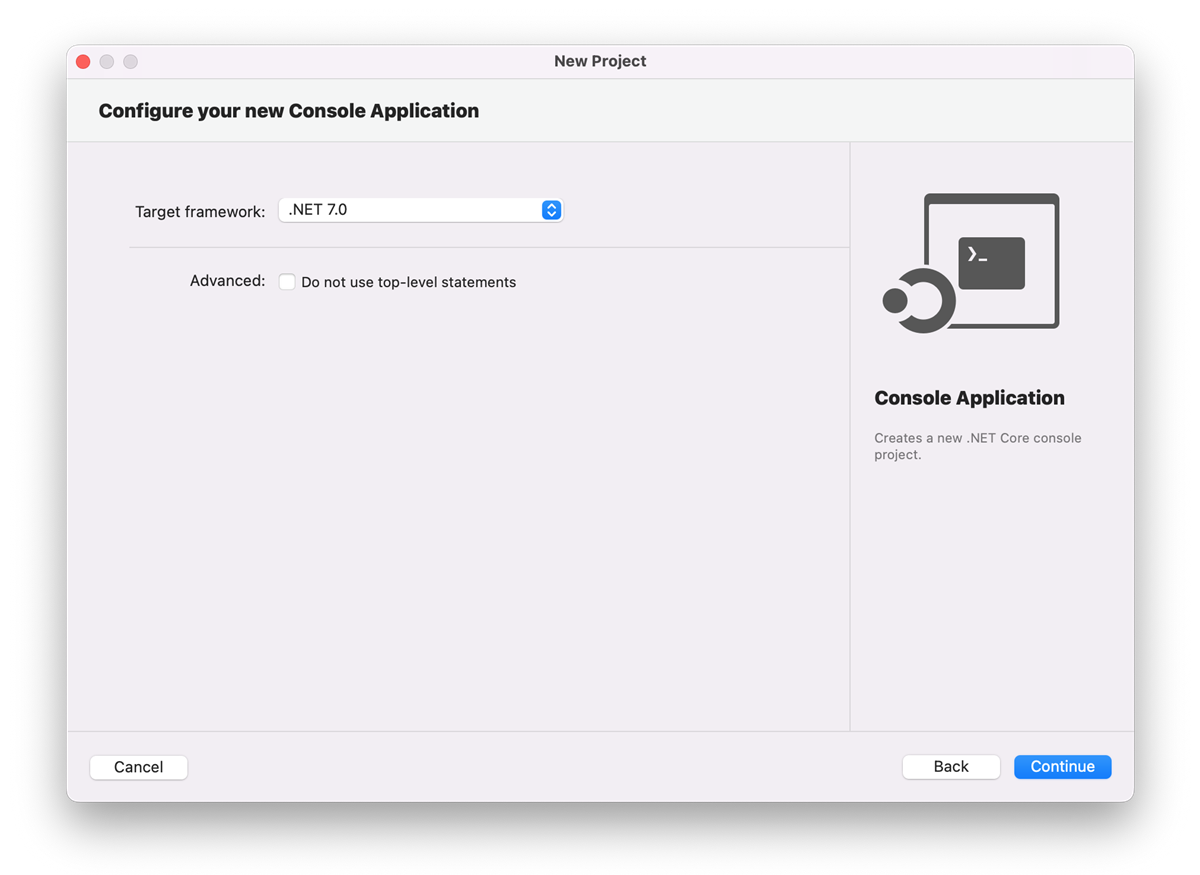
On the Configure your new Console Application window, ensure .NET 7.0 appears in the Target framework dropdown, and then select Continue.
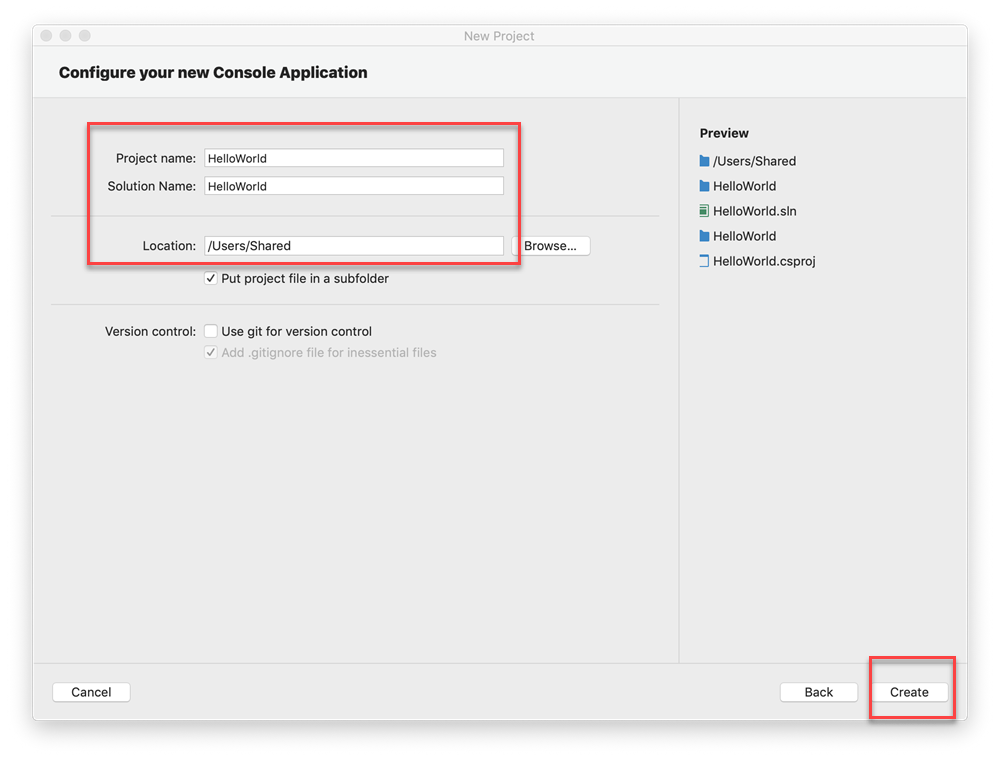
On the Configure your new Console Application window, add a Project name, Solution name, and Location, and then choose Create.
The project is created. Select the code file Program.cs in the Solution window, which is on the left-hand side of Visual Studio for Mac.
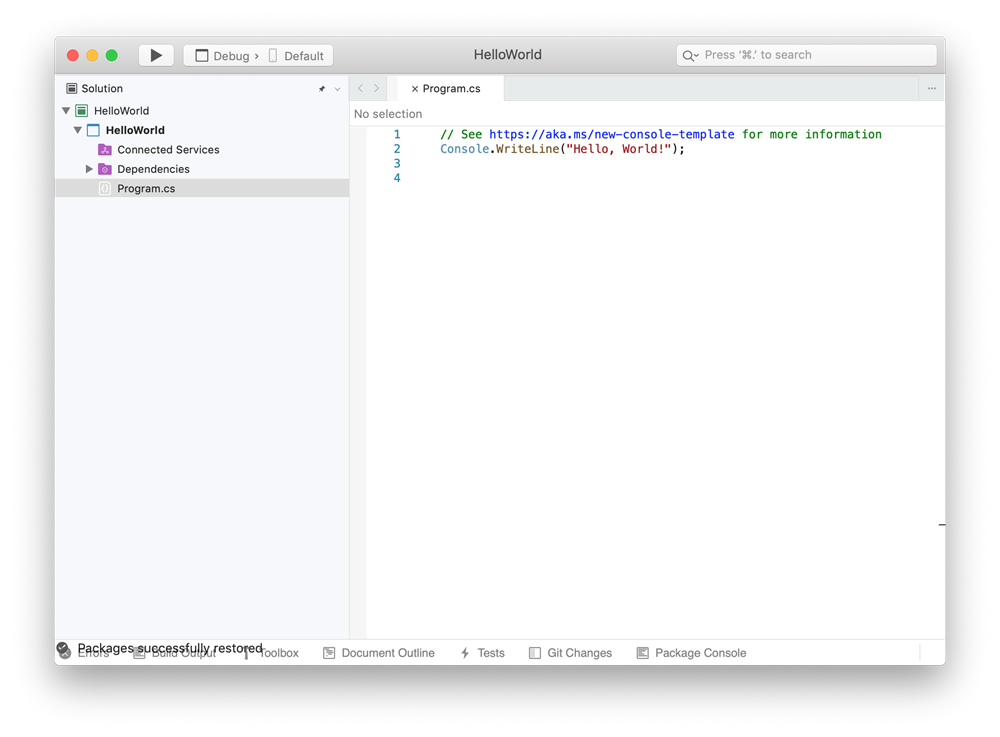
The file Program.cs opens in the Editor window. The Editor shows the contents of files and is where you'll do most of your coding work.
Solution window
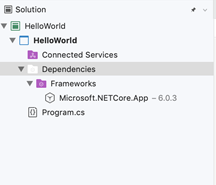
Solution shows you a graphical representation of the hierarchy of files and folders in your project, solution, or code folder. You can browse the hierarchy and select a file to open it in the Editor.
Menus
The menu bar along the top of Visual Studio for Mac groups commands into categories. For example, the Project menu contains commands related to the project you're working in. On the Tools menu, you can customize how Visual Studio behaves by selecting Preferences.

Errors window
The Errors window shows you errors, warnings, and messages about the current state of your code. If there are errors (like a missing brace or semicolon) in your file or anywhere in your project, they're listed here.
To open the Errors window, choose the View menu, and then select Errors.

Build Output window
The Build Output window shows you output messages from building your project.
Let's build the project to see some build output. From the Build menu, choose Build Solution. The Build Output window automatically obtains focus and shows a successful build message.

Run your Console Application
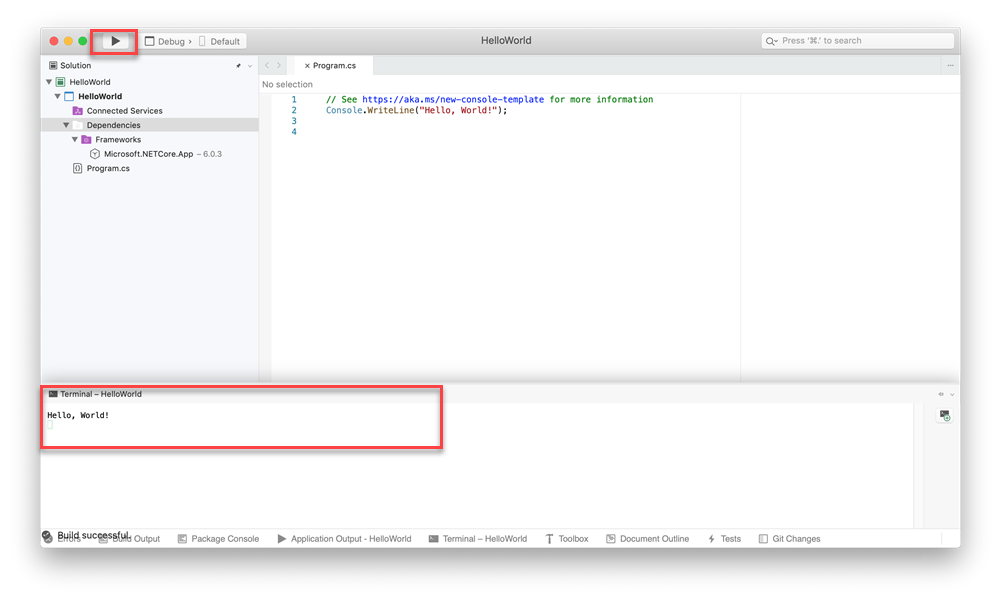
Let's run the Console Application by selecting the play icon. You'll see the output in the Terminal.
Send feedback
If you run into problems while using Visual Studio for Mac, or if you have suggestions for how to improve the product, you can let us know. To do so, select the Report a Problem or Provide a Suggestion from the Help menu.
Learn more
We've looked at just a few features of Visual Studio to get acquainted with the user interface. Explore further:
- Source Editor in Visual Studio for Mac
- Refactoring
- Data visualizations while debugging
- Version Control