Step-By-Step: Configuring Office Online Server with Skype for Business 2015
For Lync Server 2013, the use of Office Web Apps server acting as an intermediary is required when using the functionality of sharing PowerPoint.
With this server, you can also distribute PowerPoint presentations that contain animations or videos.
Microsoft Office Online Server is the successor to Office Web Apps Server 2013.
As part of this integration with Skype for Business, Office Online Server is used in read-only mode, but the server can also be shared with Microsoft SharePoint and Exchange.
The matrix interoperability between Office Online and the various Exchange Server versions, Lync, SharePoint and Skype for Business is summarized below:
Products |
Office Web Apps Server |
Office Online Server |
SharePoint Server 2013 |
Yes |
Yes |
SharePoint Server 2016 |
Yes |
Yes |
Lync Server 2013 |
Yes |
Yes |
Skype for Business Server 2015 |
Yes |
Yes |
Exchange Server 2013 |
Yes |
Yes |
Exchange Server 2016 |
Yes |
Yes |
Prerequisite to deploy Office Online with Skype Server Enterprise 2015::
The good success of a deployment must take into account all the technological prerequisites.
- Supported Operating Systems:
- Windows Server 2012 R2 64 bits
Ø No localization of Office Online Server with other applications including Exchange, SharePoint, Skype for Business or SQL server is permitted.
Ø Ports used are:
o HTTPS: 443
o HTTP: 80
o For traffic between servers in a firm: 809
Environment :
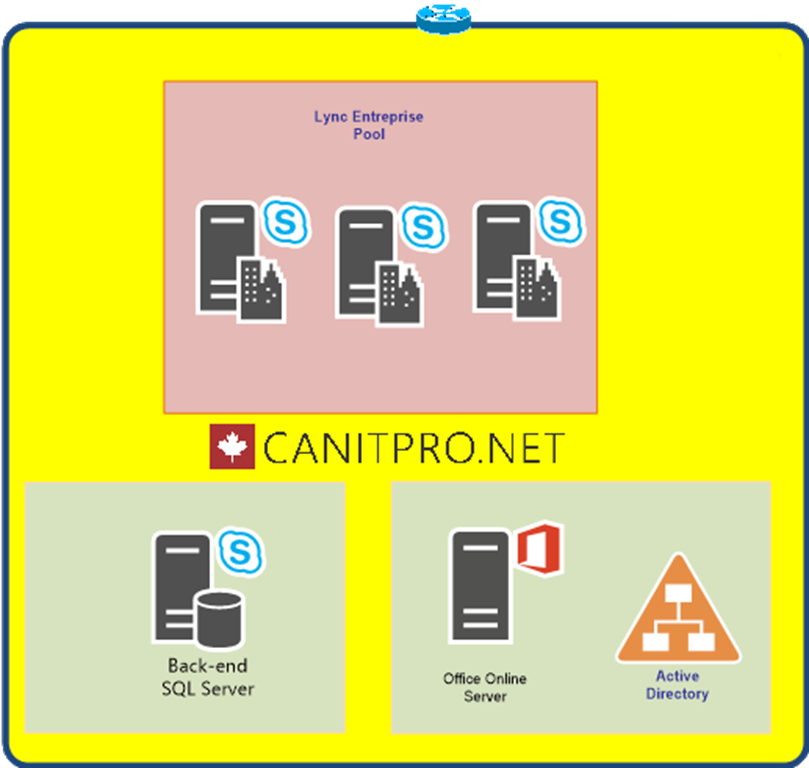
In our example, the target environment is like this:
Ø One instance of Office Online Server
Ø Skype for Business 2015 enterprise voice
The example is for informational purposes and can not cover all possible deployment scenarios.
The content of the article covers the following:
Ø Installation of Office Online Server
Ø Configuration of Office Online Server
Ø Intergation of Skype for Business
Ø Validation
Step 1: Install prerequisite applications:
Make sure you are in the final version of Windows Server Update before proceeding with installation.
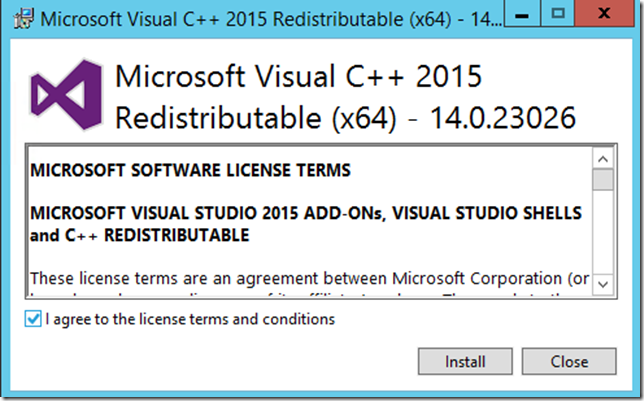
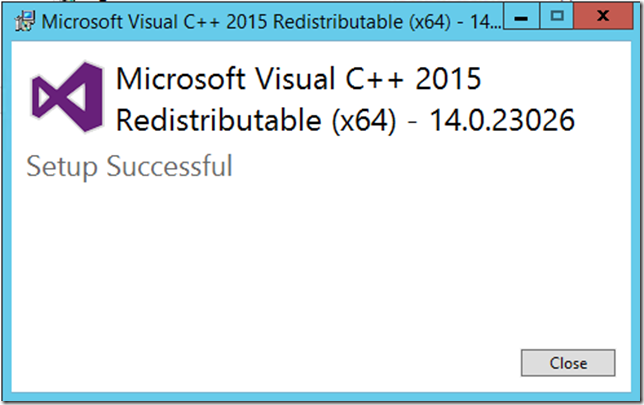
Ø Visual C++ Redistributable for Visual Studio 2015
The download is available with this link: https://go.microsoft.com/fwlink/p/?LinkId=620071
ØRoles and Services
The installation prerequisites including the roles and services is possible using the following powershell script deployment:
Commande powershell |
Install-WindowsFeature Web-Server, Web-Mgmt-Tools, Web-Mgmt-Console, Web-WebServer, Web-Common-Http, Web-Default-Doc, Web-Static-Content, Web-Performance, Web-Stat-Compression, Web-Dyn-Compression, Web-Security, Web-Filtering, Web-Windows-Auth, Web-App-Dev, Web-Net-Ext45, Web-Asp-Net45, Web-ISAPI-Ext, Web-ISAPI-Filter, Web-Includes, NET-Framework-Features, NET-Framework-Core, NET-HTTP-Activation, NET-Non-HTTP-Activ, NET-WCF-HTTP-Activation45, NET-WCF-Pipe-Activation45, InkandHandwritingServices, Windows-Identity-Foundation, Telnet-Client |
Start a powershell window in administrator mode and copy and paste the script:
A server restart is required for the completion of the installation prerequisites
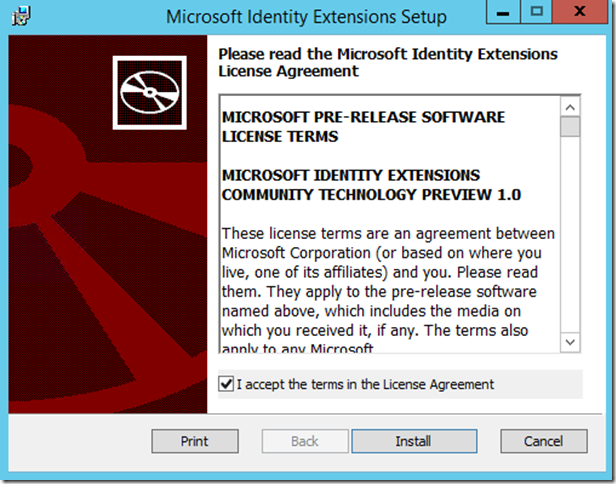
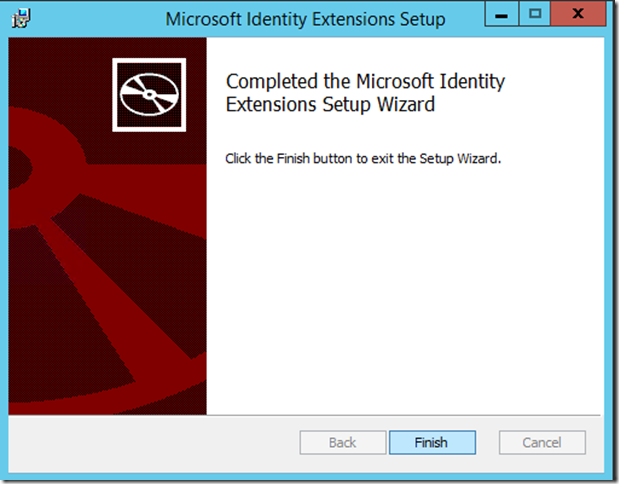
Ø Microsoft Identity Extensions
The download is available with this link: https://go.microsoft.com/fwlink/p/?LinkId=620072
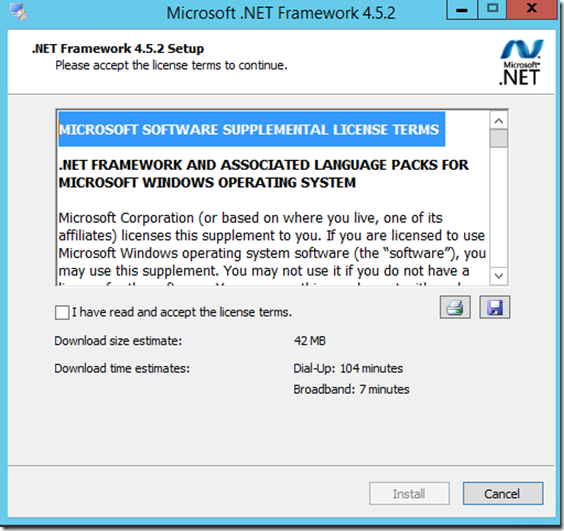
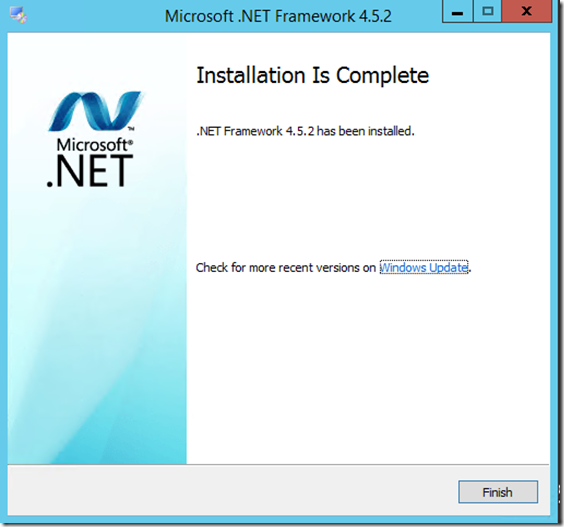
Ø Installation Microsoft .NET Framework 4.5.2
The download is available with this link: https://go.microsoft.com/fwlink/p/?LinkId=510096
End of the prerequisite installation.
Step 2: Installation of Office Online Server :
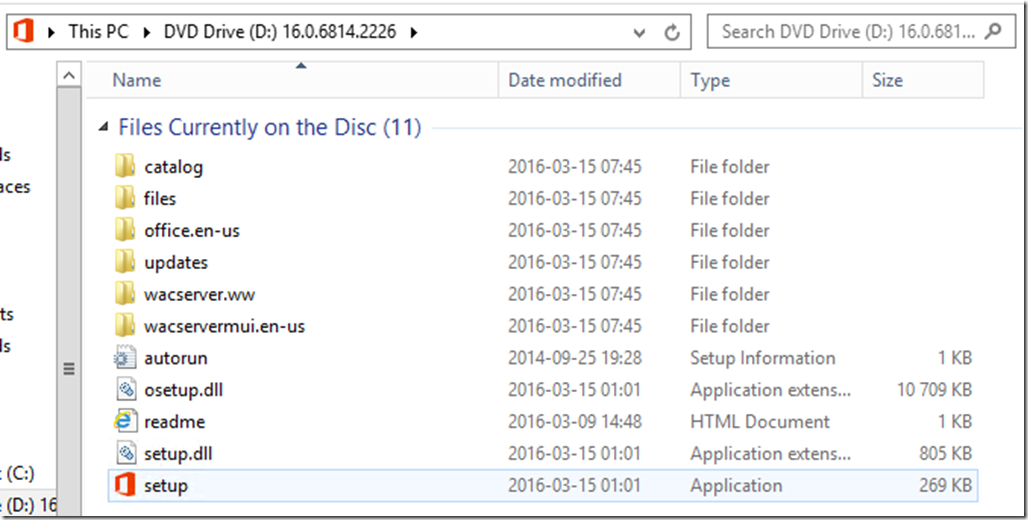
After downloading the application Office Online Server, the next step is the installation of the application.
Ø Run the executable:
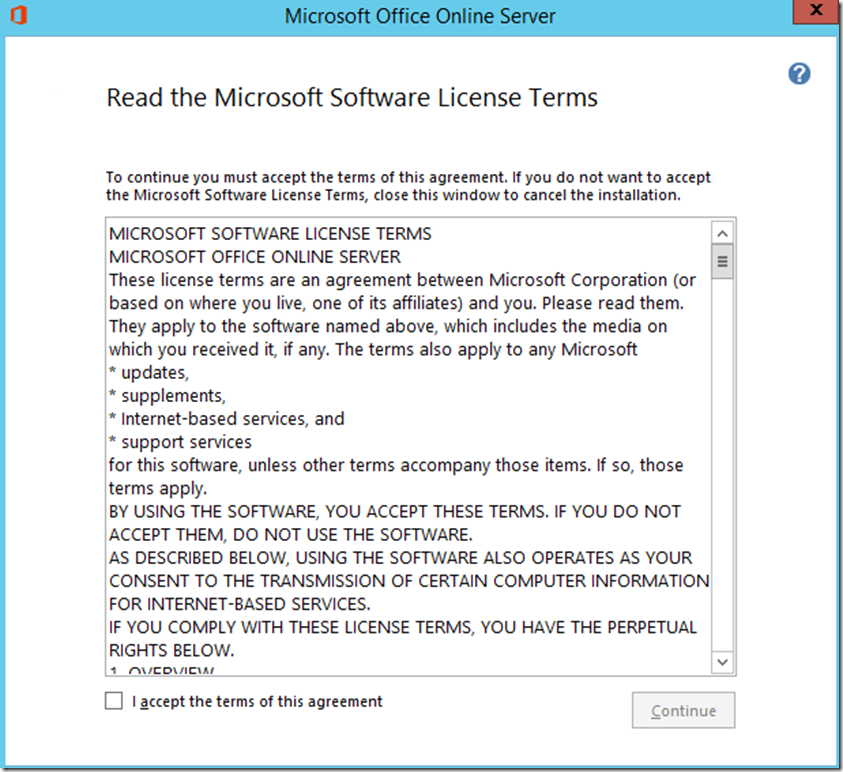
Accept the terms and agreements.
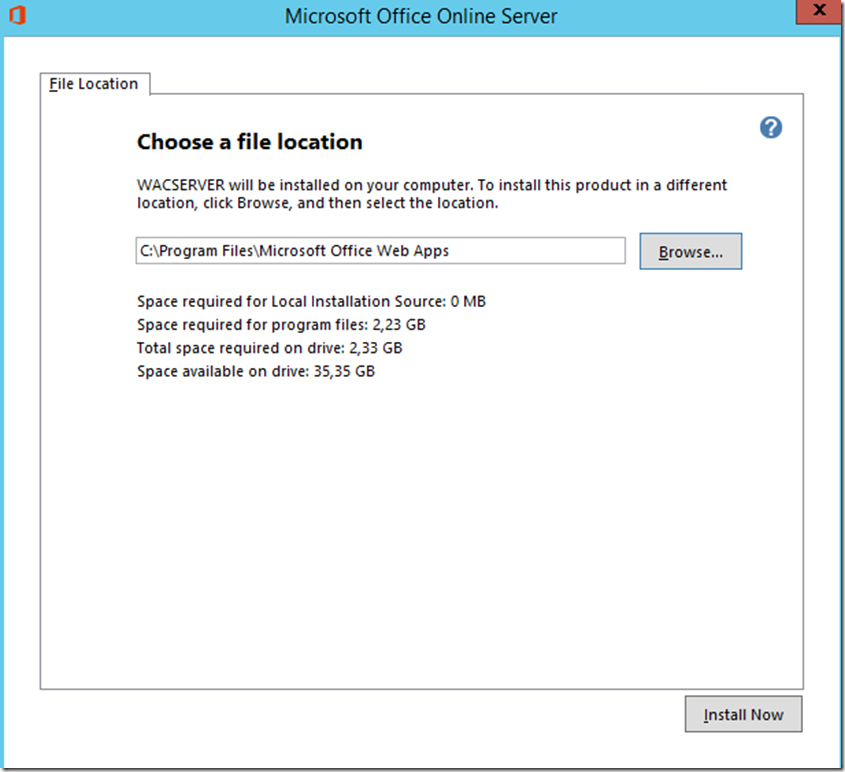
Select the installation directory of the application.
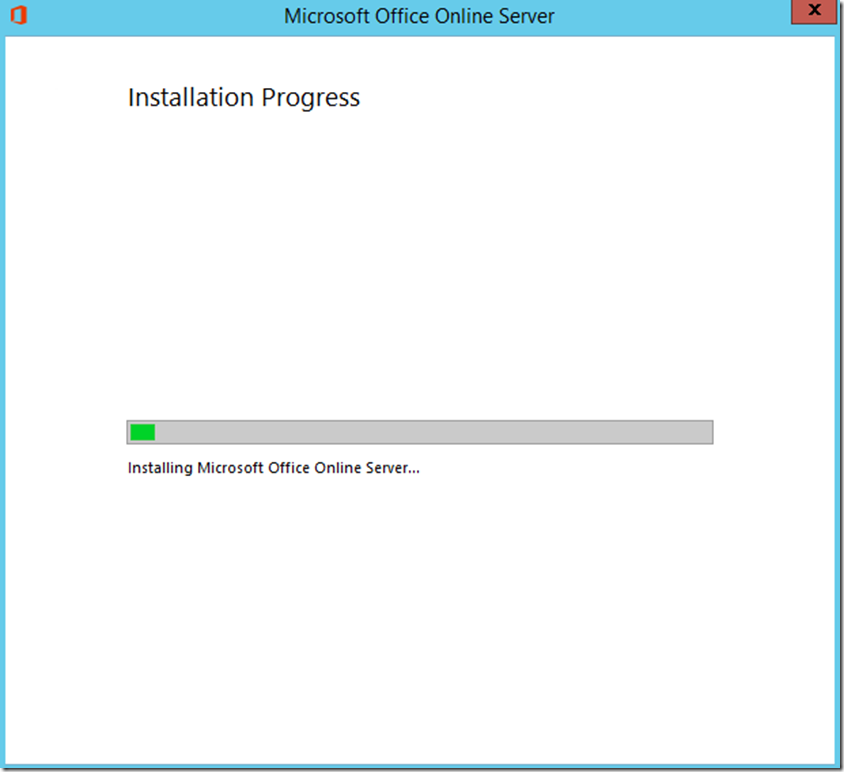
Installation in progress.
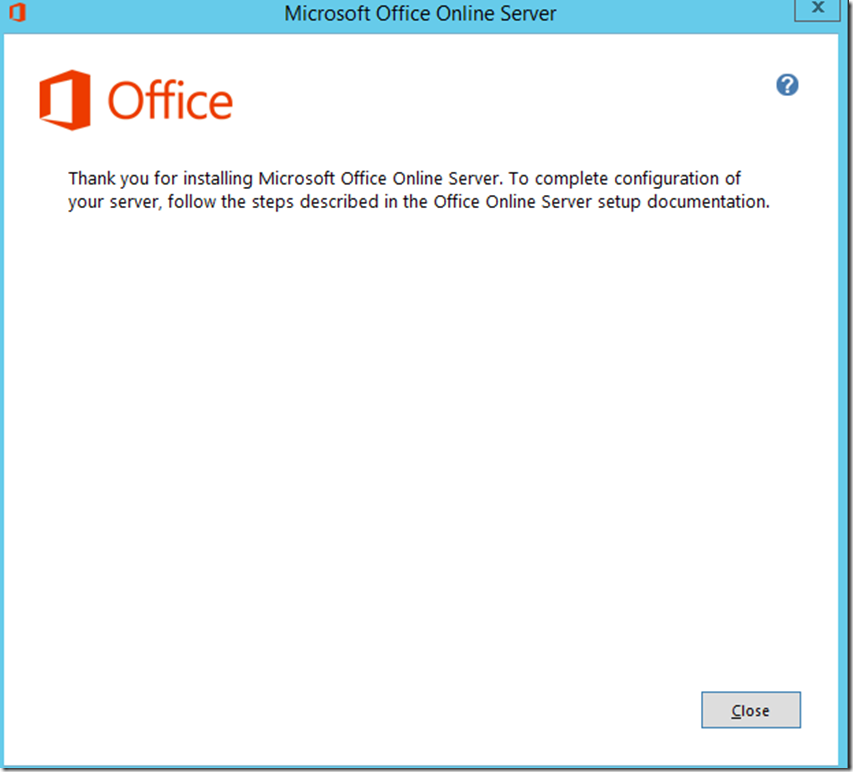
Finished installation.
Step 3: Certificate Setup
It is necessary to assign a certificate instance Office Online Server.
Ø Creating the certificate request
Ø Running the Executible:
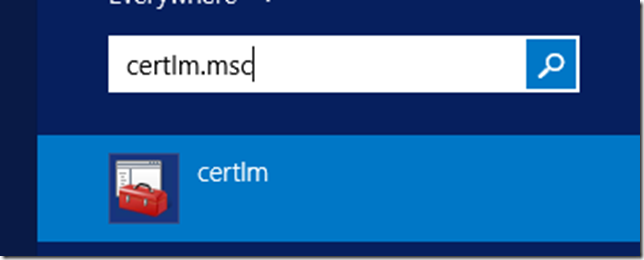
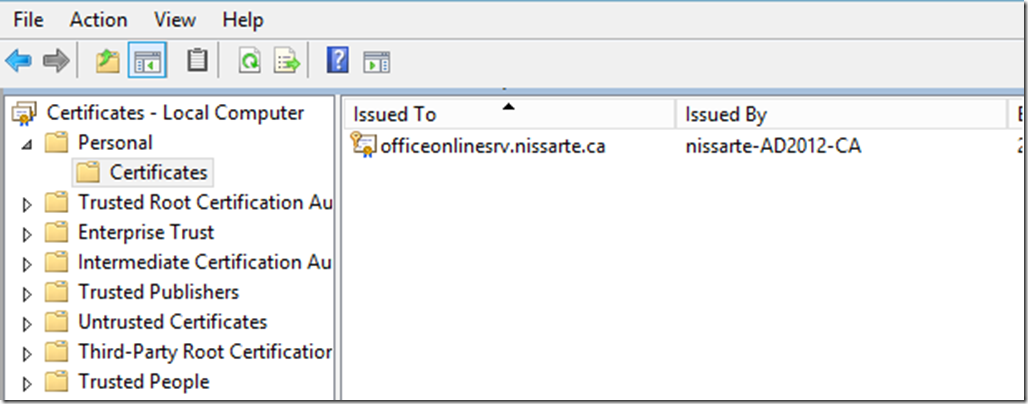
Run certlm.msc.
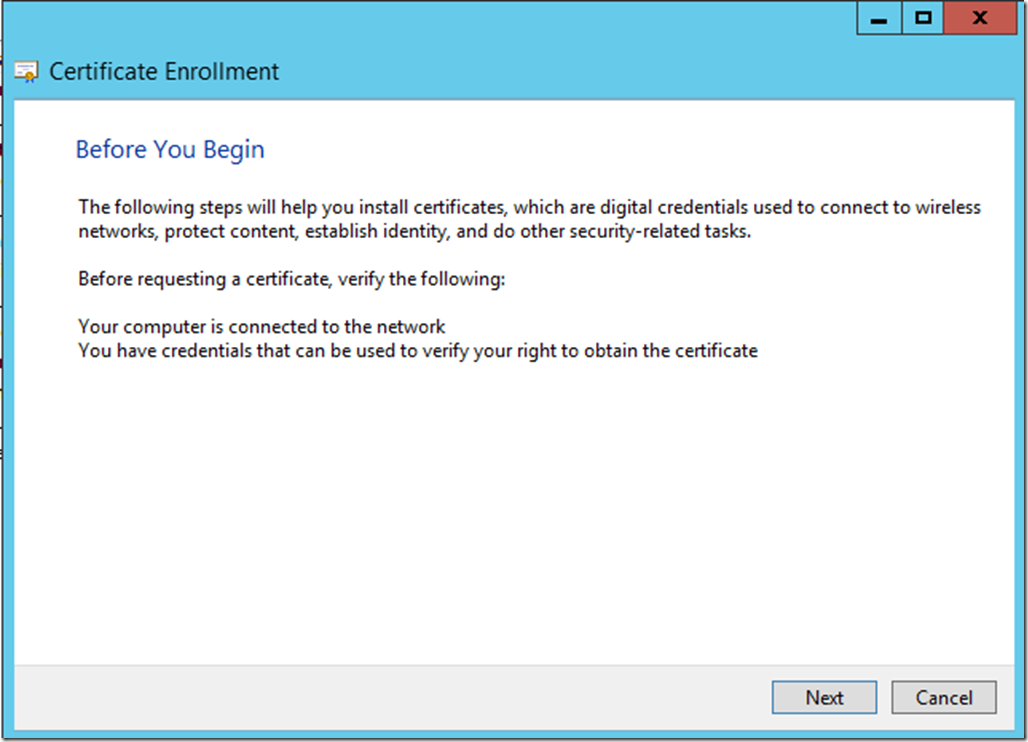
Right click on Personal, click All Tasks > Advanced Operations > Create Custom Request.
Choose Next
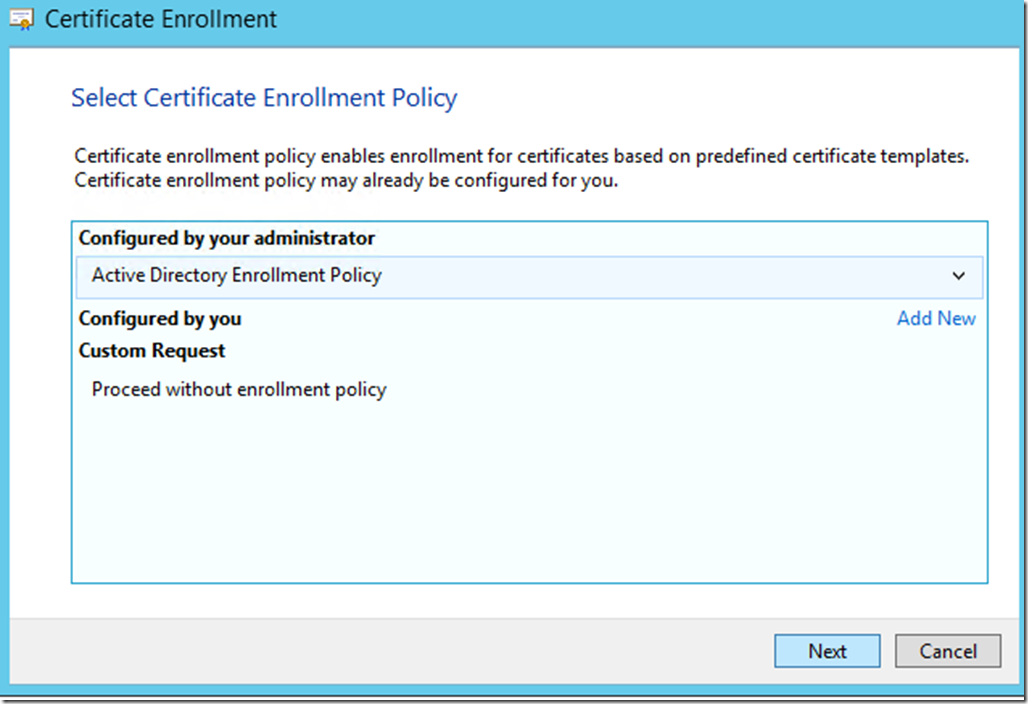
Select Active Directory Enrollment Policy
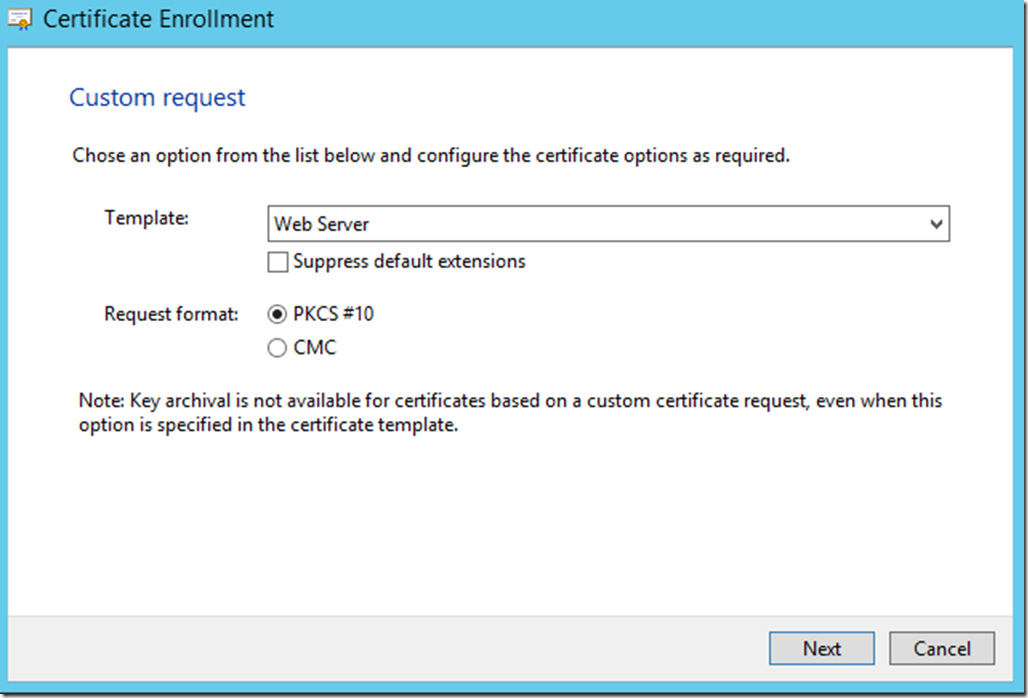
Select Web Server
Select Details > Properties
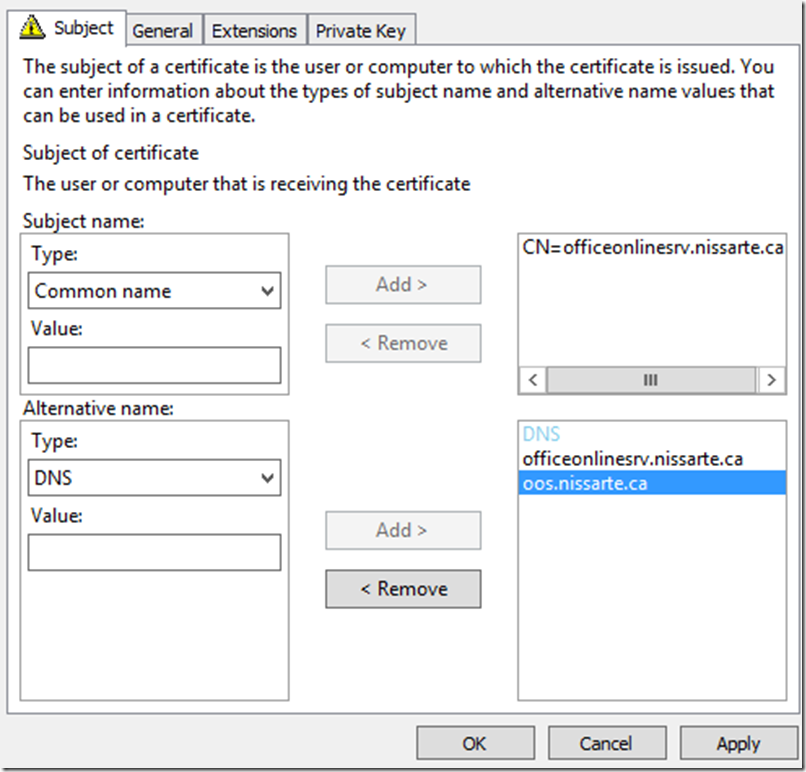
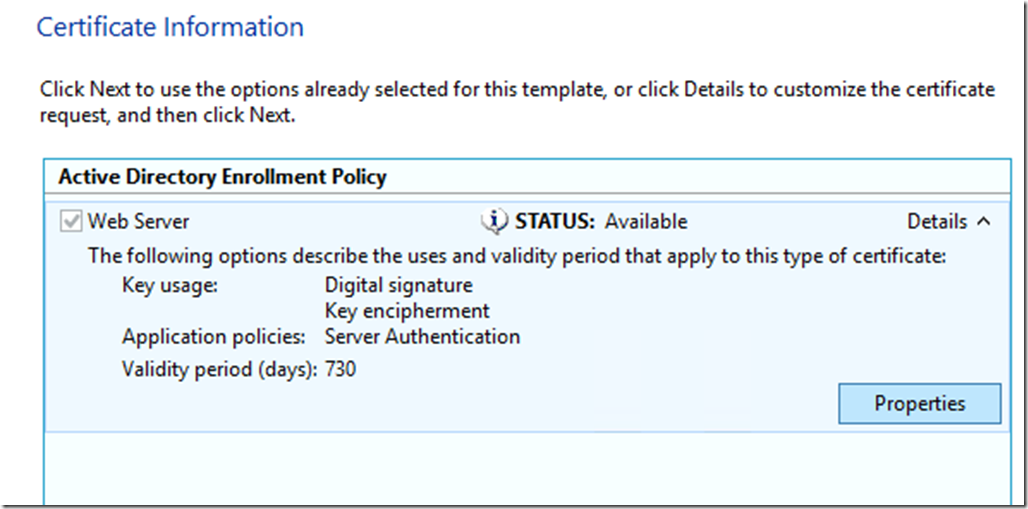 In the Subject field, specify the type common name and the FQDN of your server OOS
In the Alternative Name field, specify the type and the DNS FQDN of your server and the external OOS name to be published outside of your corporate network.
In the General tab, you can specify a friendly name:
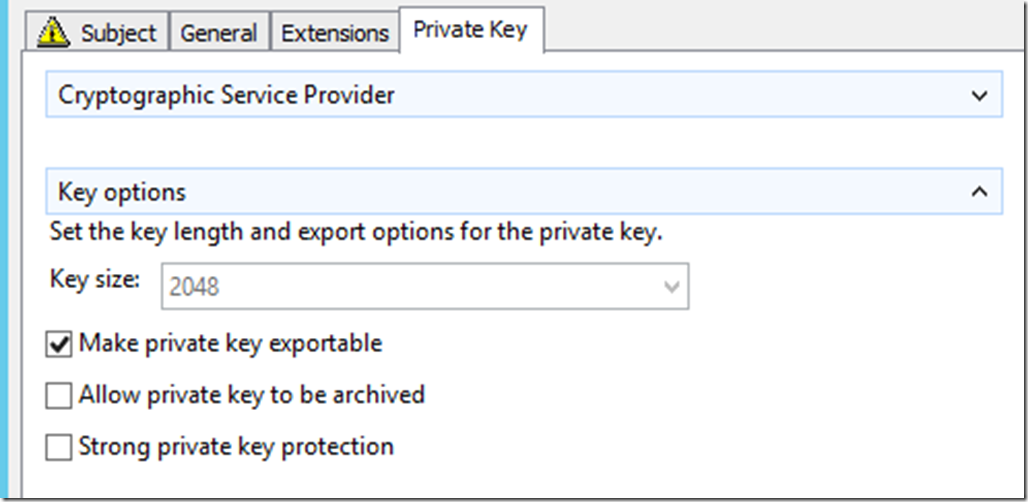
In the Private Key tab, under Key Options, check the Make private key exportable.
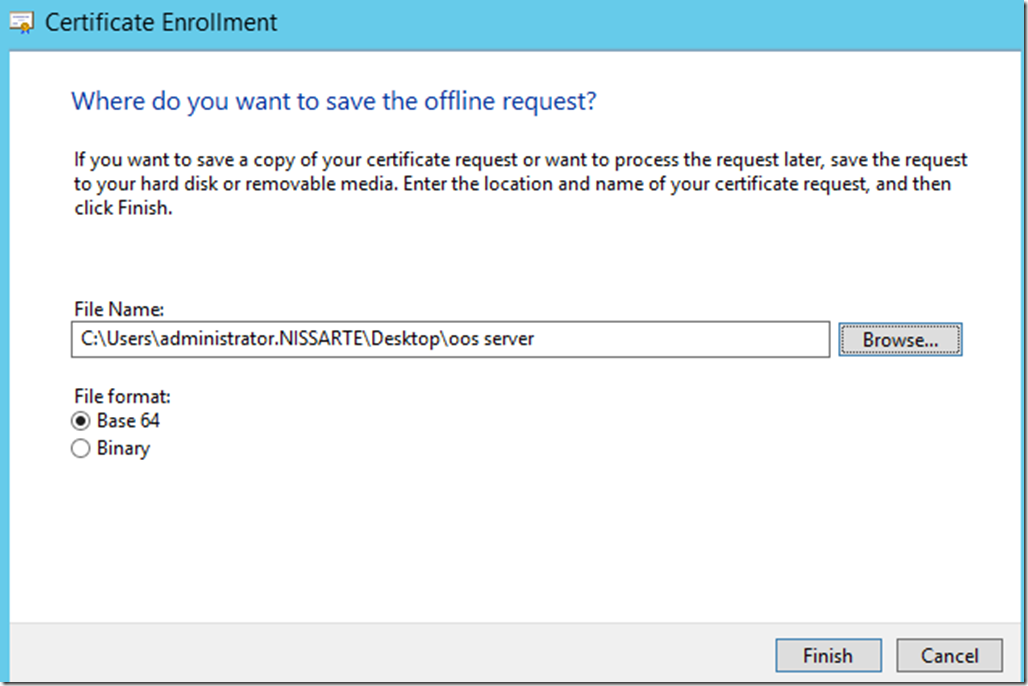
Finalise the request for the certificate.
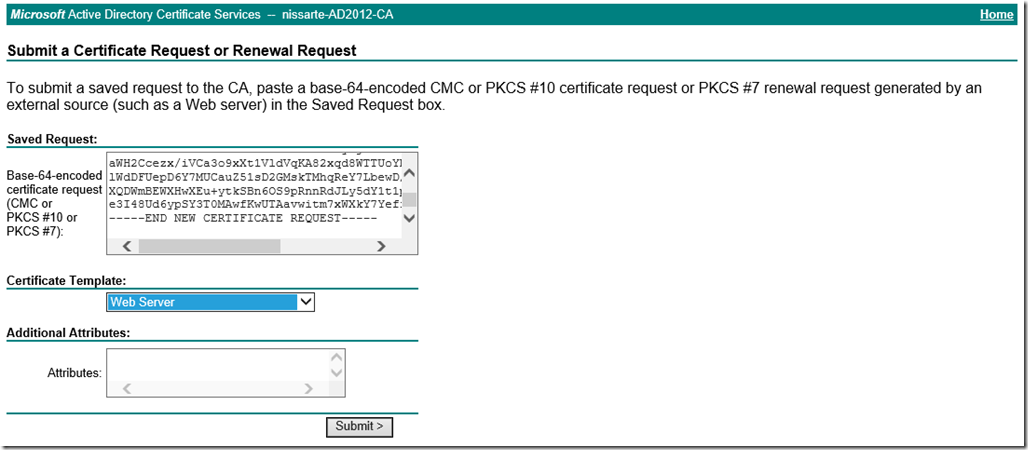
At this stage, we can submit the application previously created for our OOS server has the certificate authority that will issue the certificate.
Import the received certificate.
Step 4: Configuring Office Online Server
The server application is installed, we can now proceed with the configuration of the farm Office Online Server.
The operation is performed in PowerShell and allows you to specify the internal and external URL, as well as the certificate used.
PowerShell Command |
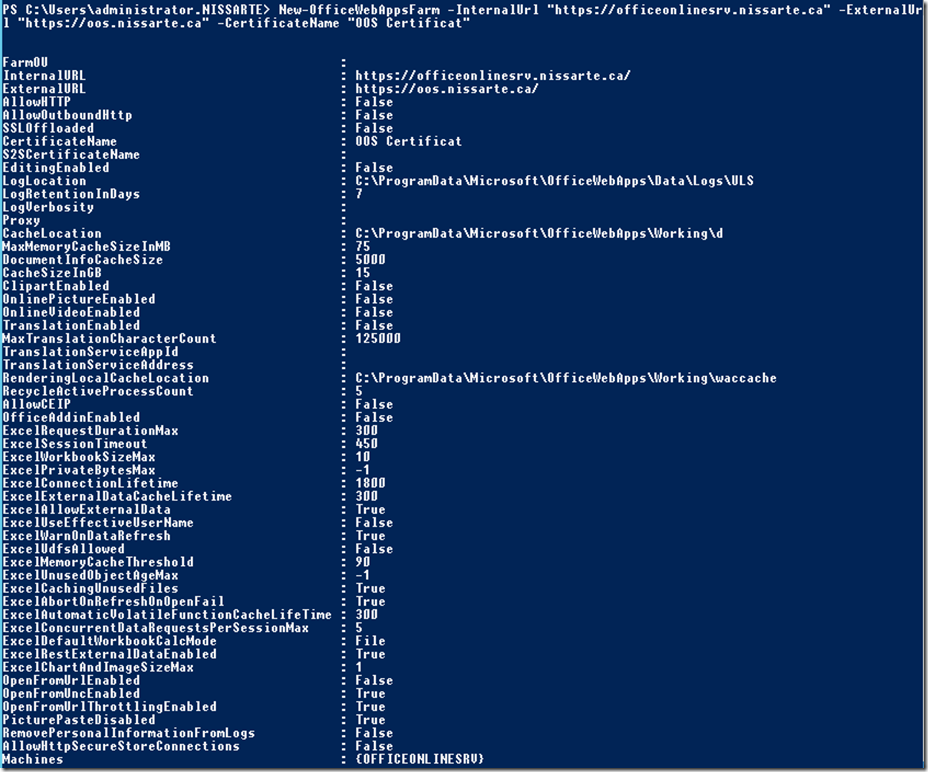
New-OfficeWebAppsFarm -InternalUrl "https://officeonlinesrv.nissarte.ca" -ExternalUrl "https://oos.nissarte.ca" -CertificateName "OOS Certificat" |
The parameters are as follows:
Ø InternalURL: FQDN of the Office Online server, in our example, officeonlinesrv.nissarte.ca.
Ø ExternalURL: FQDN accessible on the Internet, in our example, oos.nissarte.ca.
Ø CertificateName: Friendly name of the certificate to use.
Start a PowerShell window in administrator mode and copy and paste the command for your environment. The result appears after a few minutes of treatment and summarizing the farm configuration.
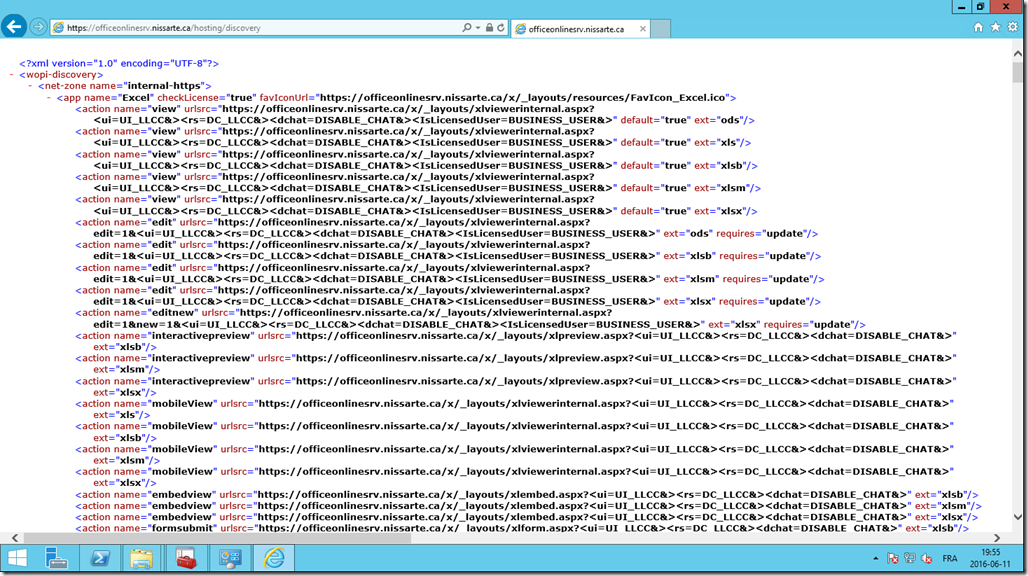
You can make a first step to validate the configuration using the Application Discovery page in a browser.
URL test |
https://officeonlinesrv.nissarte.ca/hosting/discovery |
If the result is successful, you should see the XML content in your browser.
Step 5: Configuring Skype for Business:
The installation and configuration of Office Online Server is completed and running, the next step is to declare in Skype for Business this new server.
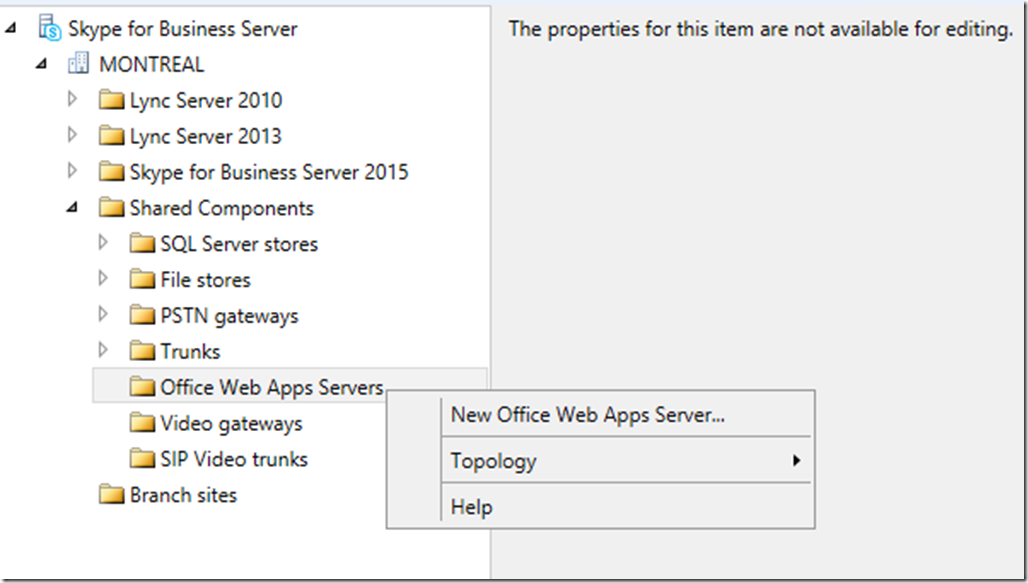
Since a Skype for Business Servers, open the topology builder.
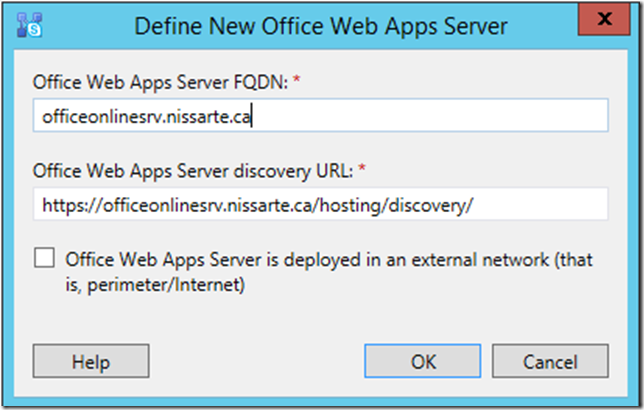
Select Shared Components and New Office Web Apps Server
Enter the FQDN of the server configures previously, in our example, it is officeonlinesrv.nissarte.ca.
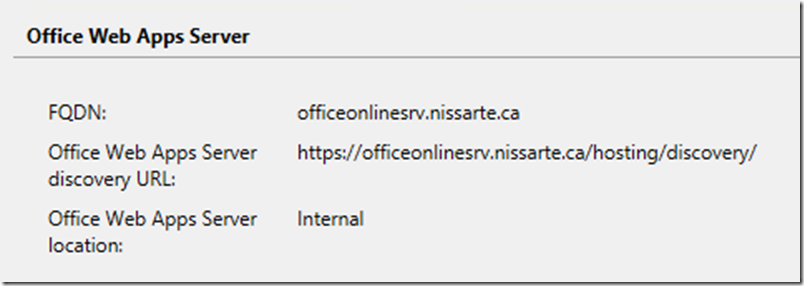
The result should be the following:
We now associate with the Office Online Server Skype for Business farm.
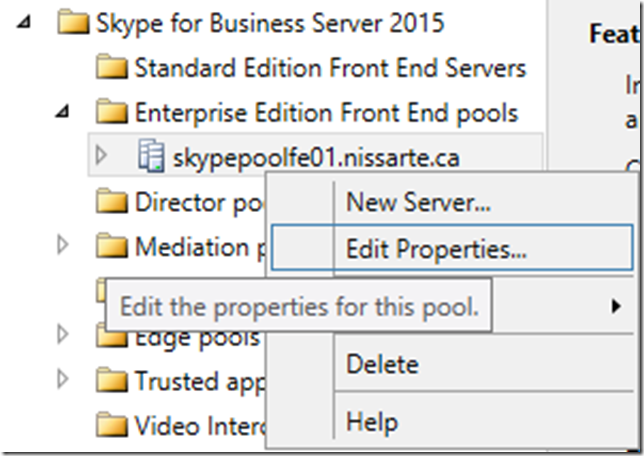
Select your Skype for Business farm, right click and choose Edit Properties.
Select Associate pool with an Office Web Apps Server and select said server.
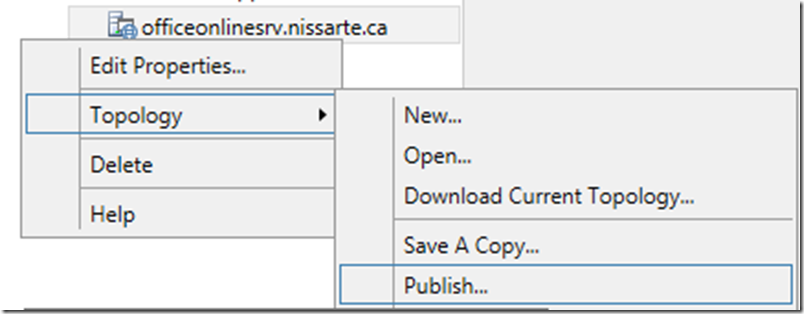
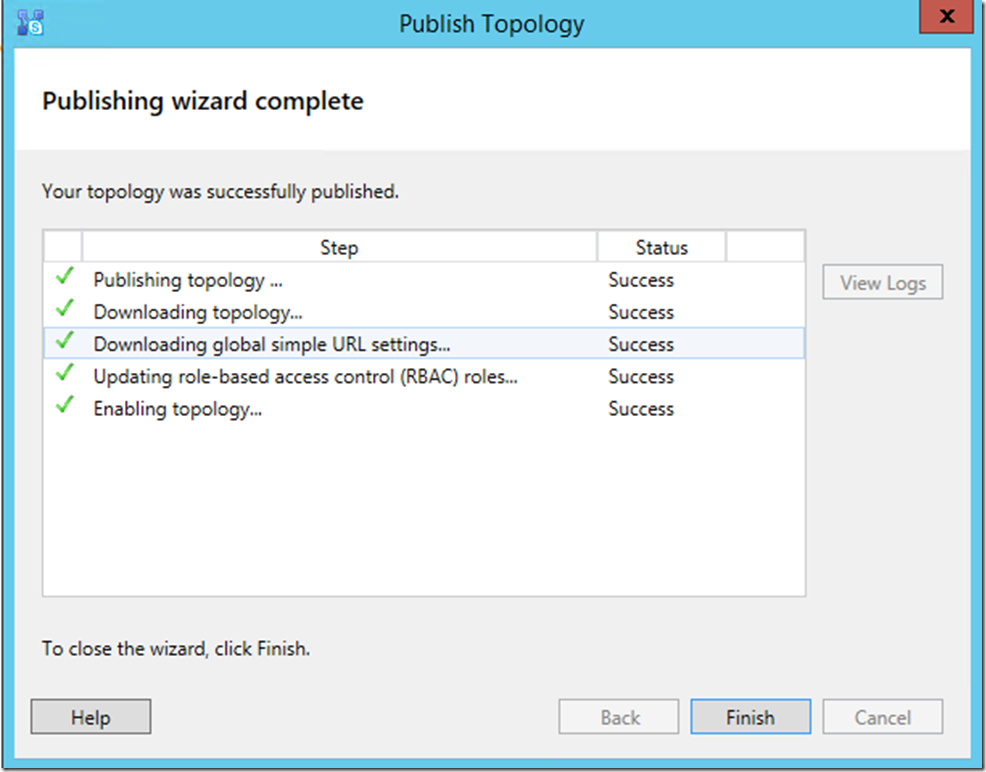
Publish Topology.
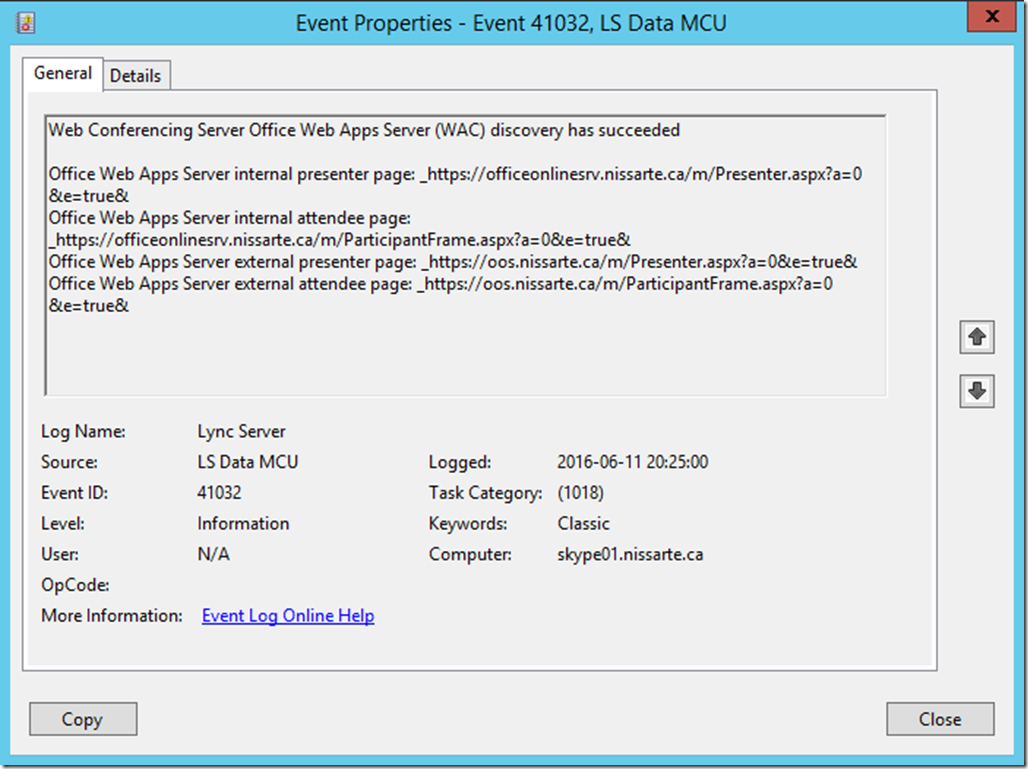
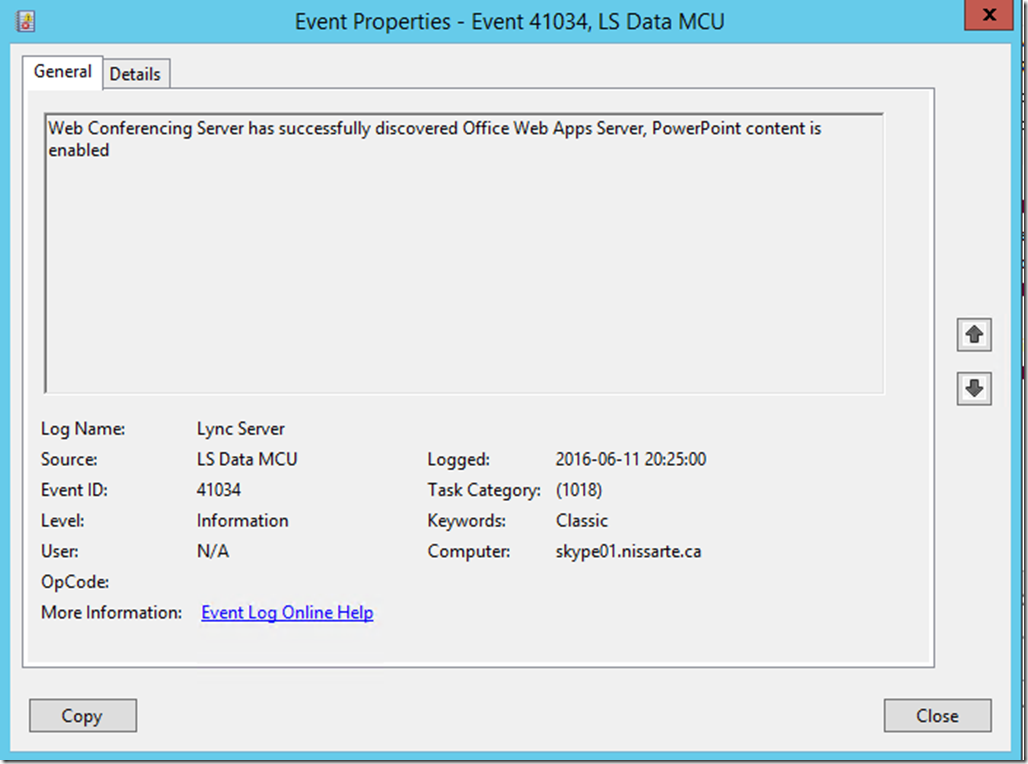
After the publication of this new topology, the configuration is functional in the event of Skype for Business newspaper, two information such occurrences with the 41032 and 41034 ID should be visible.
Event ID 41032 :
Event ID 41034:
Step 6: Test Functionality:
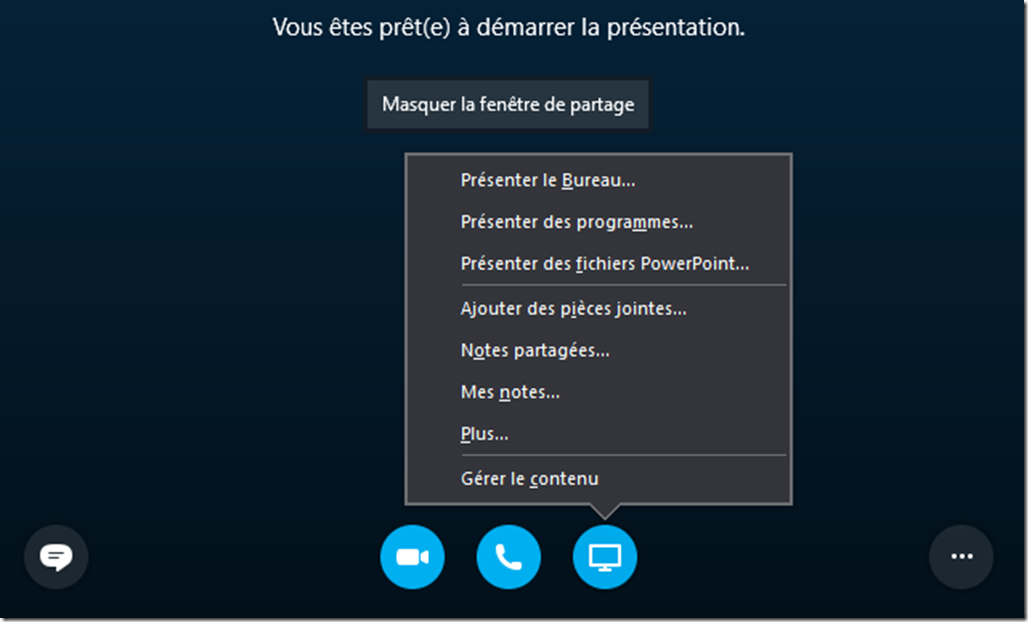
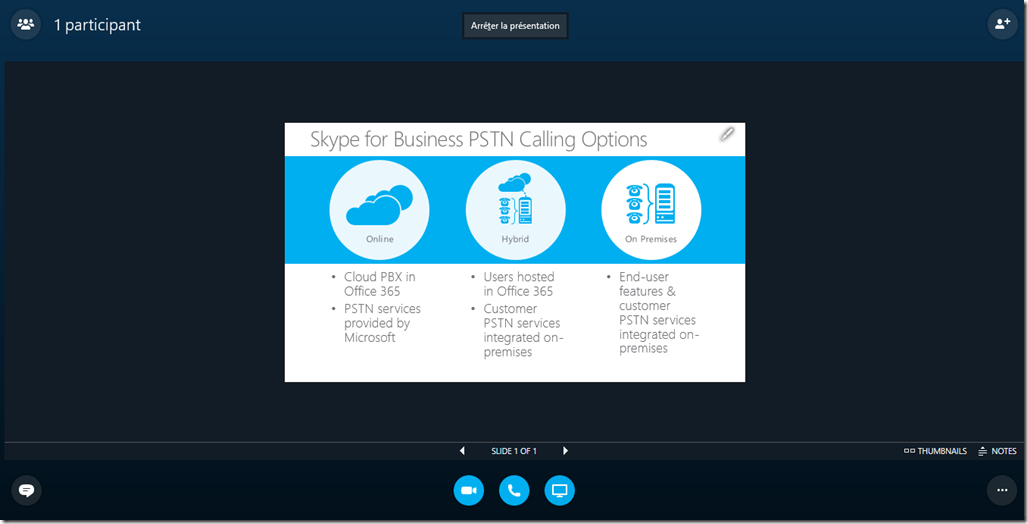
The ultimate test to validate that the feature is available consists of using the functionality Present PowerPoint files during a Skype for Business conference.
After the import of the PowerPoint slides are completed, the slides should be available.
Comments
- Anonymous
July 06, 2016
Hi, can you translate the:o 443 pour HTTPSo 80 pour httpo 809 pour le trafic entre les serveurs OOS d’une fermeSection to English please?thanks :)- Anonymous
July 11, 2016
Translated. Thank you for your help.
- Anonymous
- Anonymous
September 02, 2016
Just a network question: Do the user hit the office online server via HTTPS or is that tunneled for internal users via the Skype frontend Server?- Anonymous
September 21, 2016
The comment has been removed
- Anonymous
