Class Viewer: An Easy Way to View Class Hierarchy and Hosting Relationships in the Operations Manager Console
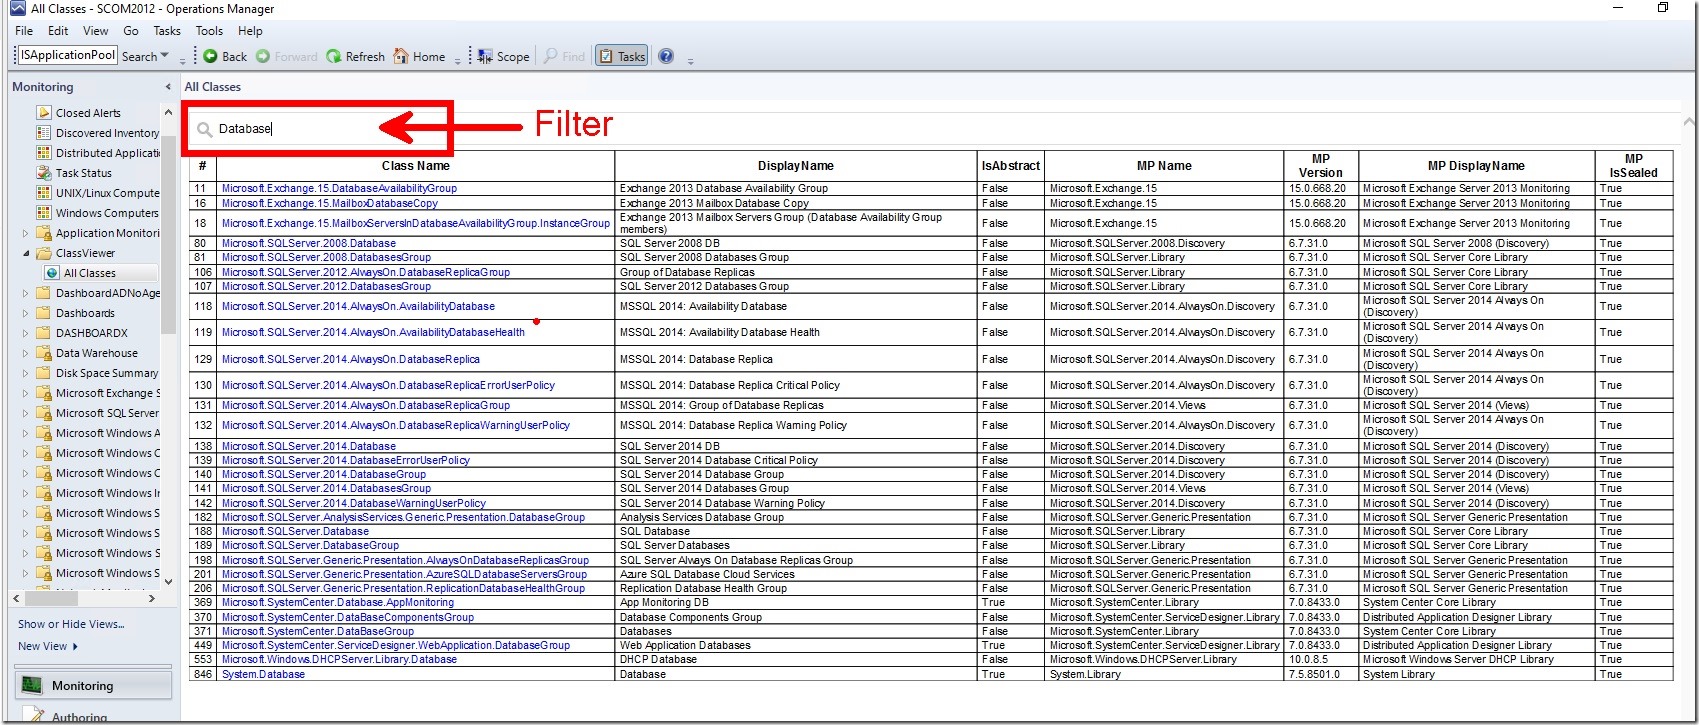
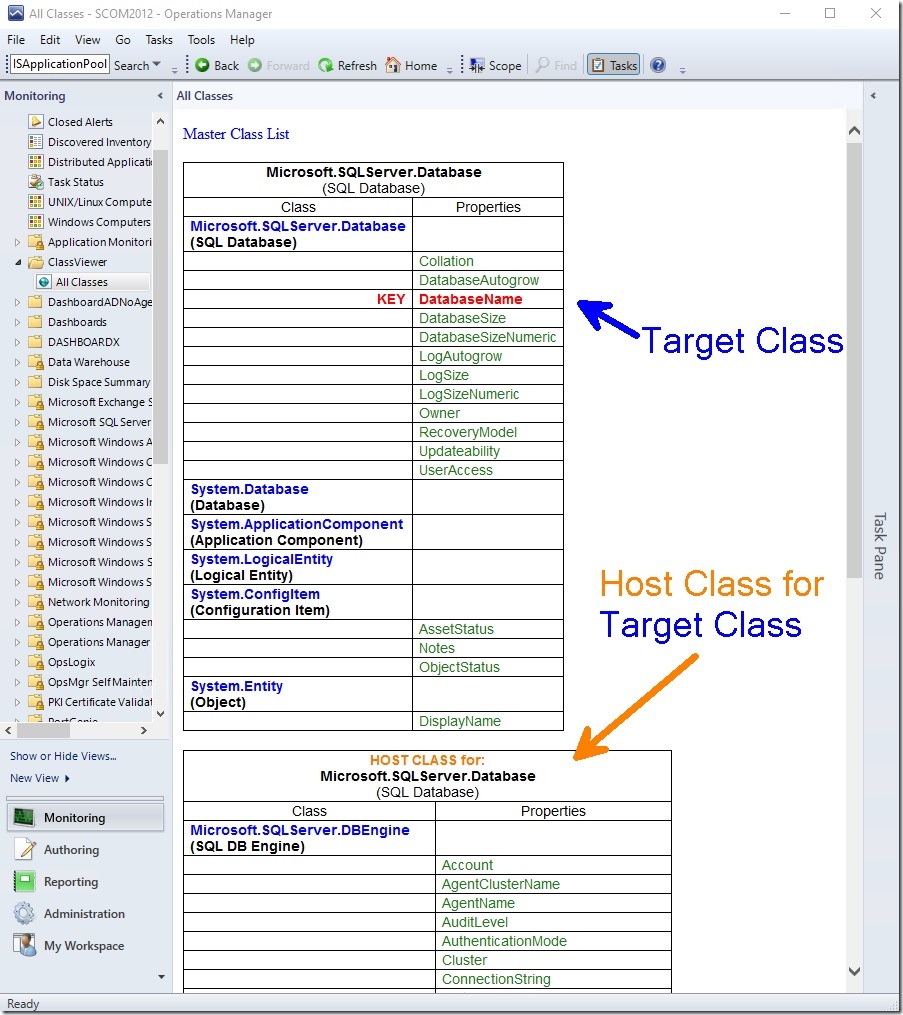
Up until now there has been no easy way to get a good, visual perspective on the classes and hosting relationships that exist in your SCOM management group. I introduce ClassViewer; a script that will add a Web Page view into your Monitoring workspace so that you can see all classes in your management group as well as properties and hosting relationships.
Overview:
This script will generate an .html file for each known class in your management group and also a single “master’ file which contains a filter-enabled list of all the classes. The files will need to exist under a virtual directory on a web server.
Which web server?
This is up to you. I recommend using your existing SCOM Web Console server “OperationsManager” virtual directory.
How many classes are there? How many files will be created?
This depends on your management group. All management groups are different, with different customizations and different management packs loaded. You can expect somewhere between 1000 and 2000 individual .html files to be created in a subdirectory; 1 per class. (My lab instance has 263 MPs and 1644 classes)
Installation Steps:
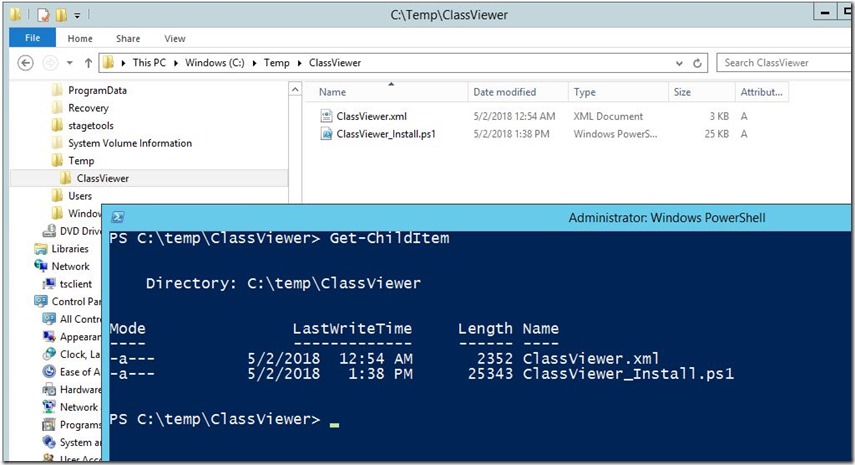
1) Download the .zip and extract the contents to a local folder on your web server. Usually this would be your SCOM Web Console server.
2) Open a PowerShell Console (ideally the Operations Manager Console). Navigate to the folder where you extracted the files.
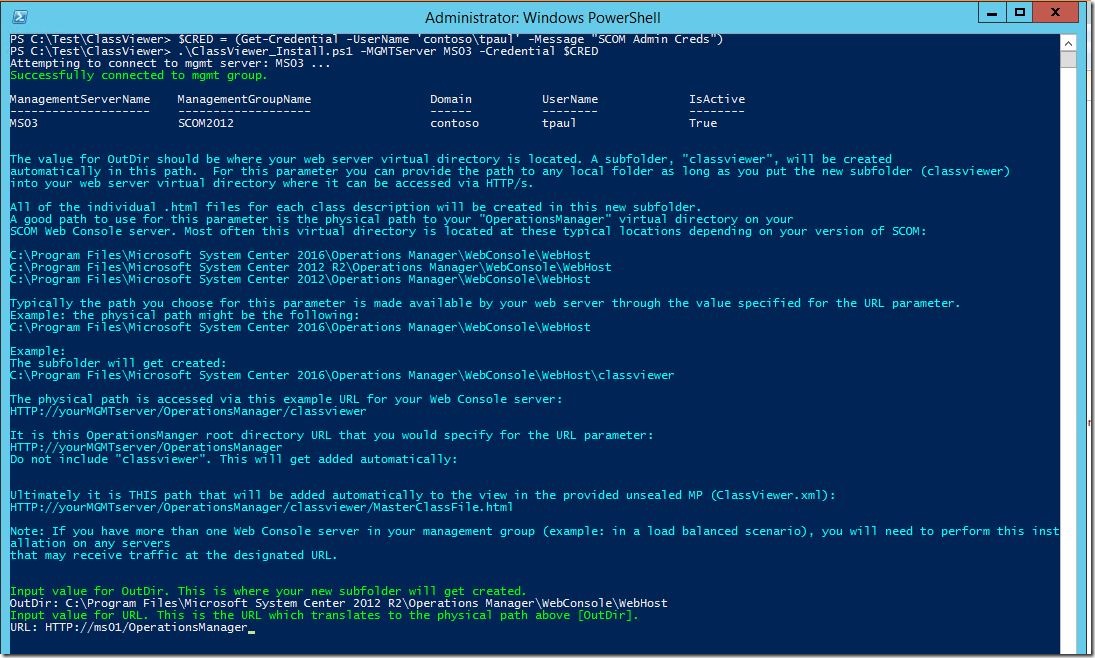
3) Launch the script from the PowerShell Console. You will be prompted for two mandatory parameters:
OutDir and URL.
About the parameters: OutDir, URL
If either of these parameters are not provided at the command line, the user will be prompted to input values for each parameter. The value for OutDir should be where your web server virtual directory is located. Once this value is provided by the user, a subfolder, "classviewer", will be created automatically in this path. It is in this subfolder where all of the individual .html files for each class description will be created. Remember, there will be upwards of 1000 individual files created inside this new subfolder.
(Note: For this parameter you can provide the path to any local folder as long as the new subfolder “classviewer” is located in your web server virtual directory where it can be accessed via HTTP/s. )
A good path to use for this parameter is the physical path to your "OperationsManager" virtual directory on your SCOM Web Console server. Most often this virtual directory is located at these typical locations depending on your version of SCOM:
C:\Program Files\Microsoft System Center 2016\Operations Manager\WebConsole\WebHost
C:\Program Files\Microsoft System Center 2012\Operations Manager\WebConsole\WebHost
C:\Program Files\Microsoft System Center 2012 R2\Operations Manager\WebConsole\WebHost
Typically the folder you choose for the OutDir parameter is made available by your web server through the value specified for the URL parameter.
Example: the physical (OutDir) path might be the following:
C:\Program Files\Microsoft System Center 2016\Operations Manager\WebConsole\WebHost
The subfolder will get created automatically by the script:
C:\Program Files\Microsoft System Center 2016\Operations Manager\WebConsole\WebHost\classviewer
This physical path would be accessible via this example URL for your Web Console server:
https://yourMGMTserver/OperationsManager/classviewer
It is this OperationsManger virtual directory URL that you would specify for the URL parameter: https://yourMGMTserver/OperationsManager
Do not include "classviewer". This will get added automatically by the script.
Ultimately it is THIS path that will be added automatically to the View in the provided unsealed MP (ClassViewer.xml):
https://yourMGMTserver/OperationsManager/classviewer/MasterClassFile.html
In this example, it is this URL above which must be accessible from the Console server (where the Console is launched; this could be your workstation or any other server where the Console is installed).
Note: If you have more than one Web Console server in your management group (example: in a load balanced scenario), you will need to perform this installation on any servers that may receive traffic at the designated URL. Each web server will need a set of the .html files.
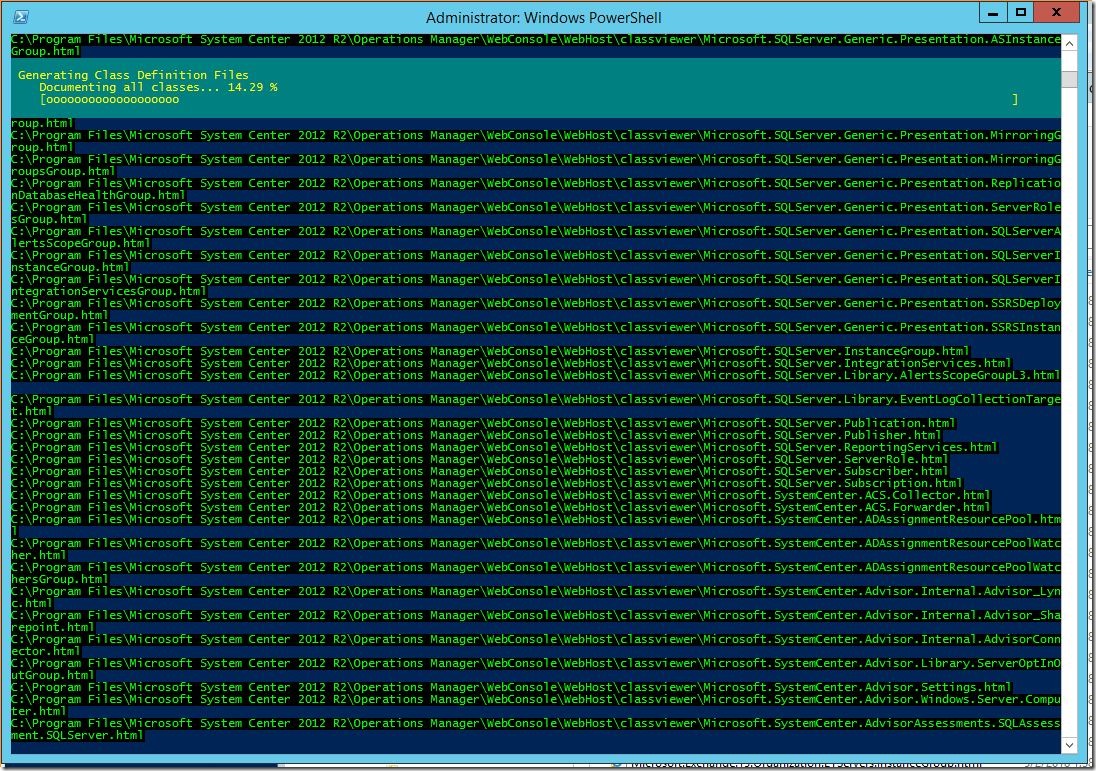
After you provide the OutDir and URL values the script should proceed to generate the output files at the OutDir path that was previously provided.
In my lab I used this value for OutDir:
C:\Program Files\Microsoft System Center 2012 R2\Operations Manager\WebConsole\WebHost
I used this value for URL:
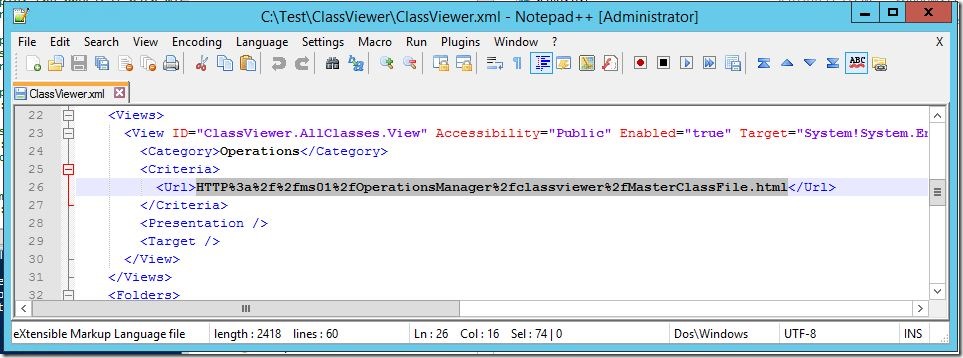
https://ms01/OperationsManager
This is the value that got created inside the ClassViewer.xml file. As you will notice, it is encoded.
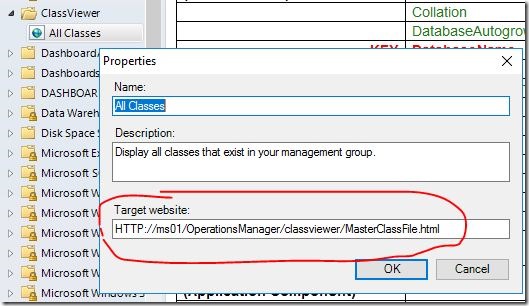
It results to this (unencoded):
You will be prompted to import the ClassViewer.xml unsealed management pack. This management pack contains the preconfigured Web Page View. (SCOM Administrator rights will be required. )
Success!
You can run the script again at any time to update the class files.
Comments? Suggestions? Let’s Have’em.
Thanks to Jon Almquist for the idea.
Comments
- Anonymous
May 08, 2018
Great articles Tyson- Anonymous
May 08, 2018
Thanks! I try.
- Anonymous
