Integrating the Oculus Rift into Unity
This post is about how I integrated the Oculus Rift into my Unity game. My game (Mysterious Mushrooms) is a First Person Shooter, so to put it simply I replaced the 3d first person character controller with the OVR controller, then changed some settings. You would need to optimize the settings specifically to your game, but this is a starting point you could work with.
Here it is step by step.
Step 0: Open up your game in Unity
Step 1: Disable your First Person Controller in the Hierarchy
Step 2: Assets -> Import Package -> Custom Package -> Oculus Unity Integration (which you should have downloaded already, see my previous post on what you need to download)
You should see the OVR folder now showing up in your Projects area
Step 3: Expand the OVR folder -> Prefabs
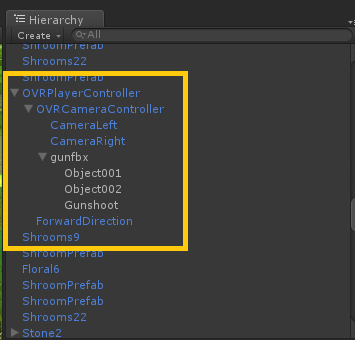
Step 4: Drag the OVR Player Controller (found in Prefabs) into your scene. Make sure that it is somewhere in your scene, not off randomly in space. You'd want to put it where you would have had your main camera, or somewhere in that realm at least.
Step 5: If there is anything you had on the Main Camera that you still want in your game, drag it onto the OVR Player Controller. In my case, I still wanted my gun scripts to work. And Audio
Now for Settings..
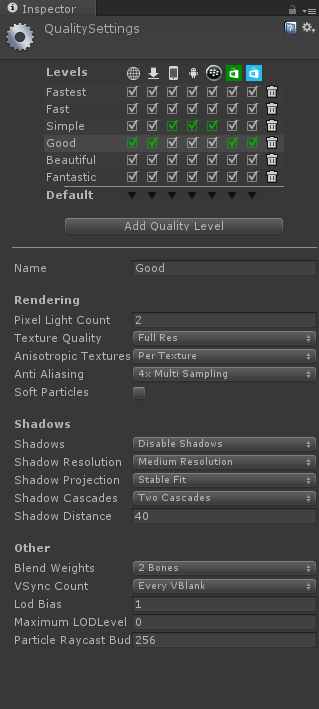
Step 6: Edit -> Project Settings -> Quality
Step 7: Set Anti Aliasing setting to 4x
Step 8: Disable shadows
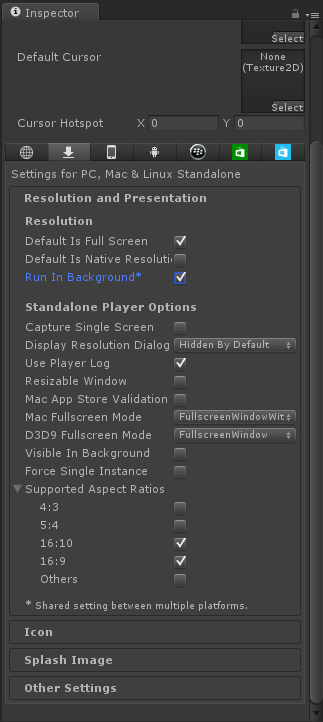
Step 9: Edit -> Project Setings -> Player Settings -> Resolution (look over to Inspector now) -> PC, Mac, Linux Standalone
Optional Step: Uncheck "Default is Native" and select 1920 x 1080
Step 10: Check "Run in Background"
Step 11: Support Aspect Ratios 16:9 and 16:10
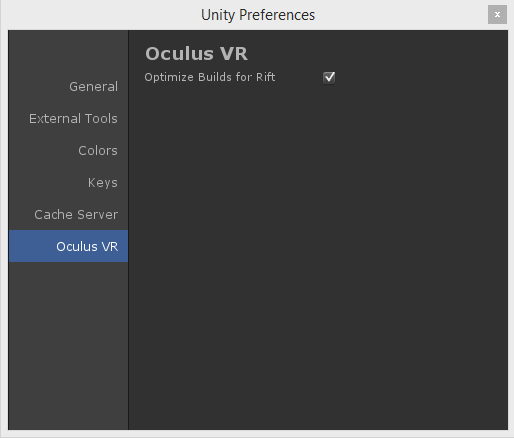
Step 12: Edit -> Preferences -> Oculus VR -> Check Optimize Builds for Rift
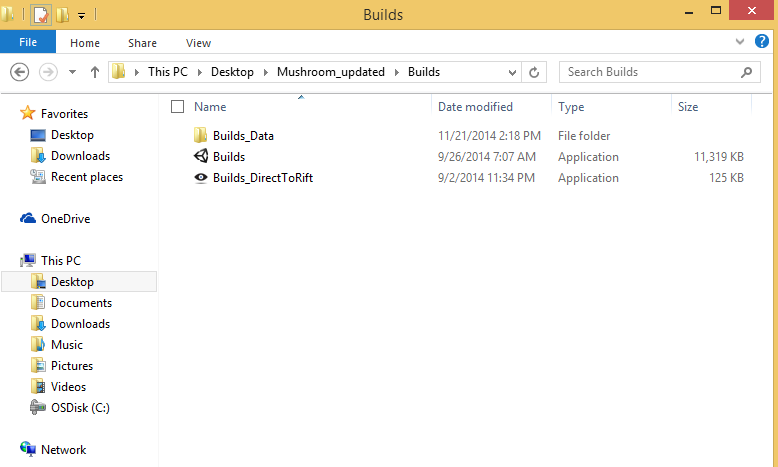
Step 13: Build your game out as you normally would. It should create a "DirectToRift" build which you can run with your Oculus Rift headset hooked up.
What settings does YOUR game use? Comment below, or tweet at me! @stopNgoh
Comments
- Anonymous
March 23, 2015
Great post! Super useful and educational. http://vreality.wix.com/blog
