Step 2: Create a managed solution for your app
Create a managed solution to include all the components for your app. You might find these topics helpful as you plan and create a managed solution to package your app components:
You can also work with solutions using code: Create, export, or import an unmanaged solution
Display name and description of your solution
While creating a solution to package your app components, make sure you provide appropriate values in the Display Name and Description columns for your new solution that you want to be displayed to your customers.

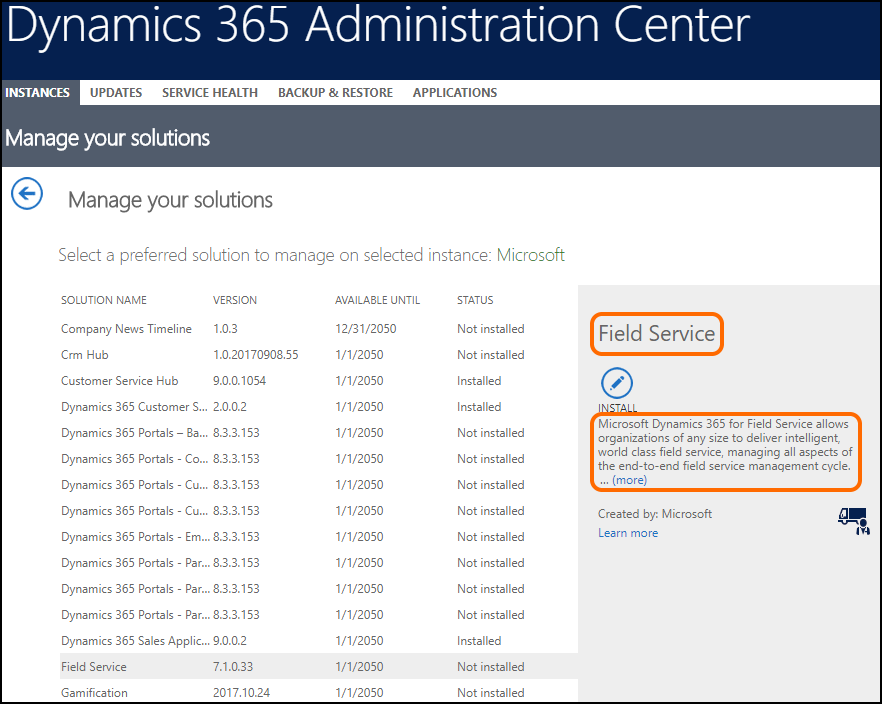
The Display Name and Description values for a solution are displayed to the customers in the Dynamics 365 Administration Center portal.

Export the solution
Proceed with exporting the solution from the environment. When exporting the solution, choose to export as a managed solution. More information: Export solutions
Supporting data for your solution
If your solution requires supporting or demo data:
- Create supporting/demo data in your test environment.
- Use the Configuration Migration tool to create a schema to include your supporting/demo data.
- Save the schema file so that you can reuse it later to update the data in case your demo data changes.
- Use the schema to export the data. Ensure that you provide a meaningful name to your export file. The data is exported and as a .zip file.
For detailed information about using the Configuration Migration tool to create a schema and export your data, see Create a schema to export configuration data
At the end of this step
You will now have a managed solution file (example: SampleSolution.zip) and optionally a demo data file (example: SampleData.zip) for your app.
Optional licensing information: If you wish to add licensing information to your solution, see Appendix: Add licensing information to your solution