Install and configure Azure DevOps on-premises
TFS 2017 | TFS 2015
You have several choices in how to deploy Azure DevOps Server 2019, previously named Visual Studio Team Foundation Server (TFS). You can install everything on a single server. Or, you can use multiple application tiers and SQL instances. For information about how to determine the right type of deployment for your team, see Hardware recommendations.
Deployment choices
Single server: A single-server deployment is the easiest deployment because the application-tier and data-tier are on the same machine. Choose this deployment when support a single team or small set of teams.
Dual servers: A dual-server deployment, with separate application and data-tiers, can provide better performance for larger set of teams and to support teams which have above average usage.
Multiple servers: Chooose this type of deployment, which involves multiple application and data tiers, to provide better performance for very large teams and teams with very heavy usage. By using more than one server, you improve high availability and disaster recovery ability.
Installations for evaluation or personal use
If you set up Azure DevOps on-premises for personal use or to evaluate it, use Azure DevOps Express. Azure DevOps Express is free, simple to set up, and installs on both client and server operating systems. It supports all of the same features as Azure DevOps Server 2019. TFS Express licensing limits use to five active users.
Tip
Consider using a free Azure DevOps Services organization for personal use. Because Azure DevOps Services are cloud-based, you don't need to install them on your own hardware or manage your own backups.
The deployment process
No matter how you plan to deploy Azure DevOps Server, the process involves the following three steps:
Preparation: The installer prepares one or more servers for Azure DevOps Server or TFS by reviewing and following the system requirements.
Installation: The installer places executables on your server and runs an installer from VisualStudio.com or the Volume Licensing Service Center.
Configuration: This step configures the installed features to get your installation up and running. When you run a configuration wizard, it runs a series of readiness checks. These checks make sure that your system meets the requirements and that your setting selections are likely to work. If there are any issues, one or more warnings or error messages display. After you resolve all errors, run the configuration to finish setting up your deployment.
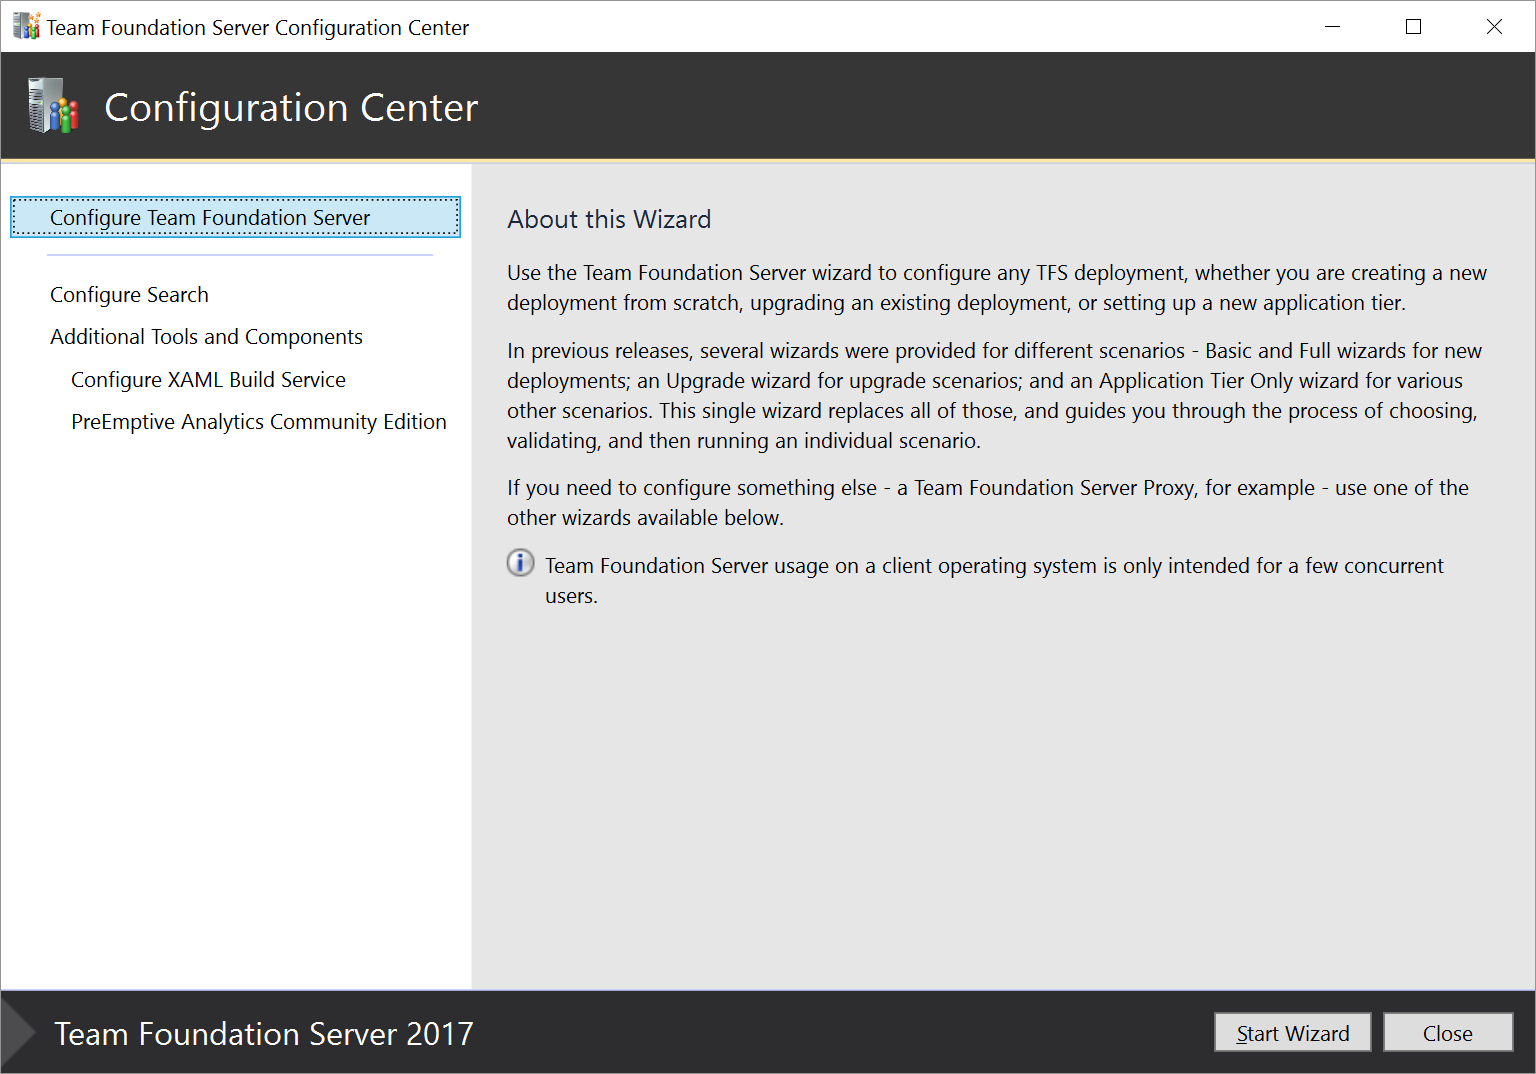
When installation finishes, the installer starts the Team Foundation Server Configuration Center. For TFS 2017 and later versions, a unified wizard supports all TFS configurations, such as new installations, upgrades, and application-tier-only scenarios. For TFS 2015 and earlier versions, select the appropriate wizard for your scenario.

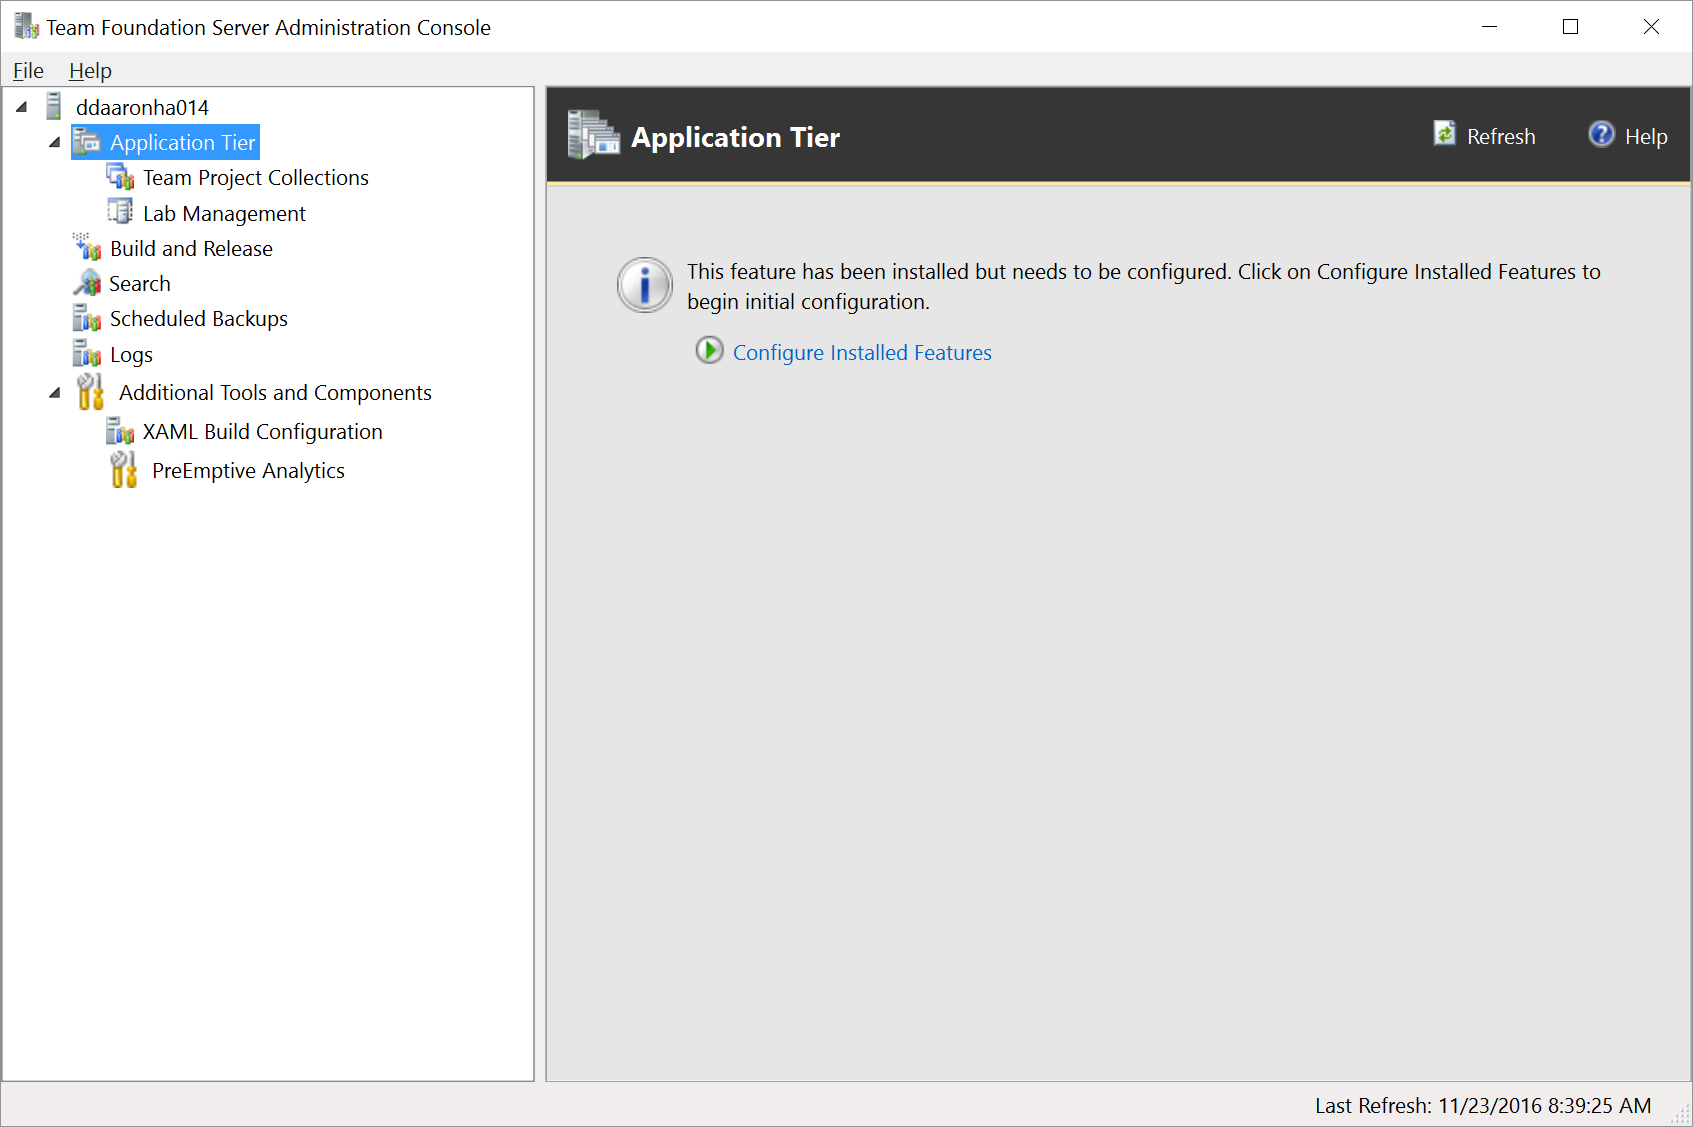
If you need to close the Configuration Center, you can return to it. Start the Team Foundation Server Administration Console, and select Configure Installed Features from the Application Tier node.

Configuration options: Basic and Advanced
The Server Configuration Wizard supports two main configuration options: Basic and Advanced.
Basic
Choose Basic when you want to configure the application-tier server and install and configure the Search extension, or configure some other third party search feature. Installing and configuring Search supports Code, Work Item and Wiki search features. To learn more, see Configure search.
Advanced
Choose Advanced when you want to configure your deployment to support these additional features, in addition to the features configured with the Basic option:
- SQL Server Analysis Services
- SQL Server Reporting Services
- SharePoint integration