Learn to use the code editor
Applies to: ![]() Visual Studio
Visual Studio ![]() Visual Studio for Mac
Visual Studio for Mac
Note
This article applies to Visual Studio 2017. If you're looking for the latest Visual Studio documentation, see Visual Studio documentation. We recommend upgrading to the latest version of Visual Studio. Download it here
In this 10-minute introduction to the code editor in Visual Studio, we'll add code to a file to look at some of the ways that Visual Studio makes writing, navigating, and understanding code easier.
Tip
If you haven't already installed Visual Studio, go to the Visual Studio downloads page to install it for free.
This article assumes you're already familiar with a programming language. If you aren't, we suggest you look at one of the programming quickstarts first, such as create a web app with Python or C#, or create a console app with Visual Basic or C++.
Create a new code file
Start by creating a new file and adding some code to it.
Open Visual Studio.
From the File menu on the menu bar, choose New > File.
In the New File dialog box, under the General category, choose Visual C# Class, and then choose Open.
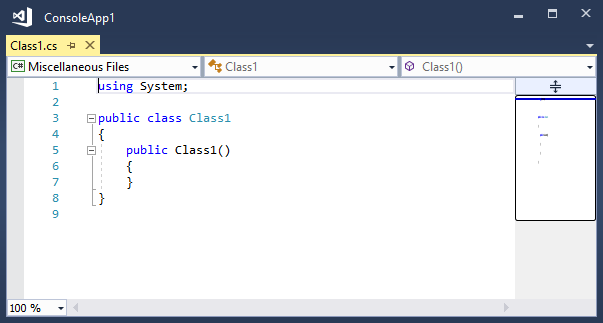
A new file opens in the editor with the skeleton of a C# class. (Notice that we don't have to create a full Visual Studio project to gain some of the benefits that the code editor offers; all you need is a code file!)

Use code snippets
Visual Studio provides useful code snippets that you can use to quickly and easily generate commonly used code blocks. Code snippets are available for different programming languages including C#, Visual Basic, and C++.
Let's add the C# void Main snippet to our file.
The list includes snippets for creating a class, a constructor, a for loop, an if or switch statement, and more.