Use the local web UI to administer your Data Box and Data Box Heavy
This article describes some of the configuration and management tasks performed on Data Box and Data Box Heavy devices. You can manage the Data Box and Data Box Heavy devices via the Azure portal UI and the local web UI for the device. This article focuses on tasks performed using the local web UI.
The local web UI for the Data Box and for Data Box Heavy is used for initial configuration of the device. You can also use the local web UI to shut down or restart the device, run diagnostic tests, update software, view copy logs, erase local data from the device, and generate a support package for Microsoft Support. On a Data Box Heavy device with two independent nodes, you can access two separate local web UIs corresponding to each node of the device.
Generate Support package
If you experience any device issues, you can create a Support package from the system logs. Microsoft Support uses this package to troubleshoot the issue.
To generate a Support package, take the following steps:
In the local web UI, go to Contact Support. Optionally, select Include memory dumps. Then select Create Support package.
A memory dump is the contents of your device's memory, saved after a system failure.
You shouldn't select the Include memory dumps option unless Support asks for one. It takes a long time to gather a support package that includes memory dumps, and sensitive data is included.
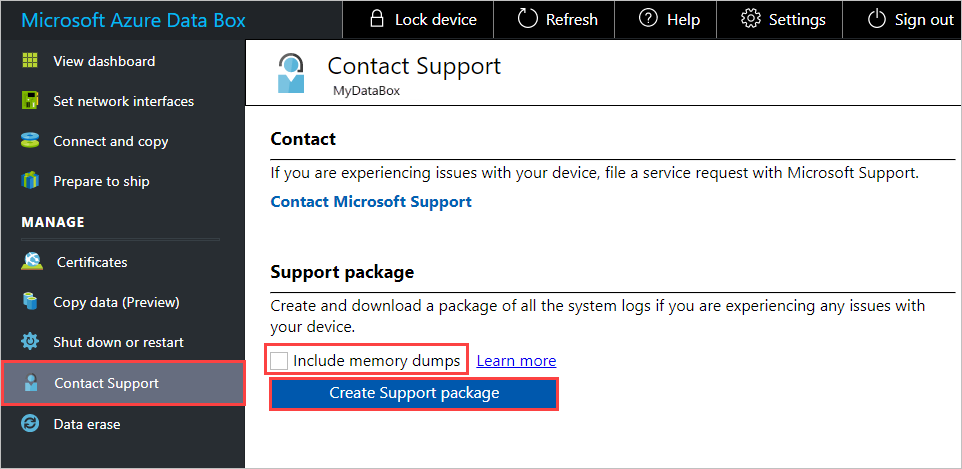
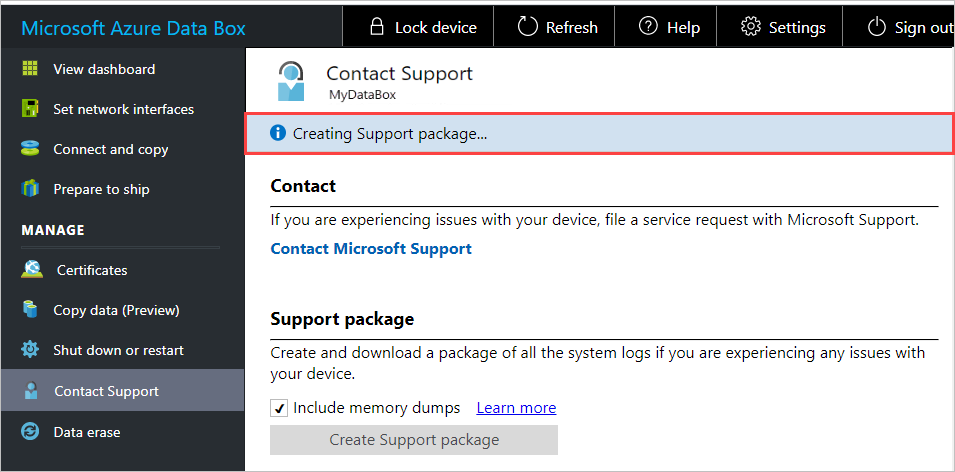
A Support package is gathered. This operation takes a few minutes if you only include system logs. If you include memory dumps, it takes a lot longer.
Once Support package creation is complete, select Download Support package.
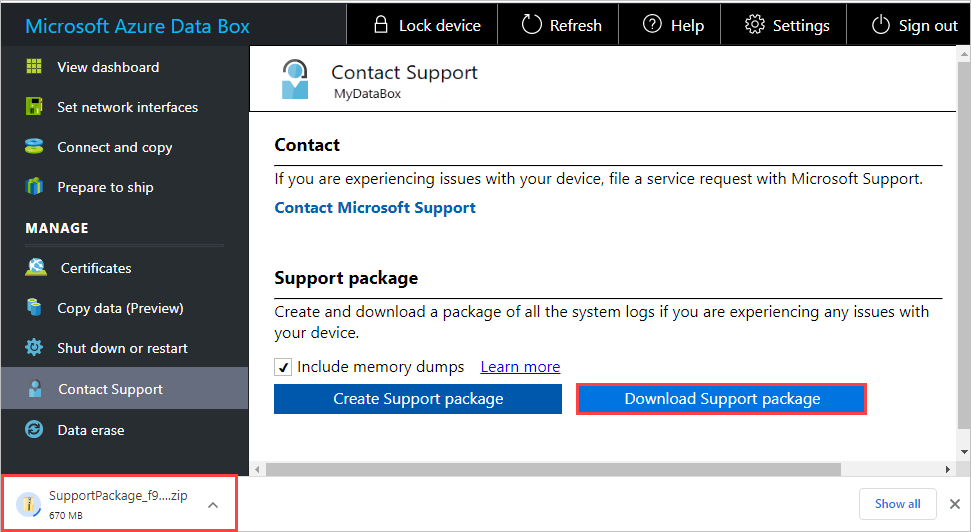
Browse and choose the download location. Open the folder to view the contents.

Erase local data from your device
You can use the local web UI to erase local data from your device before returning it to the Azure datacenter.
Important
A data erase can't be reversed. Before you erase local data from your device, be sure to back up the files.
To erase local data from your device, perform these steps:
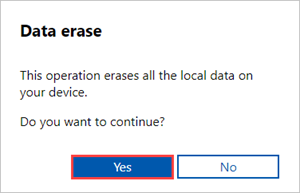
In the local web UI, go to Data erase.
Enter the device password, and select Erase data.
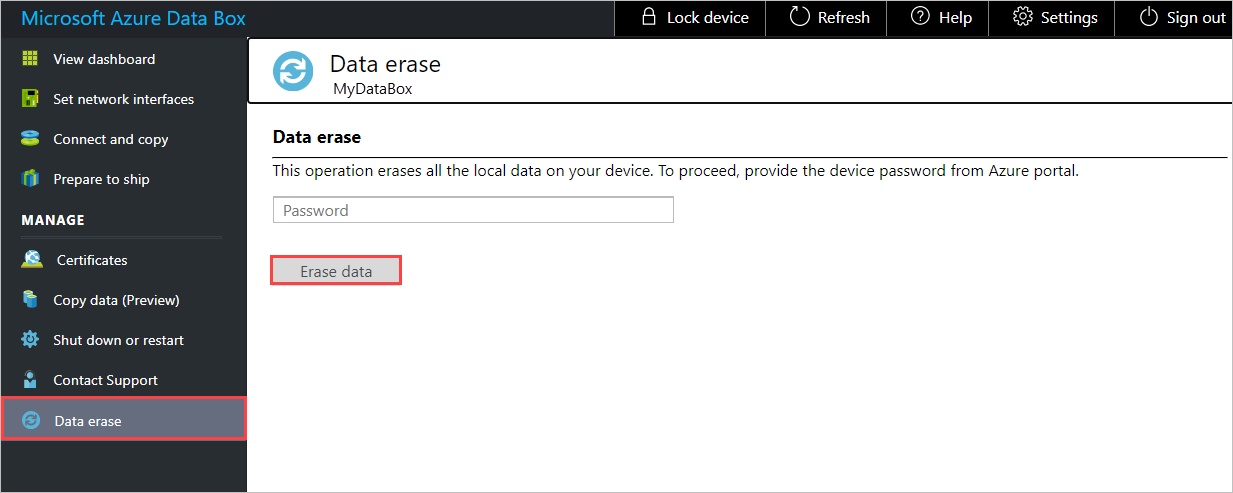
At the confirmation prompt, select Yes to continue. A data erase can take as long as 50 minutes.
Be sure to back up your local data before you erase it from the device. A data erase can't be reversed.
Shut down or restart your device
You can shut down or restart your device using the local web UI. We recommend that before you restart, you take the shares offline on the host and then the device. Doing so minimizes any possibility of data corruption. Ensure that data copy isn't in progress when you shut down the device.
To shut down your device, take the following steps.
In the local web UI, go to Shut down or restart.
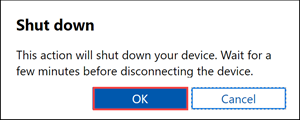
Select Shut down.

When prompted for confirmation, select OK to continue.
Once the device is shut down, use the power button on the front panel to turn on the device.
To restart your Data Box, perform the following steps.
In the local web UI, go to Shut down or restart.
Select Restart.

When prompted for confirmation, select OK to continue.
The device shuts down and then restarts.
Get share credentials
If you need to find out the username and password to use to connect to a share on your device, you can find the share credentials in Connect and copy in the local web UI.
When you order your device, you can choose to use default system-generated passwords for the shares on your device or your own passwords. Either way, the share passwords are set at the factory and can't be changed.
To get the credentials for a share:
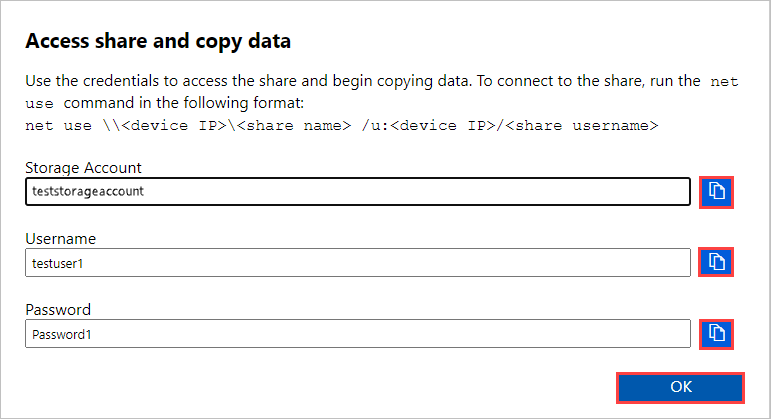
In the local web UI, go to Connect and copy. Select SMB to get access credentials for the shares associated with your storage account.

In the Access share and copy data dialog box, use the copy icon to copy the Username and Password corresponding to the share. To close the dialog box, select OK.
Note
After several failed share connection attempts using an incorrect password, the user account will be locked out of the share. The account lock will clear after a few minutes, and you can connect to the shares again.
- Data Box 4.1 and later: The account is locked for 15 minutes after 5 failed login attempts.
- Data Box 4.0 and earlier: The account is locked for 30 minutes after 3 failed login attempts.
Download BOM or manifest files
The BOM or the manifest files contain the list of the files that are copied to the Data Box or Data Box Heavy. These files are generated for an import order when you prepare the device to ship.
Before you begin, follow these steps to download BOM or manifest files for your import order:
Go to the local web UI for your device. Verify that your device has completed the Prepare to ship step. When the device preparation is complete, your device status is displayed as Ready to ship.
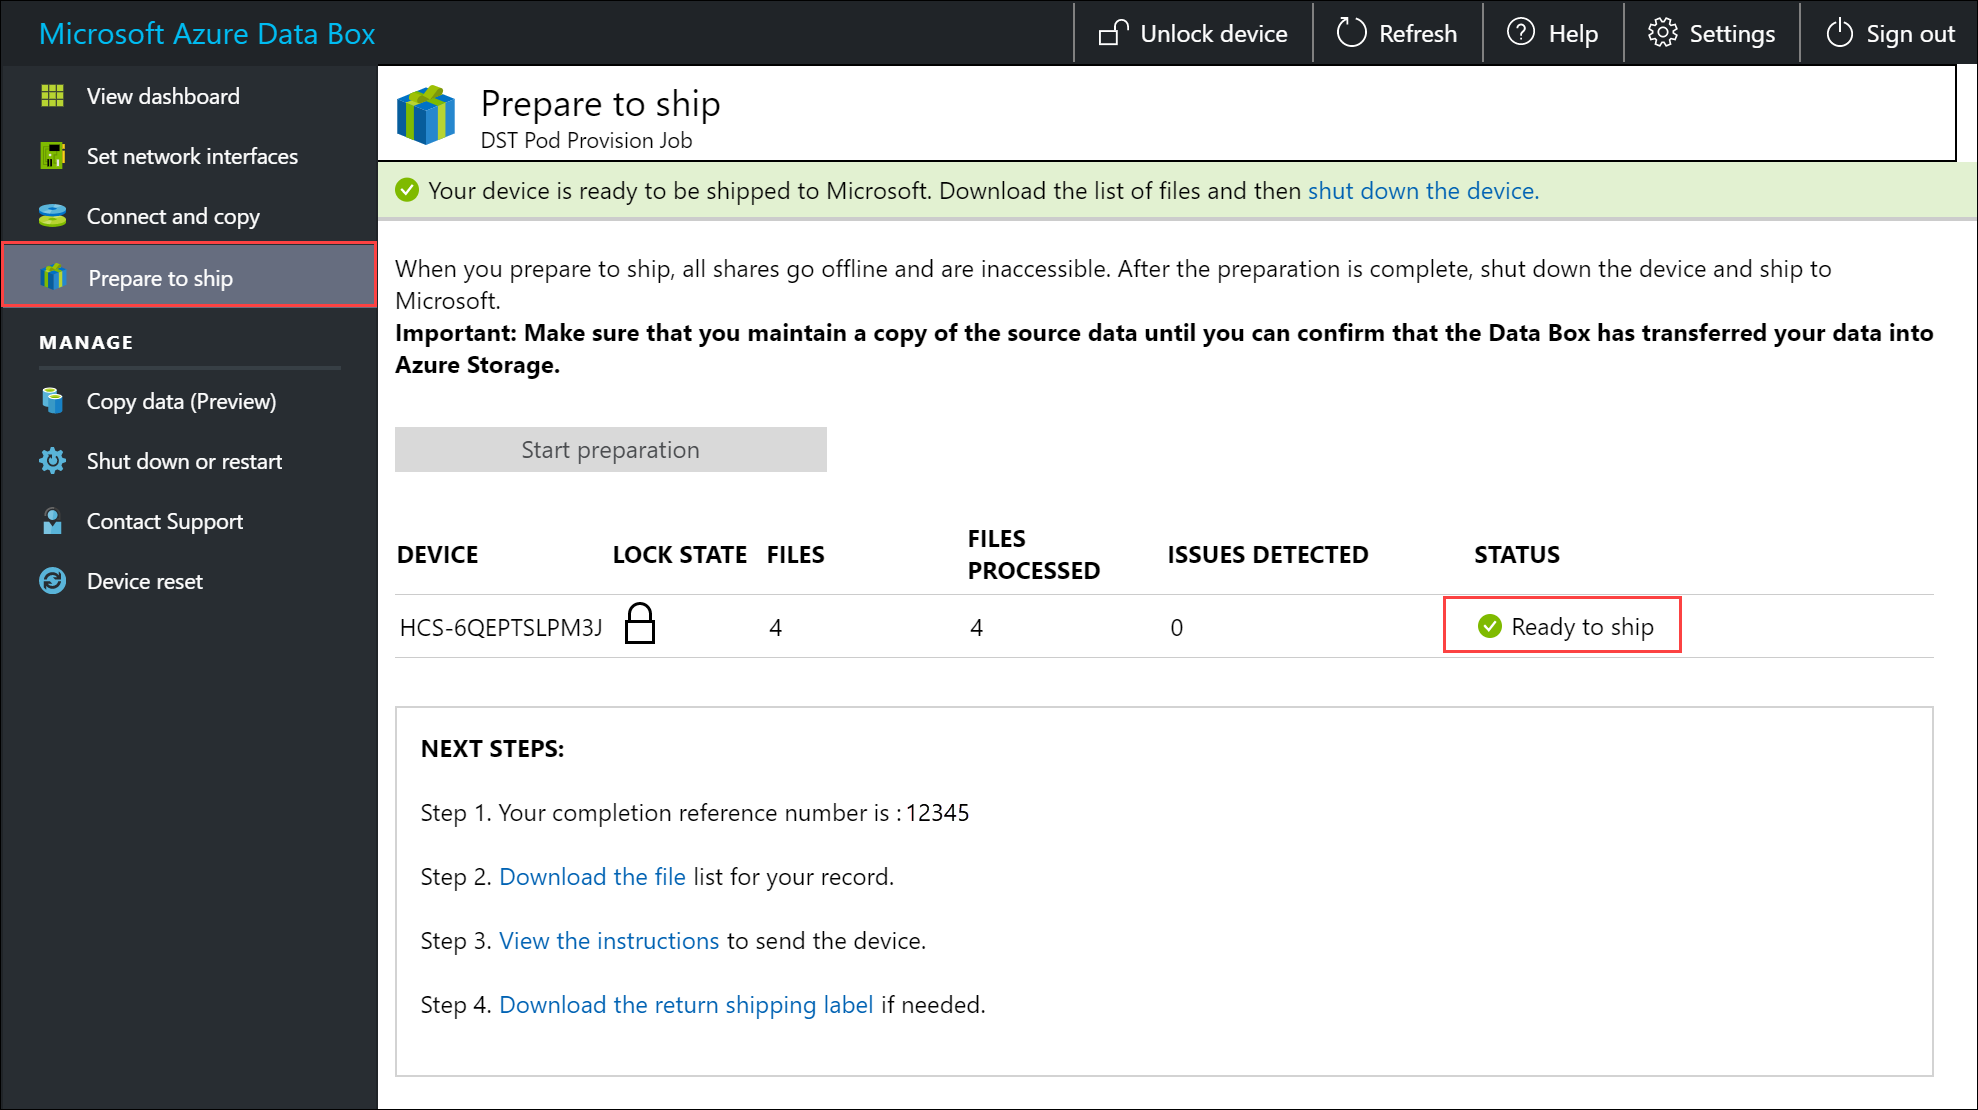
Select Download list of files to download the list of files that were copied on your Data Box.
In File Explorer, separate lists of files are generated depending on the protocol used to connect to the device and the Azure Storage type used.

The following table maps the file names to the Azure Storage type and the connection protocol used.
File name Azure Storage type Connection protocol used utSAC1_202006051000_BlockBlob-BOM.txt Block blobs SMB/NFS utSAC1_202006051000_PageBlob-BOM.txt Page blobs SMB/NFS utSAC1_202006051000_AzFile-BOM.txt Azure Files SMB/NFS utsac1_PageBlock_Rest-BOM.txt Page blobs REST utsac1_BlockBlock_Rest-BOM.txt Block blobs REST
You use this list to verify the files uploaded into the Azure Storage account after the Data Box returns to the Azure datacenter. A sample manifest file is shown below.
Note
On a Data Box Heavy, two sets of list of files (BOM files) are present corresponding to the two nodes on the device.
<file size="52689" crc64="0x95a62e3f2095181e">\databox\media\data-box-deploy-copy-data\prepare-to-ship2.png</file>
<file size="22117" crc64="0x9b160c2c43ab6869">\databox\media\data-box-deploy-copy-data\connect-shares-file-explorer2.png</file>
<file size="57159" crc64="0x1caa82004e0053a4">\databox\media\data-box-deploy-copy-data\verify-used-space-dashboard.png</file>
<file size="24777" crc64="0x3e0db0cd1ad438e0">\databox\media\data-box-deploy-copy-data\prepare-to-ship5.png</file>
<file size="162006" crc64="0x9ceacb612ecb59d6">\databox\media\data-box-cable-options\cabling-dhcp-data-only.png</file>
<file size="155066" crc64="0x051a08d36980f5bc">\databox\media\data-box-cable-options\cabling-2-port-setup.png</file>
<file size="150399" crc64="0x66c5894ff328c0b1">\databox\media\data-box-cable-options\cabling-with-switch-static-ip.png</file>
<file size="158082" crc64="0xbd4b4c5103a783ea">\databox\media\data-box-cable-options\cabling-mgmt-only.png</file>
<file size="148456" crc64="0xa461ad24c8e4344a">\databox\media\data-box-cable-options\cabling-with-static-ip.png</file>
<file size="40417" crc64="0x637f59dd10d032b3">\databox\media\data-box-portal-admin\delete-order1.png</file>
<file size="33704" crc64="0x388546569ea9a29f">\databox\media\data-box-portal-admin\clone-order1.png</file>
<file size="5757" crc64="0x9979df75ee9be91e">\databox\media\data-box-safety\japan.png</file>
<file size="998" crc64="0xc10c5a1863c5f88f">\databox\media\data-box-safety\overload_tip_hazard_icon.png</file>
<file size="5870" crc64="0x4aec2377bb16136d">\databox\media\data-box-safety\south-korea.png</file>
<file size="16572" crc64="0x05b13500a1385a87">\databox\media\data-box-safety\taiwan.png</file>
<file size="999" crc64="0x3f3f1c5c596a4920">\databox\media\data-box-safety\warning_icon.png</file>
<file size="1054" crc64="0x24911140d7487311">\databox\media\data-box-safety\read_safety_and_health_information_icon.png</file>
<file size="1258" crc64="0xc00a2d5480f4fcec">\databox\media\data-box-safety\heavy_weight_hazard_icon.png</file>
<file size="1672" crc64="0x4ae5cfa67c0e895a">\databox\media\data-box-safety\no_user_serviceable_parts_icon.png</file>
<file size="3577" crc64="0x99e3d9df341b62eb">\databox\media\data-box-safety\battery_disposal_icon.png</file>
<file size="993" crc64="0x5a1a78a399840a17">\databox\media\data-box-safety\tip_hazard_icon.png</file>
<file size="1028" crc64="0xffe332400278f013">\databox\media\data-box-safety\electrical_shock_hazard_icon.png</file>
<file size="58699" crc64="0x2c411d5202c78a95">\databox\media\data-box-deploy-ordered\data-box-ordered.png</file>
<file size="46816" crc64="0x31e48aa9ca76bd05">\databox\media\data-box-deploy-ordered\search-azure-data-box1.png</file>
<file size="24160" crc64="0x978fc0c6e0c4c16d">\databox\media\data-box-deploy-ordered\select-data-box-option1.png</file>
<file size="115954" crc64="0x0b42449312086227">\databox\media\data-box-disk-deploy-copy-data\data-box-disk-validation-tool-output.png</file>
<file size="6093" crc64="0xadb61d0d7c6d4deb">\databox\data-box-cable-options.md</file>
<file size="6499" crc64="0x080add29add367d9">\databox\data-box-deploy-copy-data-via-nfs.md</file>
<file size="11089" crc64="0xc3ce6b13a4fe3001">\databox\data-box-deploy-copy-data-via-rest.md</file>
<file size="9126" crc64="0x820856b5a54321ad">\databox\data-box-overview.md</file>
<file size="10963" crc64="0x5e9a14f9f4784fd8">\databox\data-box-safety.md</file>
<file size="5941" crc64="0x8631d62fbc038760">\databox\data-box-security.md</file>
<file size="12536" crc64="0x8c8ff93e73d665ec">\databox\data-box-system-requirements-rest.md</file>
<file size="3220" crc64="0x7257a263c434839a">\databox\data-box-system-requirements.md</file>
<file size="2823" crc64="0x63db1ada6fcdc672">\databox\index.yml</file>
<file size="4364" crc64="0x62b5710f58f00b8b">\databox\data-box-local-web-ui-admin.md</file>
<file size="3603" crc64="0x7e34c25d5606693f">\databox\TOC.yml</file>
This file contains the list of all the files that were copied on the Data Box or Data Box Heavy. In this file, crc64 value relates to the checksum generated for the corresponding file.
View available capacity of the device
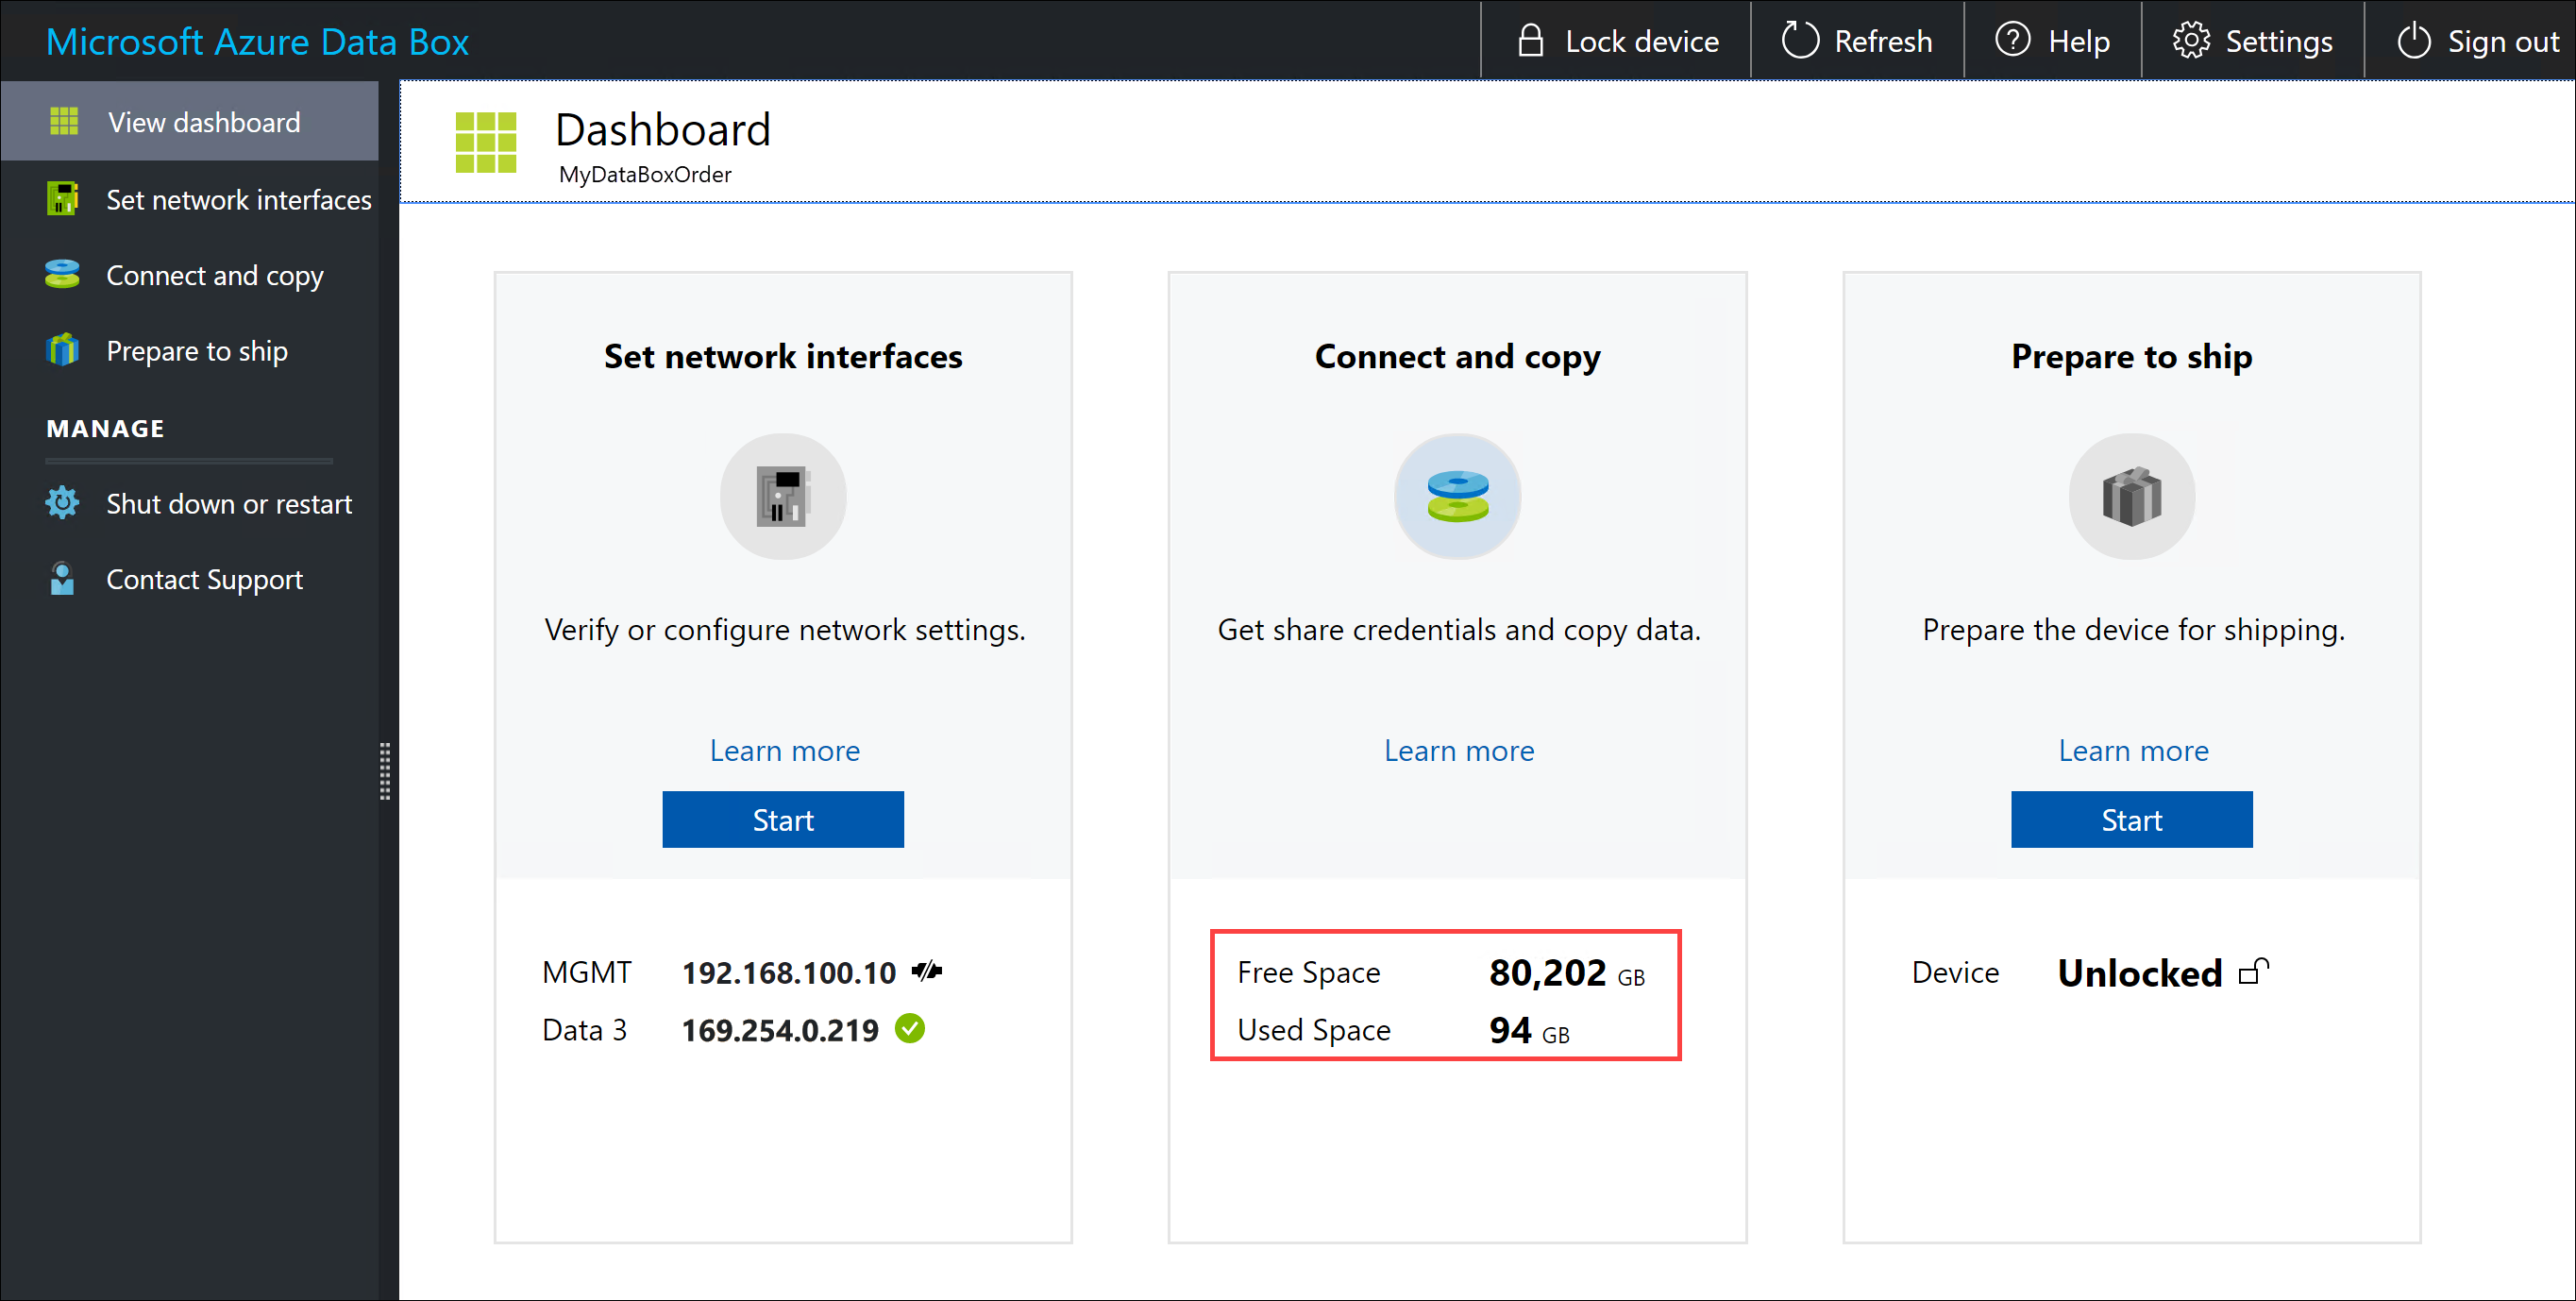
You can use the device dashboard to view the available and used capacity of the device.
In the local web UI, go to View dashboard.
Under the Connect and copy, the free and used space on the device is shown.
Skip checksum validation
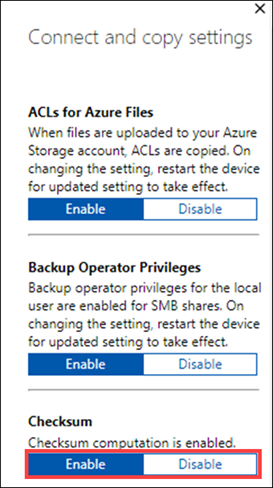
Checksums are generated for your data by default when you prepare to ship. In certain rare cases, depending on the data type (small file sizes), the performance may be slow. In such instances, you can skip checksum.
Checksum computation during prepare to ship is only done for import orders, and not for export orders.
We strongly recommend that you do not disable checksum unless the performance is severely affected.
In the local web UI, go to Connect and copy. Select Settings.

Disable checksum validation
Select Apply.
Note
The skip checksum computation option is available only when the Azure Data Box is unlocked. You won't see this option when the device is locked.
Enable SMB signing
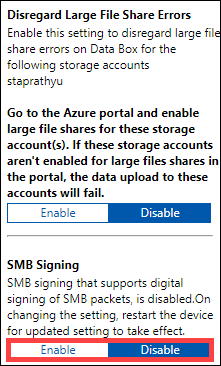
Server message block (SMB) signing is a feature through which communications using SMB can be digitally signed at the packet level. This signing prevents attacks that modify SMB packets in transit.
For more information related to SMB signing, see Overview of Server Message Block signing.
To enable SMB signing in your Azure Device:
In the local web UI, go to Connect and copy. Select Settings.

Enable SMB Signing.
Select Apply.
In the local web UI, go to Shut down or restart.
Select Restart.
Enable Backup Operator privileges
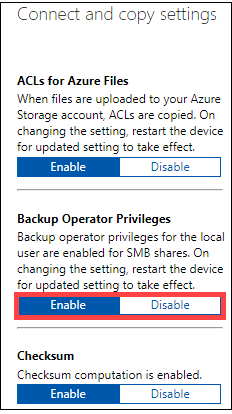
Your web UI users have Backup Operator privileges on SMB shares by default. If you don't want this, use Enable Backup Operator privileges to disable or enable the privileges.
For information, see Backup Operators in Active Directory Security Groups.
To enable Backup Operator privileges in your Azure Device:
In the local web UI, go to Connect and copy. Select Settings.

Enable Backup Operator privileges.
Select Apply.
In the local web UI, go to Shut down or restart.
Select Restart.
Enable ACLs for Azure Files
Metadata on files is transferred by default when users upload data via SMB to your Data Box. The metadata includes access control lists (ACLs), file attributes, and timestamps. If you don't want this, use ACLs for Azure Files to disable or enable this feature.
Note
To transfer metadata with files, you must be a Backup Operator. When you use this feature, make sure local users of the web UI are Backup Operators. See Enable Backup Operator privileges.
To enable transfer of ACLs for Azure Files:
In the local web UI, go to Connect and copy. Select Settings.

Enable ACLs for Azure Files.
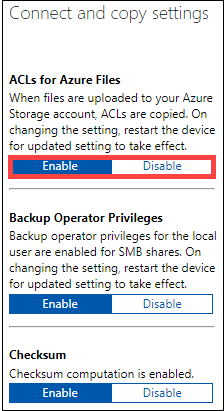
Select Apply.
In the local web UI, go to Shut down or restart.
Select Restart.
Enable TLS 1.1
By default, Azure Data Box uses Transport Layer Security (TLS) 1.2 for encryption because it is more secure than TSL 1.1. However, if you or your clients use a browser to access data that doesn't support TLS 1.2, you may enable TLS 1.1.
For more information related to TLS, see Azure Data Box Gateway security.
To enable TLS 1.1 in your Azure device:
In the top-right corner of the local web UI of your device, select Settings.

Enable TLS 1.1.
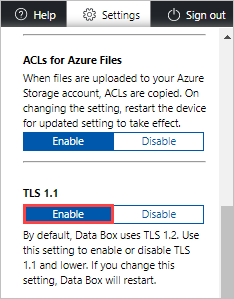
Select Apply.
In the local web UI, go to Shut down or restart.
Select Restart.