Quickstart: deploy a sample Azure Virtual Desktop environment (preview)
Important
Quickstart for Azure Virtual Desktop is currently in PREVIEW. See the Supplemental Terms of Use for Microsoft Azure Previews for legal terms that apply to Azure features that are in beta, preview, or otherwise not yet released into general availability.
You can quickly deploy a sample Azure Virtual Desktop environment with quickstart (preview) in the Azure portal. Quickstart enables you to easily evaluate a Windows 11 Enterprise multi-session remotely and become familiar with the service before deploying it in production.
When you use quickstart, it deploys a small environment consisting of minimal resources and configuration. A user then signs into Windows App and connects to a full virtual desktop session. Deployment takes approximately 20 minutes to complete.
Tip
If you want to learn more about Azure Virtual Desktop, such as what it can do and how it works, see What is Azure Virtual Desktop, where you can also watch an introductory video.
To learn more about all the different terminology, see Azure Virtual Desktop terminology.
Quickstart deploys the following resources:
A resource group.
A virtual network and subnet with the IPv4 address space
192.168.0.0/24and uses Azure provided DNS servers.A network security group associated with the subnet of the virtual network with the default rules only. No inbound rules are required for Azure Virtual Desktop.
A host pool with single sign-on (SSO) enabled.
A session host running Windows 11 Enterprise multi-session with Microsoft 365 apps preinstalled in English (US). It's a Standard_D4ds_v4 size virtual machine (4 vCPUs, 16 GiB memory) configured with a standard SSD disk, and is joined to Microsoft Entra ID.
An application group that publishes the full desktop from the session host.
A workspace.
You can see a detailed list of deployed resources later in this article.
Prerequisites
Before you can use quickstart to deploy a sample Azure Virtual Desktop environment, you need:
An active Azure subscription. If you don't have an Azure subscription, create a free account.
An Azure account with the following role-based access control (RBAC) roles assigned to the subscription as a minimum. To learn how to assign roles, see Assign Azure roles using the Azure portal.
Role Description Contributor Used to deploy all the required resources. User access administrator Used to assign users you specify during deployment access to sign into a remote session. One or two user accounts that you want to assign access to the remote session. These accounts must be members of the same Microsoft Entra tenant as the subscription you're using, not guests. You can assign other users later.
Available quota for your subscription for the
Standard_D4ds_v4VM. If you don't have available quota, you can request an increase by following the steps in Request VM quota increase.Internet access from the VM that gets deployed. For more information, see Required FQDNs and endpoints for Azure Virtual Desktop.
Register the Azure Virtual Desktop resource provider
To deploy Azure Virtual Desktop resources, you need to register the Microsoft.DesktopVirtualization resource provider on your Azure subscription:
Sign in to the Azure portal.
Select Subscriptions, then select the subscription you want to use.
Select Resource providers, then search for
Microsoft.DesktopVirtualization.If the status is NotRegistered, select the checkbox next to
Microsoft.DesktopVirtualization, and then select Register.Verify that the status of
Microsoft.DesktopVirtualizationis Registered.
Deploy a sample Azure Virtual Desktop environment
Here's how to use quickstart to deploy a sample Azure Virtual Desktop environment:
Go to the Azure Virtual Desktop options in the Quickstart Center. Azure Virtual Desktop is found in Deliver virtual desktops and stream remote applications.
Select Get started quickly with Azure Virtual Desktop, then select Create.
On the Basics tab, complete the following information:
Parameter Value/Description Subscription In the dropdown list, select the subscription you want to use. Location Select the Azure region where you want to deploy the resources. Local administrator account Username Enter a name to use as the local administrator account for the new session host. For more information, see What are the username requirements when creating a VM? Password Enter a password to use for the local administrator account. For more information, see What are the password requirements when creating a VM? Confirm password Reenter the password. Assignment User assignment Select Select maximum two users. In the pane that opens, search for and select the user account or user group that you want to assign to this desktop. Finish by selecting Select. Select Review + create. On the Review + create tab, ensure that validation passes and review the information that's used during deployment.
Select Create to deploy the sample Azure Virtual Desktop environment.
Once the deployment completes successfully, you're ready to connect to the desktop.
Connect to the desktop
Once the sample Azure Virtual Desktop environment is deployed, you can connect to it using Windows App and sign in with one of the user accounts you assigned.
Tip
The desktop takes longer to load the first time as the profile is being created, however subsequent connections are quicker.
Select the relevant tab and follow the steps, depending on which platform you're using. We only list the steps here for Windows, macOS, and using a web browser. If you want to connect using Windows App on another device, such as an iPad, see our full guidance at Get started with Windows App to connect to desktops and apps.
To connect to your sample desktop on a Windows device, follow these steps:
Download and install Windows App from the Microsoft Store. When Windows App is installed, open it.
Select Sign in and sign in with one of the user accounts you assigned during deployment. If you're signed in to your local Windows device with a work or school account on a managed device, you're signed in to Windows App automatically with the same account.
If it's your first time using Windows App, navigate through the tour to learn more about Windows App, then select Done, or select Skip.
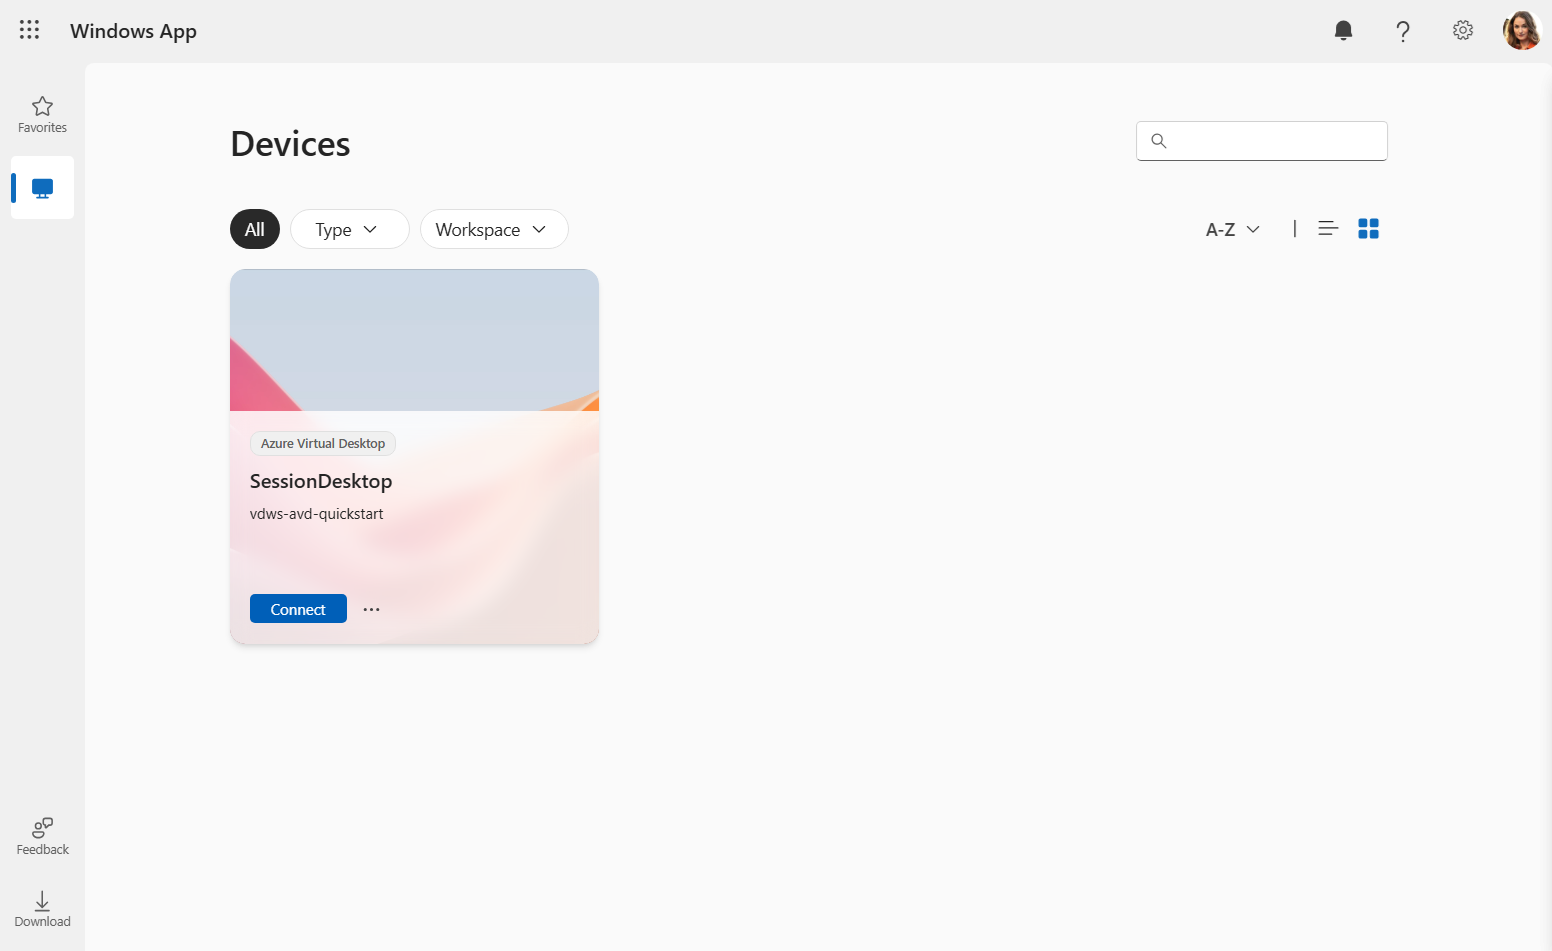
After you sign in, select the Devices tab.
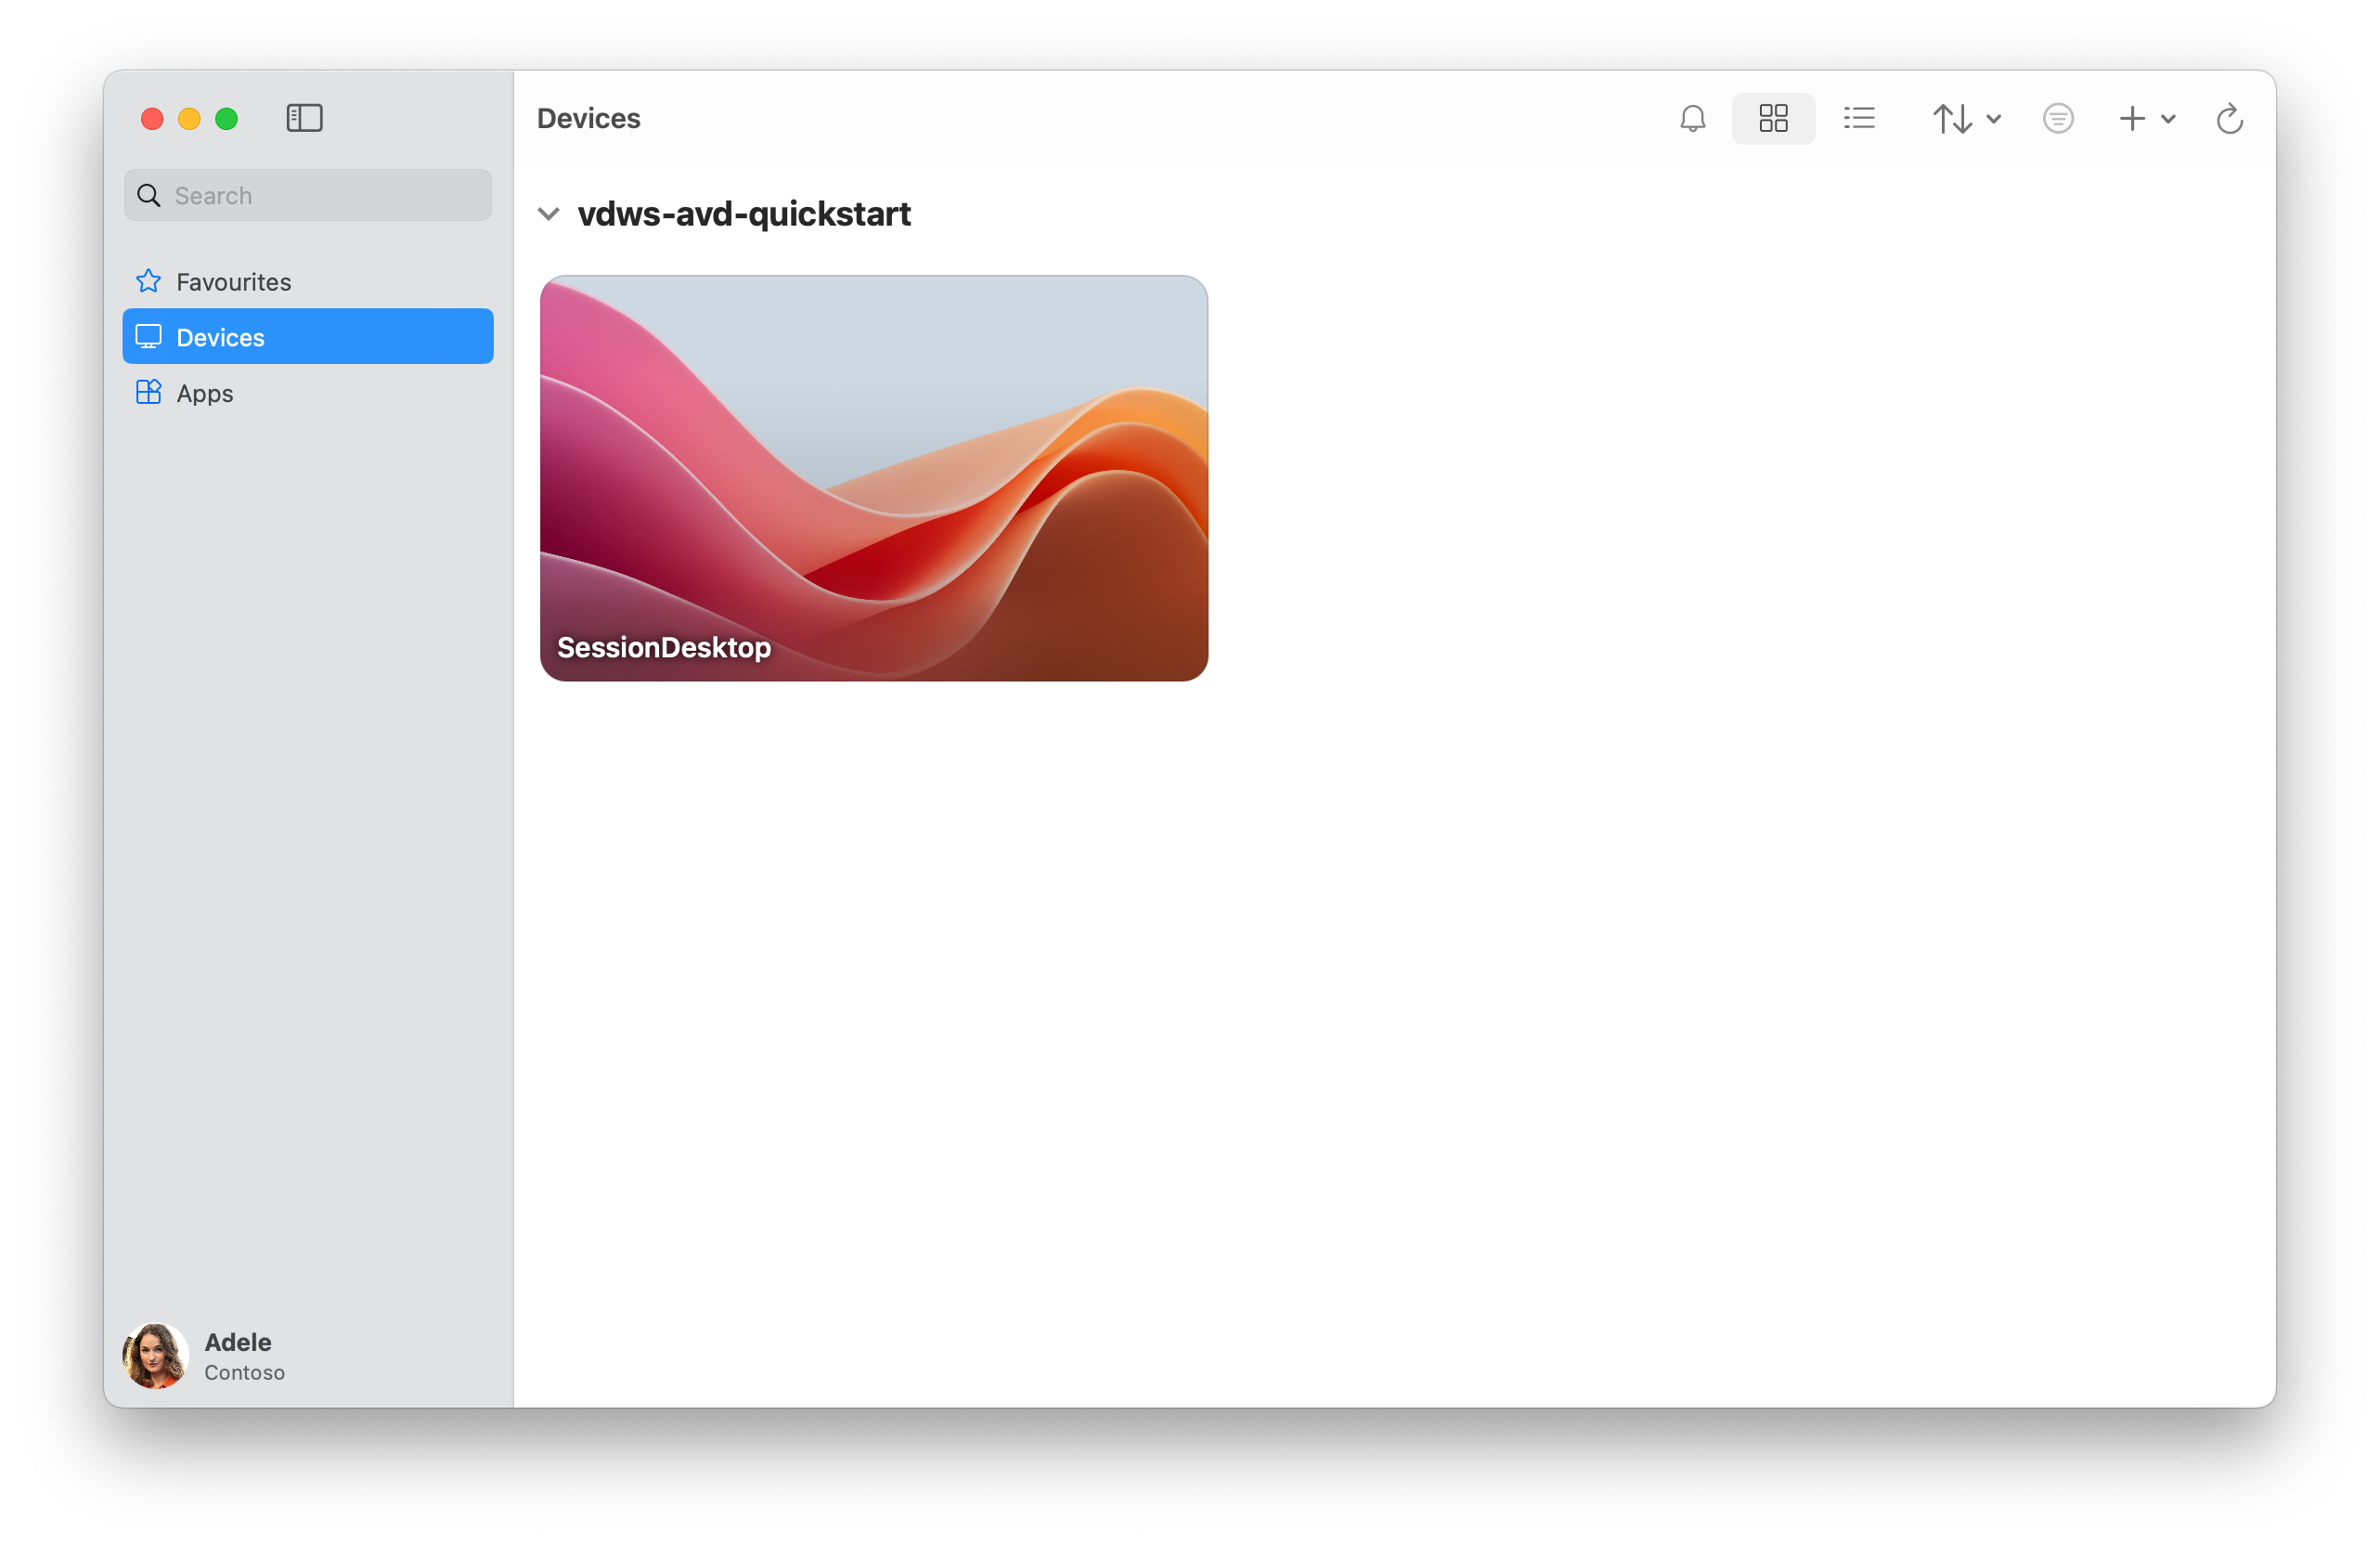
The desktop you created is shown as a tile called SessionDesktop. Select Connect.
By default, using single sign-on requires the user to grant permission to connect to the session host, which lasts for 30 days before prompting again. You can hide this dialog by configuring a list of trusted devices. For more information, see Configure single sign-on for Azure Virtual Desktop using Microsoft Entra ID.
To grant permission, at the prompt Allow remote desktop connection, select Yes. You might need to enter your password again to see the prompt if you're not signed into your Windows device with the same account.
Once you're connected, your desktop is ready to use.
Deployed resources
When you deploy a sample Azure Virtual Desktop environment using quickstart, the following resources are deployed, where <timestamp> is the date and time when you started the deployment:
| Resource type | Name | Notes |
|---|---|---|
| Resource group | rg-avd-quickstart-<timestamp> |
None. |
| Host pool | vdpool-avd-quickstart-<timestamp> |
Uses the breadth-first load balancing algorithm, with a maximum session limit of 2. |
| Application group | vdag-avd-quickstart-<timestamp> |
Desktop application group. |
| Workspace | vdws-avd-quickstart-<timestamp> |
None. |
| Virtual machine | vmaqs<timestamp> |
Windows 11 Enterprise multi-session with Microsoft 365 apps preinstalled in English (US). Standard_D4ds_v4 size virtual machine. Joined to Microsoft Entra ID. |
| Virtual network | vnet-avd-quickstart-<timestamp> |
The IPv4 address space is 192.168.0.0/24. |
| Network interface | nic-avd-quickstart-<timestamp> |
Uses Azure provided DNS servers. |
| Disk | vmaqs<timestamp>_OsDisk_1_<random-string> |
Standard SSD, 127 GiB. |
| Network security group | nsg-avd-quickstart-<timestamp> |
Associated with the subnet of the virtual network with the default rules only. |
Once the resource group is created, all resources are deployed to that resource group. All resource names and their configuration are predefined.
Timestamps are in the format yyMMddHHmm. For example 2501081128 is January 8, 2025, 11:28 AM.
Clean up resources
If you want to remove the sample Azure Virtual Desktop resources, you can safely remove them by stopping the virtual machine and deleting the resources in the resource group rg-avd-quickstart-<timestamp>.
Next steps
Once you deploy and connect to the sample Azure Virtual Desktop environment, here are some next steps you might want to take:
If you want to publish individual apps as an alternative to the full virtual desktop, see Publish applications with RemoteApp.
To learn more about Windows App and how to use it, see the Windows App documentation.
If you'd like to learn how to deploy Azure Virtual Desktop with more configuration choices and programmatic methods that can be used in production, see the following documentation:
- Deploy Azure Virtual Desktop.
- Cloud Adoption Framework: Migrate end-user desktops to Azure Virtual Desktop.
- Azure Architecture Center: Azure Virtual Desktop for the enterprise.


