Steps to add users to TFS Online and access TFS Online Project from Visual Studio
This Blog will provide steps to Create a Project on TFS online and add a user(with Live id) to the project. Blog also contains steps to access the Project for any member who is added to the project.
With Team Foundation Service on Cloud, Software development team can check your code directly into the cloud using either Visual studio or eclipse. It also provides other features like Collaboration, Agile Planning, Test Execution, Continuous builds.
Creating Project and Adding Users to TFS Online
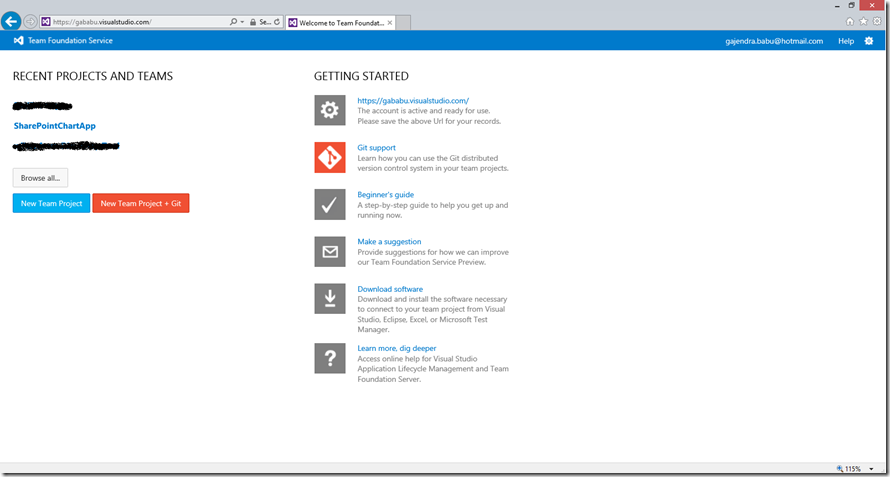
One can signup for free Account for Online Team Foundation Services from https://tfs.visualstudio.com . Once signup is completed and TFS online URL is ready you would see a screen which is as below. Free account as some limited functionality, site would list down all types of subscriptions.
This screen will include options to create Team Projects either using Team Foundation Services or Git.
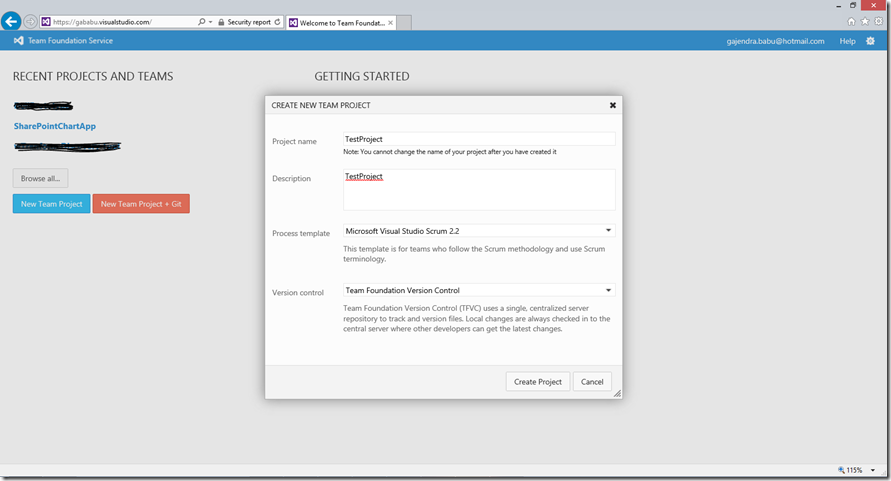
Once User clicks on Create Team Project, he is provided with a Popup which asks for few details about the project.
Once the project is created, clicking on Navigate to Project would take you to Online TFS site.
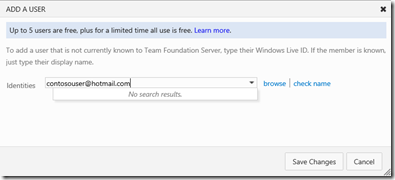
Once the Project Page is loaded. Clicking on Manage members would popup a dialog, using which users can be added.
Add the Live ID and Save changes.
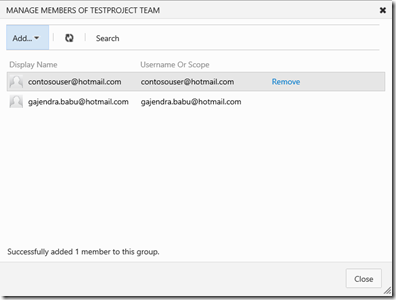
Now users who are on this list should have access to the Project.
Adding Source code to TFS Online
Open up the Visual Project which is intended to be added to TFS Online.
Navigate to Team –> Connect to Team Foundation Server. Select the required Project, in this case it is Test Project.
Accessing Project Code by Contoso User(contosouser@hotmail.com)
Any Microsoft Account(Live id) user who has been added to the members group of TFS online will be able to access the Project from Visual Studio.
Navigate to the Project URL, should be some URL as below. When a user tries to access the site he/she will be prompted for credentials. Provide the live id email address and corresponding password.
https://gababu.visualstudio.com/DefaultCollection/TestProject
Once sign in is done you would be landed with a page as below, this page would list the Project details like Activities, current Members of project and other details related to the project.
Click on the Link “Open new instance of Visual Studio”, this would open up a popup asking to Allow access to Visual studio. Make sure Visual studio 2012 is already installed on the machine from which we are trying to access the URL.
Once prompted for the Access, click on Allow.
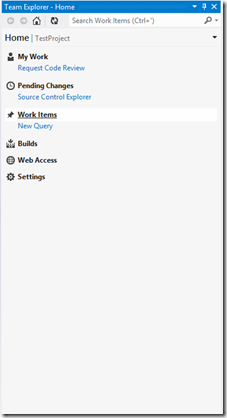
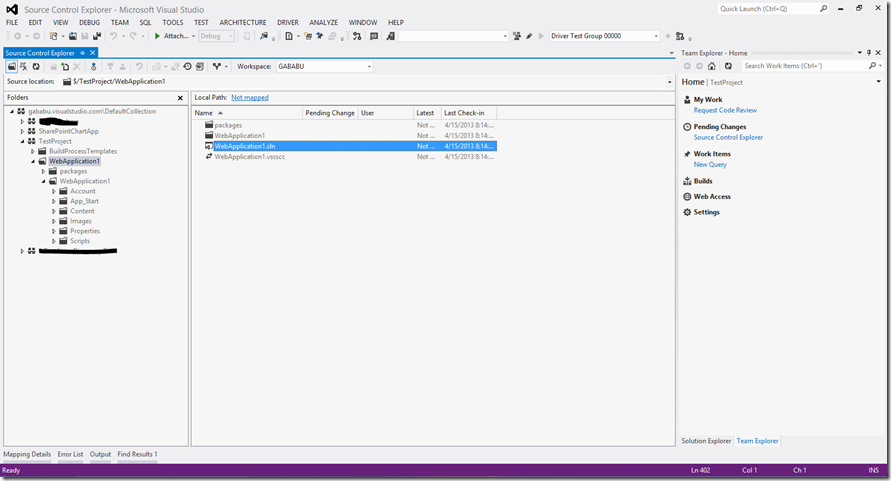
Once visual Studio is launched you should see Team explorer Pane listing the option “Source Control Explorer”. Clicking on this will take you to a place where you can see all the source code in a Tree view.
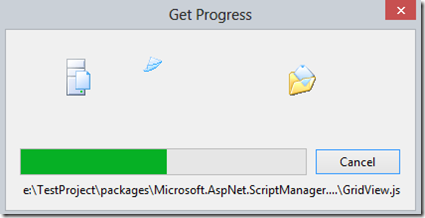
Select the Solution/Project which you would like to open. As you select the Solution file .sln the Local Path initially would say “Not mapped”. Double click on the .sln file and you should be landed with a popup asking for Map location.
Provide a Map location to a local folder on your computer and select Map.
Once the Solution is mapped you would see the projects loaded when you Navigate to View –> Solution Explorer in Visual studio.
With these steps you are now connected to TFS online. Next time you open the project freshly you would be asked to enter credentials again.
Thanks!
Comments
- Anonymous
April 23, 2013
Is there any way to automate these steps?
