Walkthrough - Build a Windows SharePoint Services 3.0 Development Virtual PC with SQL Server, Active Directory and E-mail
If you are building or testing SharePoint customizations, you should use virtualization over physical servers. Virtualizing your SharePoint development and test environment has many benefits including easier debugging, the ability to rollback changes, and test different client and server configurations. This article provides step-by-step instructions (with extensive screen shots) for building out a WSS 3.0 Virtual PC with Active Directory and e-mail capability. So let's get started!
Create the Virtual Machine
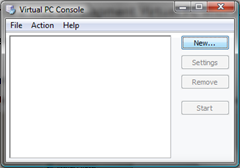
Open the Virtual PC Console and click New
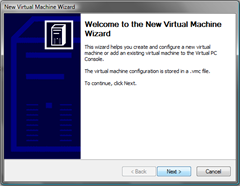
Click Next
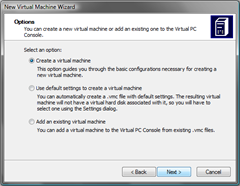
Select Create a virtual machine and click Next
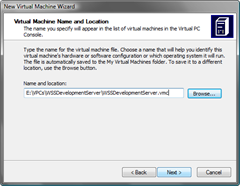
Enter a name and location for the virtual machine file and click Next. Make a folder for each virtual server to keep it clean and organized. For example: e:\vpcs\wssdevserver or e:\vpcs\mossdevserver
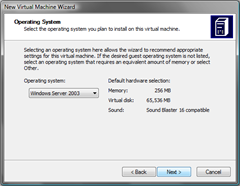
Select Windows Server 2003 and click Next
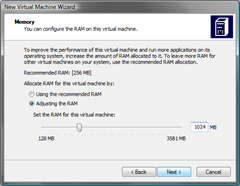
Select Adjusting the RAM and provide a reasonable amount of memory given your system capabilities and other programs you want to use while your virtual machine is running. Click Next
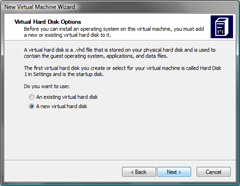
Select A new virtual hard disk and click Next
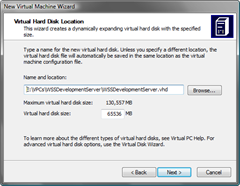
Enter a name and location for the hard disk file and click Next
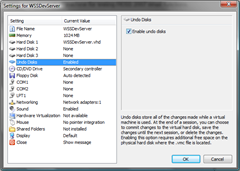
Return to the Virtual PC console, highlight the virtual machine you just created and click Settings. Because this is a development machine, we will enable undo disks. This way if we make any unwanted configuration changes to the server, we can discard them. Check the box to Enable undo disks and click OK
Install Windows Server 2003 R2
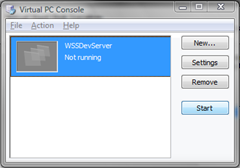
Highlight the virtual machine you created in the previous step and click Start
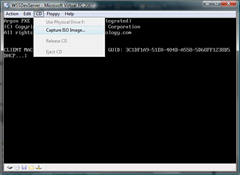
Select CD > Caption ISO Image and browse to your MSDN copy of Windows Server 2003 Enterprise R2
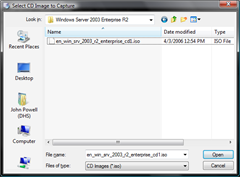
Select the Windows Server 2003 R2 .iso file
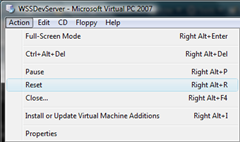
If you're quick enough, it will boot from the CD. If you are too slow, click Action > Reset
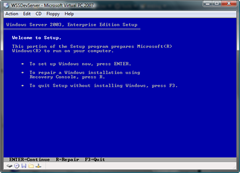
The virtual machine will boot from the CD. Press Enter to install
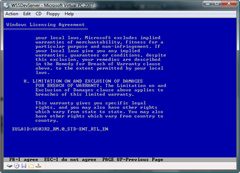
Read the licensing agreement word for word, using page down to scroll. Press F8 to accept the agreement
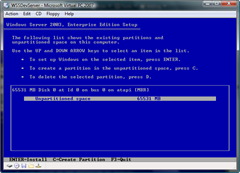
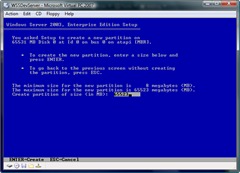
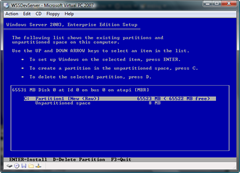
Press C to create a partition
Accept the default size and press Enter
Press Enter to install on the partition
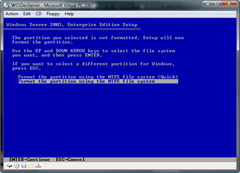
Select Format the partition using the NTFS file system and press Enter
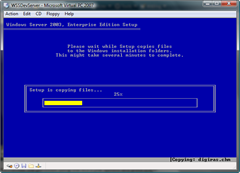
Watch the progress bar or go get a latte from Starbucks
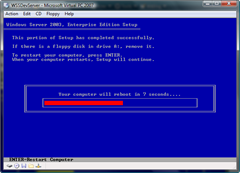
Your computer will reboot. From here on out, during reboot you will be prompted to press any key to boot from CD. Do not press any keys.
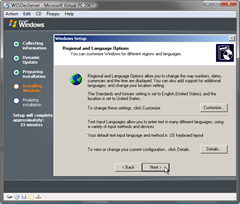
Customize your Region and Language as appropriate and click Next
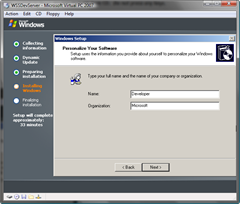
Enter a name and organization and click Next
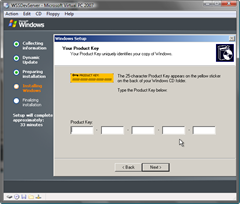
Enter your MSDN Windows Server 2003 R2 product key and click Next
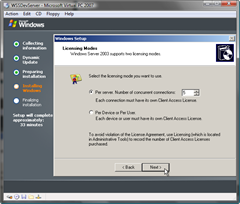
Accept the default licensing mode and click Next
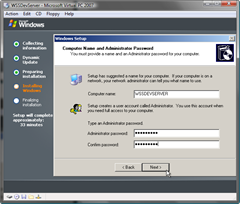
Provide a computer name and Administrator password and click Next. Use a consistent, easy to remember password for all of your accounts such as pass@word1
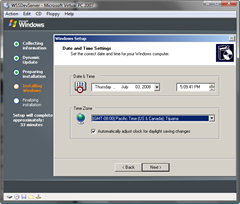
Select your time zone and click Next
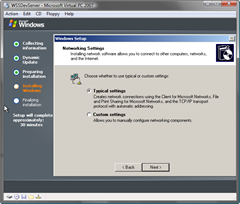
Select Typical settings and click Next
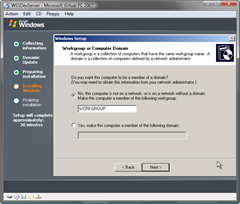
Select Make this computer a part of the following workgroup: WORKGROUP and click Next
Install Updates and Configure Automatic Updates
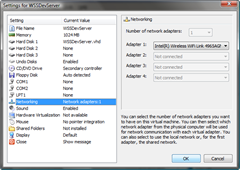
To complete the next steps, the VPC must be connected to the Internet. Open the Virtual PC Console and configure the network adapter to allow the VPC to connect to connect to the Internet. In this example, I am using my wireless network card
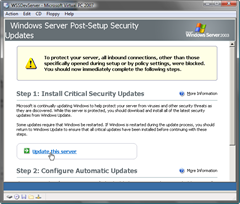
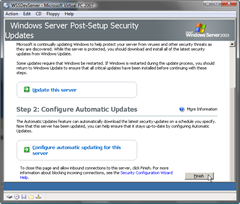
Log in to the VPC as the Administrator. The Windows Server Post-Setup Security Updates screen appears. All inbound connections are blocked until you complete the steps on this screen are completed (and you click the Finish button). Click Update this server
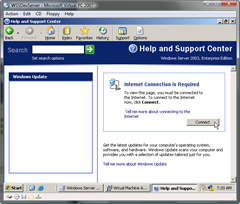
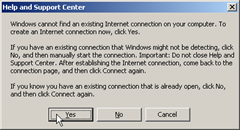
If prompted to create a new network connection, click Connect
Click Yes
The New Connection Wizard appears
Select Connect to the Internet and click Next
Select Connect using a broadband connection that is always on and click Next
Click Finish
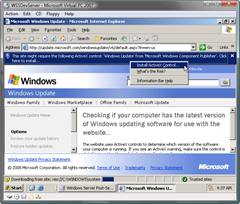
Once the connection is set up, return to the screen and click Update this server. If you configured everything correctly, Windows update will open in Internet Explorer
Click Install ActiveX Control
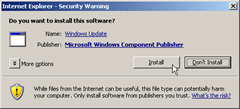
Click Install
After installing the Windows Update, you need to update Windows Update. Click Install Now
Click Express
Click Install Updates. During the update process you will be prompted by Windows Server 2003 and Internet Explorer 7
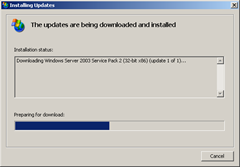
Watch the progress bar or go out to dinner and movie while it downloads and installs
Install the .Net 2.0 and 3.0 Framework as well as 2.0 SP1 and 3.0 SP1. Return to Windows Update and click Custom
Select Software, Optional on the left navigation
Select Microsoft .NET Framework 3.0: x86 (KB928416) and Microsoft .NET Framework 2.0: x86 (KB829019) and click the Review and install updates link
Important: Keep checking for updates until there are no high-priority updates remaining. You might as well install optional updates too
Once updates are complete, return to the Windows Server Post-Setup Security Updates screen and click Configure automatic updating for this server
Select Turn off Automatic Updates (we want to control which and when updates are applied) and click OK
Once your server has been updated and automatic updates have been configured, click Finish
Activate Windows
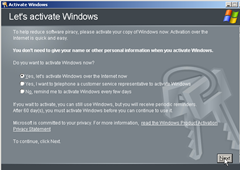
You'll want to activate Windows now so it doesn't expire at some inopportune time a couple months from now. Click on the activation tray icon
Select Yes, let's activate Windows over the Internet now and click Next
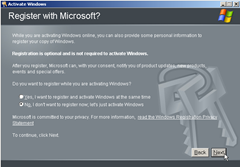
Select No, I don't want to register now, let's just activate Windows and click Next
After activation completes, click OK
At this point, you should disconnect your server from the network. Because this is a server, only connect it to the network if absolutely necessary (use local if you want to communicate on your machine). Why? One developer I worked with enabled the DHCP server and inadvertently start assigning IP addresses to users on the corporate network! I worked in a secure environment where they scanned for servers and shut down your port if they found one.
Install Virtual Machine Additions
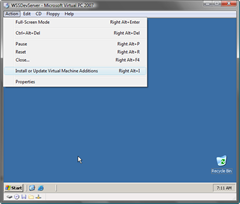
The VMA adds many features, but I like the easier mouse operation and the ability to share folders and drag and drop files from the host. To install, from the VPC console select Action > Install or Update Virtual Machine Additions
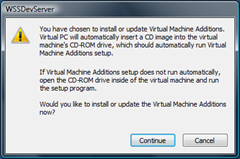
Click Continue
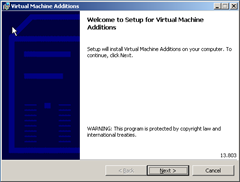
Click Next
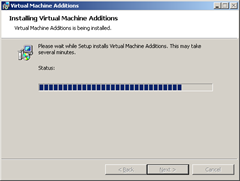
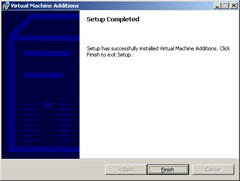
The VMA install
Click Finish
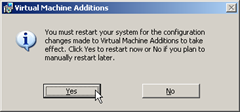
Click Yes to reboot the system
Disable Internet Explorer Enhanced Security Configuration
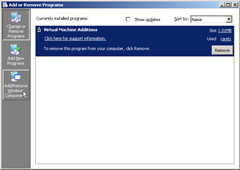
Because we will be developing on this machine and it isn't a production server, you'll want to disable IE ESC. Open the Control Panel and click Add/Remove Windows Components
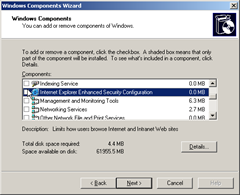
Uncheck Internet Explorer Enhanced Security Configuration and click Next
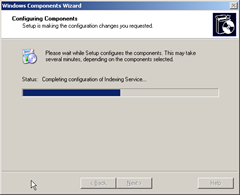
The configuration changes are applied
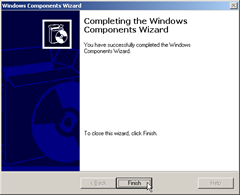
Click Finish
Disable Internet Explorer Run Once
Because the computer is not going to be connected to Internet, disable the run once feature so you wont' get a page cannot be displayed error should IE try to access go.microsoft.com.
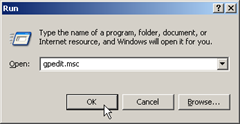
Open the Group Policy Object Editor by running gpedit.msc
Browse to Computer Configuration > Administrative Templates > Windows Components > Internet Explorer and double-click the Prevent performance of First Run Customize Settings setting
Click Enabled and select Go directly to home page. Click OK
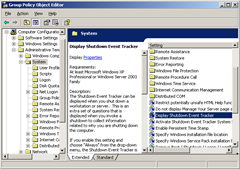
Disable the Shutdown Event Tracker
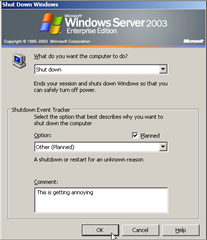
The shutdown event tracker is useful for production, but will get very annoying on your development machine.
Open the Group Policy Object Editor by running gpedit.msc
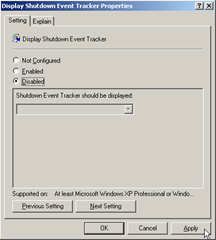
Browse to Computer Configuration > Administrative Templates > System and double-click the Display Shutdown Event Tracker setting
Set the value to Disabled and click OK
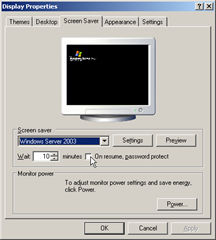
Disable Screen Saver Password
Right-click on the desktop and select Properties. On the Screen Saver tab, un-check On resume, password protect
Add the Domain Controller (and DNS) role
Ensure the Windows Server 2003 R2 disk is mounted. If it isn't select CD > Capture ISO Image from the VPC Console
Select your MSDN copy of Windows Server 2003 R2 .iso file and click Open
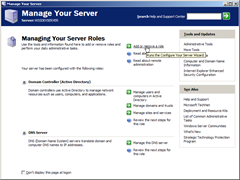
From the Manage Your Server screen, click Add or remove a role
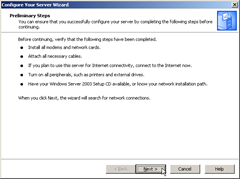
Click Next
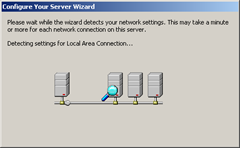
Wait while the network connection settings are detected
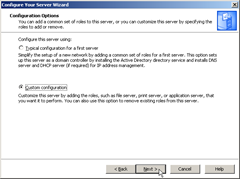
Select Custom configuration and click Next
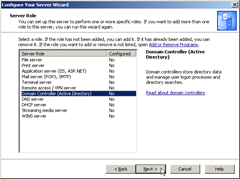
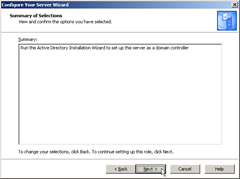
Select Domain Controller (Active Directory) and click Next
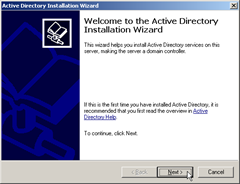
Click Next
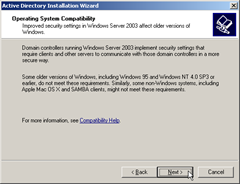
Click Next
Click Next
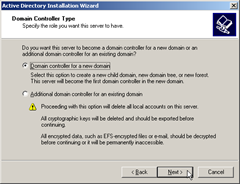
Select Domain controller for a new domain and click Next
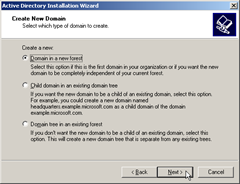
Select Domain in a new forest and click Next
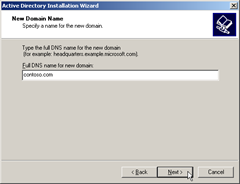
Enter a domain name such as yourcompany.com and click Next
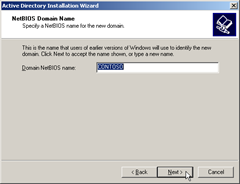
Enter a NetBIOS name. This should be yourcompany (without the .com). Click Next
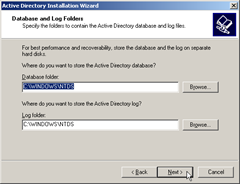
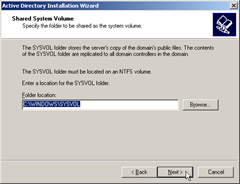
Accept the default locations and click Next
Accept the default location and click Next
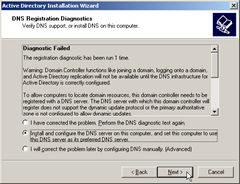
Select Install and configure the DNS server on this computer, and set this computer to use this DNS server as its preferred DNS server and click Next
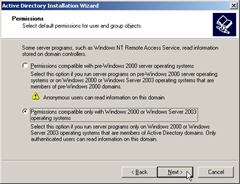
Select Permissions compatible only with Windows 2000 or Windows Server 2003 operating systems and click Next
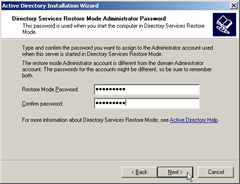
Enter a restore mode password. I recommend using the same password as your Administrator account so it's easy to remember. Click Next
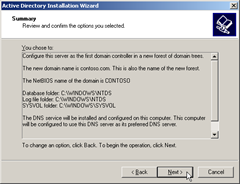
Review the summary and click Next
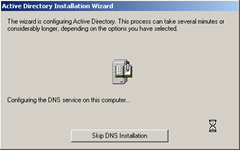
Watch the wizard or take a break for tea and a biscuit
When prompted about the dynamic IP, click OK
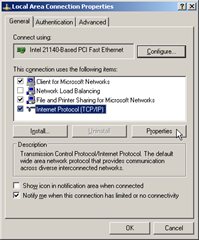
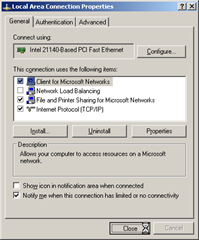
Highlight Internet Protocol (TCP/IP) and click Properties
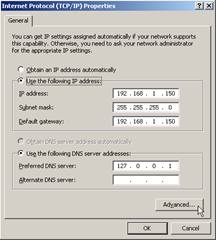
Select Use the following IP address, enter the following IP addresses and click OK
| IP Address | 192.168.1.150 |
| Subnet Mask | 255.255.255.0 |
| Default Gateway | 192.168.1.150 |
| Preferred DNS Server | 127.0.0.1 |
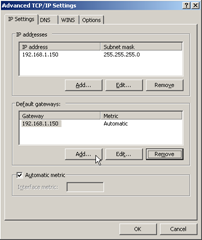
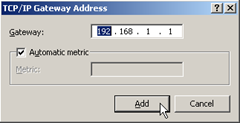
I want my virtual to be able to connect to the Internet, so we'll need to add a gateway address. On the host machine, open a command prompt and run ipconfig to determine your default gateway. In this case, my gateway is 192.168.1.1 (my router address)
Return to the TCP/IP Properties screen and click Advanced. Then in Default gateways, click Add
Add the IP address and click Add
Click Close
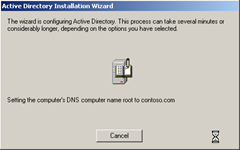
Watch the wizard install DNS or take a smoke break
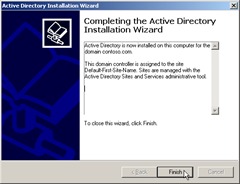
Click Finish
Click Restart Now
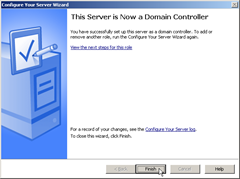
After restarting the system, the Configure Your Server Wizard appears. Click Finish
Add the Application Server Role
Ensure the Windows Server 2003 R2 disk is mounted. If it isn't select CD > Capture ISO Image from the VPC Console
Select your MSDN copy of Windows Server 2003 R2 .iso file and click Open
From the Manage Your Server screen, click Add or remove a role
Click Next
Wait while the network connection settings are detected
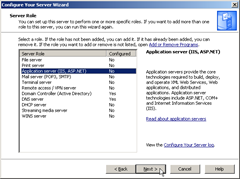
Select Application server (IIS, ASP.NET) and click Next
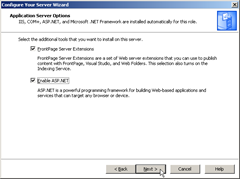
Select FrontPage Server Extensions and Enable ASP.NET. Click Next
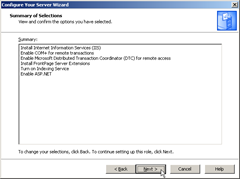
Review the summary and click Next
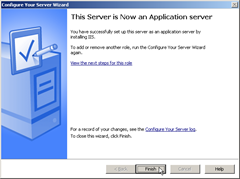
Click Finish
You should have installed .Net 2.0 and 3.0 by now, but if you haven't do it now! We'll need it before we can install SharePoint
Register the 2.0 Framework with IIS. From the command prompt, change to the 2.0 framework directory and run aspnet_regiis -i.
Open IIS manager by running inetmgr. Click on Web Service Extensions and verify ASP.NET v2.0.50727 is Allowed
Add the Mail Server Role
Ensure the Windows Server 2003 R2 disk is mounted. If it isn't select CD > Capture ISO Image from the VPC Console
Select your MSDN copy of Windows Server 2003 R2 .iso file and click Open
From the Manage Your Server screen, click Add or remove a role
Click Next
Wait while the network connection settings are detected
Select Mail Server (POP3, SMTP) and click Next
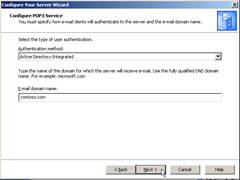
Select Active Directory Integrated for the authentication method, enter the domain yourcompany.com and click Next
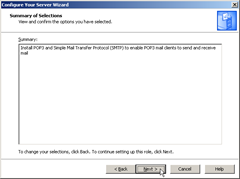
View the summary and click Next
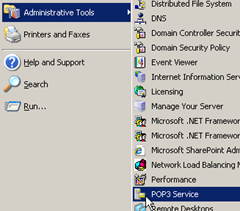
Open the POP3 Service snap-in
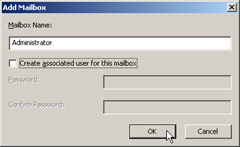
Navigate to yourcompany.com and click Add Mailbox
Enter Administrator for the name and uncheck Create associated user for this mailbox (Administrator already exists). In future, you can use this interface to add AD users, or add the AD user first and add the mailbox later. Click OK
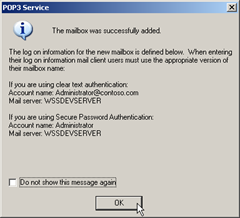
Note the account information. For clear text include @yourcompany.com for the mail account name. For SPA, do not include @yourcompany.com. Click OK.
In the next step, you will configure either Outlook Express or Outlook (or both) to test the mail server.
Configure Outlook Express
Outlook Express is installed by default. Login to the server as the account to configure and open Outlook Express
Enter the display name for the account and click Next
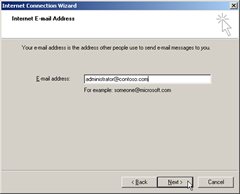
Enter the e-mail address for the account and click Next
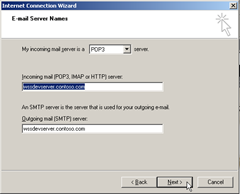
Enter the POP3 and SMTP server names and click Next
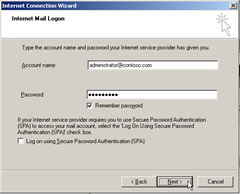
Enter the AD account name and password. For clear text authentication, do not check Log on using Secure Password Authentication (SPA) and enter the account name in the format [accountname]@yourcompany.com
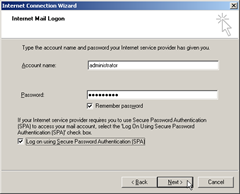
For Secure Password Authentication, check Log on using Secure Password Authentication (SPA) and enter the account name without @youcompany.com
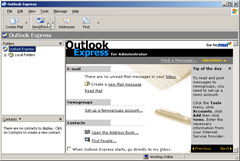
Outlook Express will open. Note: the mailbox folders will not appear until you receive a message
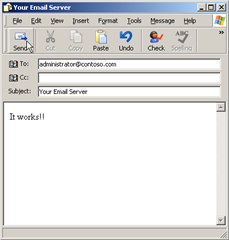
Click Create Mail and send yourself (administrator@yourcompany.com) a message
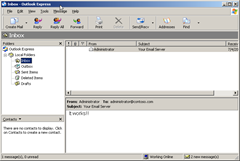
Click Send/Recv. You should receive the e-mail you sent yourself
Install Office 2007 and Configure Outlook
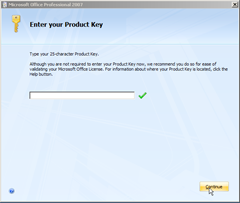
Install Office 2007 Enterprise using your MSDN license. Enter your product key and click Continue
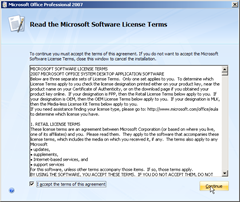
Read and accept the license agreement. Click Continue
Click Customize
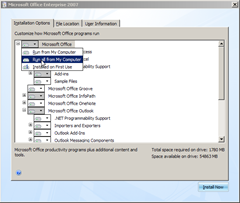
Since this is a development machine, you might as well install everything. Select Run all from my Computer and click Install Now
Watch the progress bar or go for a walk
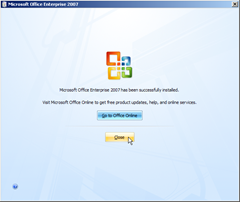
Click Close
Login to the server as the account to configure and Open Outlook 2007. When the Outlook 2007 Startup screen opens, click Next
If prompted to import from other mail programs, select Do not upgrade and click Next
Select Yes to configure an e-mail account and click Next
Select Manually configure server settings or additional server types and click Next
Select Internet E-mail and click Next
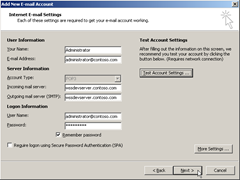
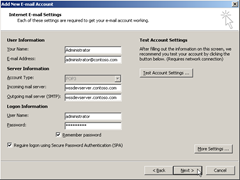
Enter the account information.
For clear text authentication, do not check Log on using Secure Password Authentication (SPA), enter the account name in the format [accountname]@yourcompany.com
For SPA authentication, enter the account name (without @yourcompany.com) and check Log on using Secure Password Authentication (SPA)
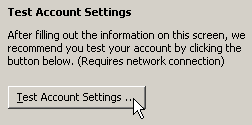
Click Test Account Settings to verify the account settings
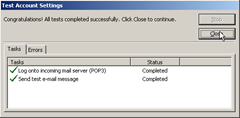
Verify the test was successful, click Close and then click Next
Activate your software (you may need to modify your VPC network settings to allow it to connect to the Internet)
Uncheck the online search option and click Next
Select I don't want to use Microsoft Update (we'll manually apply updates) and click Finish
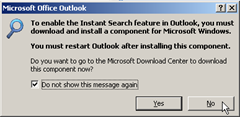
When prompted about installing Instant Search, check Do not show this message again and click No
Click Yes to view RSS Feeds in Outlook
You should see the test e-mail in your Inbox
Install SQL Server 2005 Developer Edition
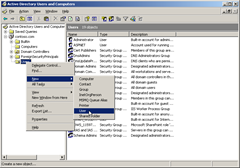
Create a SQL Server service account. Open Active Directory Users and Computers. Right-click on Users and select New > User
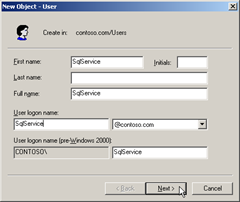
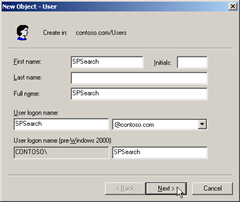
Enter the service account name and logon
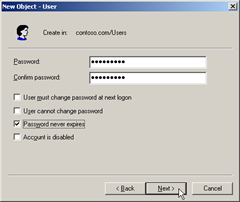
Enter a password for the service account (I recommend using the same Administrator password). Uncheck User must change password at next logon and check Password never expires. Click Next
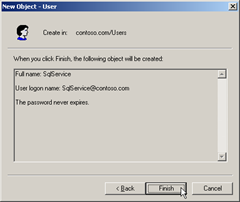
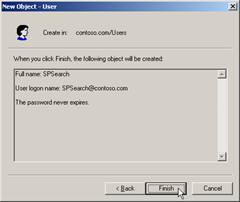
Click Finish to create the account
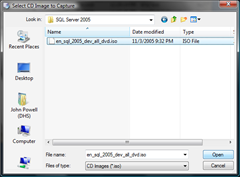
Mount the SQL Server 2005 Developer Edition CD. Select CD > Capture ISO Image from the VPC Console
Select the SQL Server 2005 Developer Edition .iso file and click Open
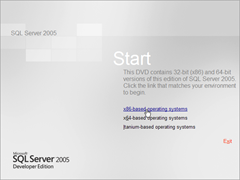
Click on x86-based operating systems
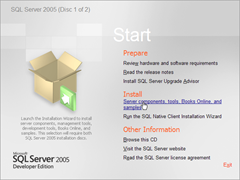
Click Server components, tools, Books Online, and samples
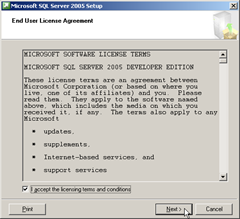
Read the agreement, check the box and click Next
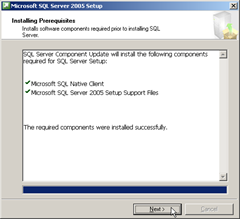
Click Install to install prerequisites
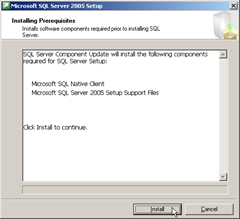
After prerequisites are installed, click Next
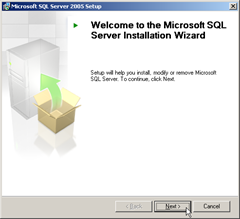
Click Next
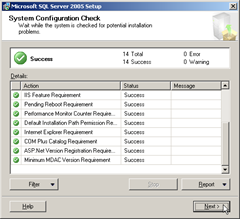
Ensure the configuration check is successful and click Next
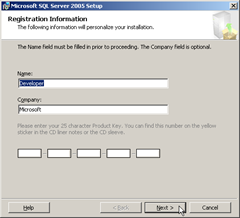
Ensure the name and company is correct and click Next
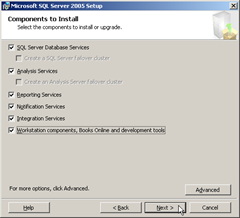
Install all the components just in case you need them for your development. Click Next
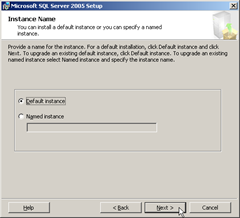
Select Default instance and click Next
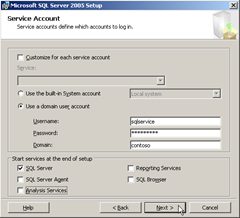
Select Use a domain user account and enter the account information you created earlier. Uncheck all the services so that only SQL Server starts at the end of setup. Click Next.
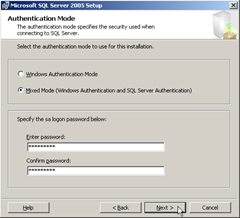
Set the authentication mode to Mixed Mode. Enter a password (I recommend using the Administrator password). Click Next
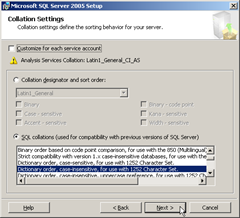
Accept the default collation and click Next
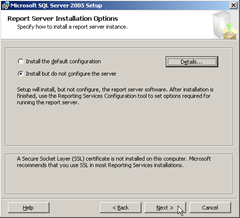
Select Install but do not configure the server and click Next
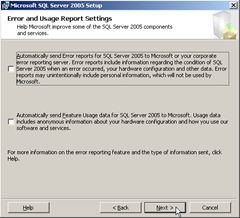
Click Next
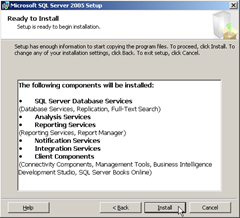
Click Install
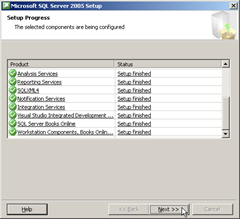
Once the installation is complete, click Next
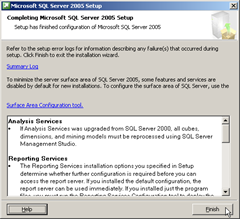
Review the summary log and click Finish
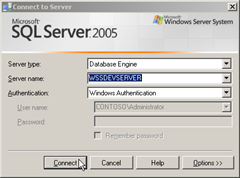
Open SQL Server Management Studio and connect the database engine to the server. Click Connect
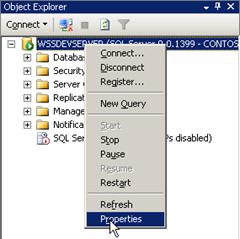
Right click on the instance and select Properties
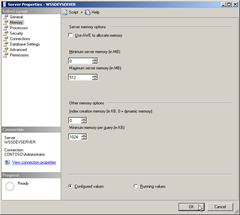
Click on Memory and set the maximum server memory to half the amount allocated to the VPC. Click OK
Install SQL Server 2005 SP2
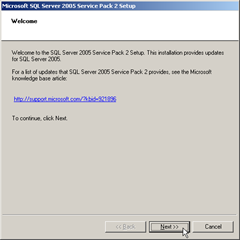
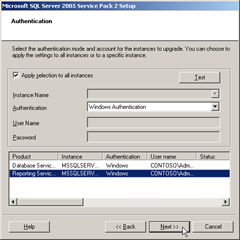
Click Next
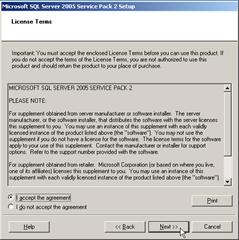
Read the license terms, click I accept the agreement and click Next
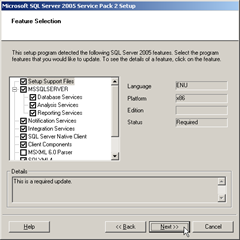
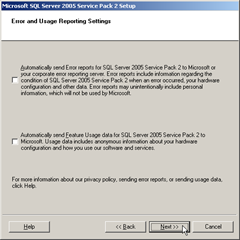
Click Next
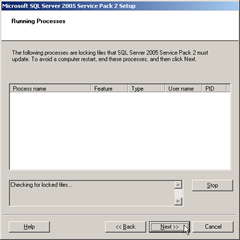
Click Next
Click Next
Click Next
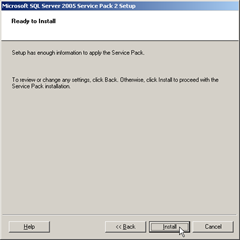
Click Install
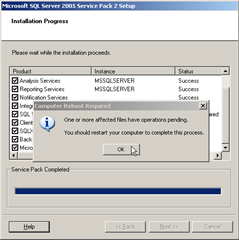
Click OK. Reboot the system.
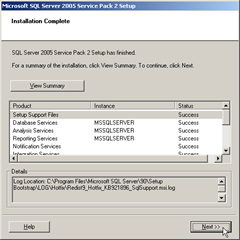
Click Next
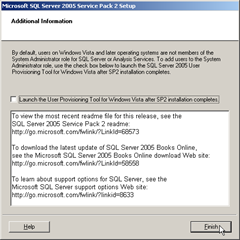
Click Finish
Create SharePoint Farm Service Accounts
In this section, we'll create the following service accounts for the farm. Note you do not have to add the users to any security groups. SharePoint will add them to the appropriate groups during configuration.
| Account | Description | |
| SPFarm | This account is also referred to as the database access account.This account is:
|
SPFarm@yourcompany.com |
| SPAppPool | The user account that the worker processes that service the application pool use as their process identity. This account is used to access content databases associated with the Web applications that reside in the application pool | |
| SPSearch | Used as the service account for the Windows SharePoint Services Search service. | |
| SPCrawl | Used by the Windows SharePoint Services Search application server role to crawl content across sites |
The following demonstrates how to create accounts and add users to groups.
Since the farm service account needs e-mail, we'll create it use the POP3 Service snap-in. Click Add Mailbox
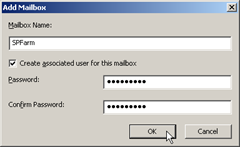
Enter the Mailbox Name, check Create associated user for this mailbox and enter a password. Click OK
To create an account, open Active Directory Users and Computers. Right-click on Users and select New > User
Enter the account name
Enter a password for the account (I recommend using the same Administrator password). Uncheck User must change password at next logon and check Password never expires. Click Next
Click Finish
Install Windows SharePoint Services 3.0 with SP1
Run the WSS 3.0 with SP1 installation
Wait while files are extracted
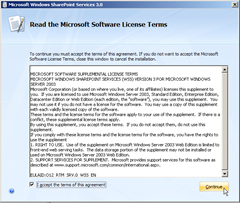
Read and accept the license agreement. Click Continue
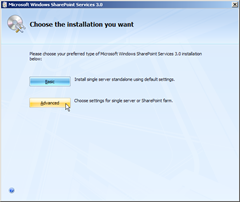
Click Advanced
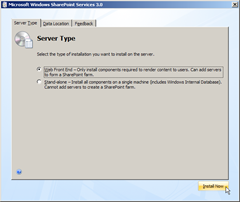
Select Web Front End (otherwise it will use SQL Server Express) and click Install Now
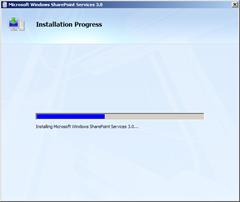
Watch the progress bar
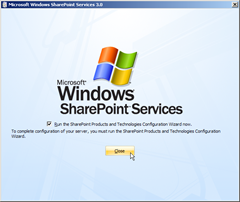
Click Close. The SharePoint configuration wizard will open
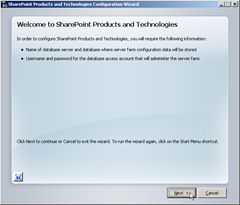
Click Next
Click Yes
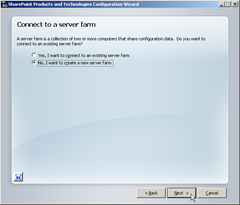
Select No, I want to create a new server farm and click Next
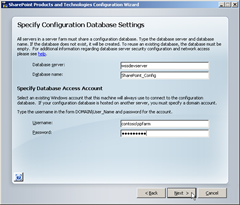
Enter the farm account (AKA database access account) credentials and click Next
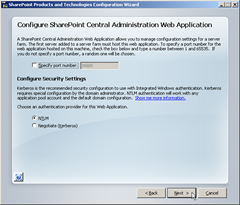
The CA port number is randomly generated for security purposes so yours will differ from the screen below. Click Next
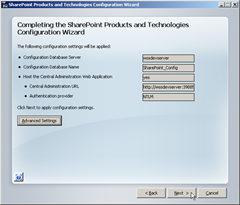
Review the settings and click Next
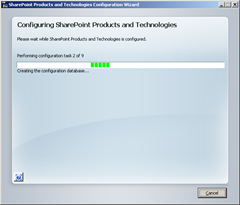
Watch the progress bar or take the dog for a walk
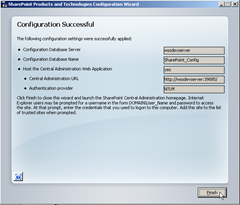
Click Finish
Configure the SharePoint Farm
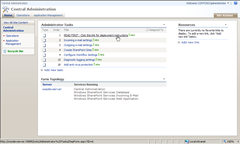
In Central Administration (CA), you'll notice several Administrator tasks. We'll work on those next
In Operations, click on Services on server
Start Windows SharePoint Services Search by clicking Start
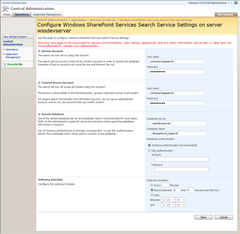
The search settings screen appears. Enter the search account credentials for both the service and content access account. Rename the database to SharePoint_Search. A quick aside on database naming. I like to prefix my database names with SharePoint_ and be consistent with the scope and purpose of the database. The SharePoint admin database cannot be named by the user, and it will be named SharePoint_[GUID]. You can backup and restore the database to rename it, but for me, I prefer to prefix everything with SharePoint_. Remember, keep it clean and think of the DBAs. Once you have entered the configuration information, click Start.
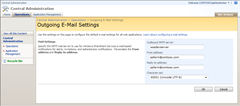
In Operations, click on Outgoing e-mail settings
Enter the SMTP server name and the farm account e-mail address. Click OK
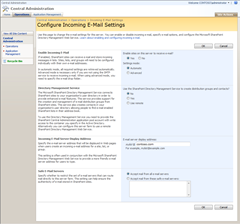
In Operations, click on Incoming e-mail settings
Enable sites to receive e-mail and change the e-mail server display name to mylist@yourcompany.com. Click OK
Create a Site Collection
Before we get started, let's delete the default web site on port 80. We don't need it, and we will create a new web application from SharePoint in its place
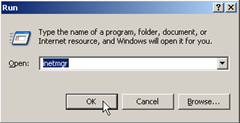
Open IIS Manager by running inetmgr
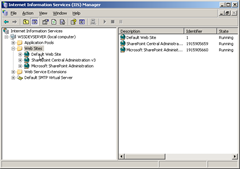
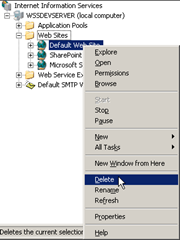
The IIS Manager opens. You will notice there are three web sites. The Default web site is just that. SharePoint Central Administration v3 is CA for WSS. Microsoft SharePoint Administration is the Front Page Server Extensions 2002 Server Administration site.
Right-click on the Default Web Site and select Delete
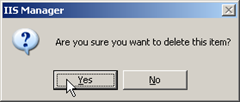
Click Yes to confirm the delete
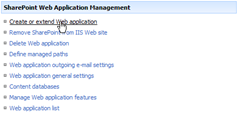
In Application Management, click Create or extend Web application
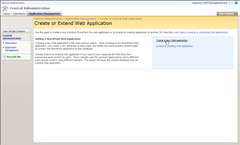
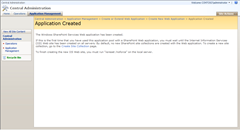
Click Create a new Web application
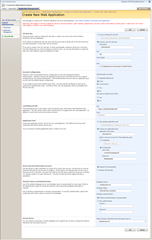
Enter the Web application settings. Here's what I've modified from the default
| Setting | Value |
| Description | SharePoint |
| Load-Balanced Url | https://wssdevserver |
| Application Pool Name | SharePoint |
| Application Pool Credentials | SPAppPool / Password |
| Restart IIS | Restart Automatically |
| Datbase Name | SharePoint_Content |
| WSS Search Server | wssdevserver |
After entering the settings, click OK
Click Create Site Collection
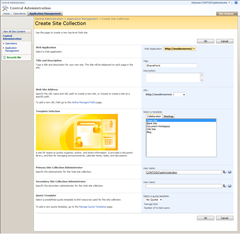
Enter the site collection settings. Here's what I've modified from the default
| Setting | Value |
| Title | SharePoint |
| Primary Site Collection Administrator | yourcompany\administrator |
After entering the settings, click OK
Install SharePoint Designer 2007
Mount the SharePoint Designer 2007 CD. Select CD > Capture ISO Image from the VPC Console
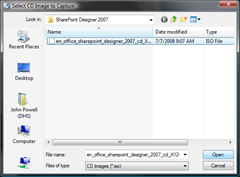
Select the SharePoint Designer.iso file and click Open
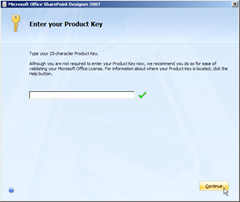
Enter your MSDN product key and click Continue
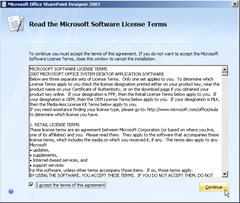
Read and accept the license agreement and click Continue
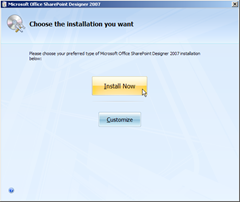
Click Install Now
Watch the progress bar; it won't take long
Click Close
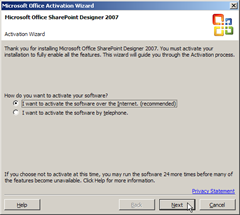
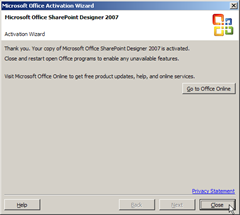
Open SharePoint Designer and activate your software
Click Close
Install Visual Studio 2008
Debugging is easier if you install Visual Studio on the virtual machine; otherwise you have to setup remote debugging and export SharePoint assemblies to the host machine. In this step, you will install Visual Studio and any additional tools based on your preferences.
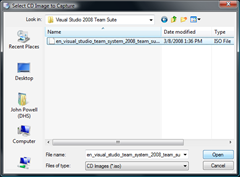
Mount the Visual Studio 2008 disk. Select CD > Capture ISO Image from the VPC Console
Select the Visual Studio iso file and click Open
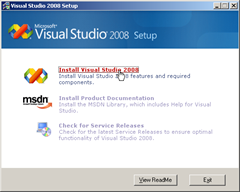
Click Install Visual Studio 2008
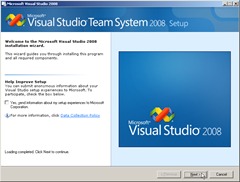
Click Next
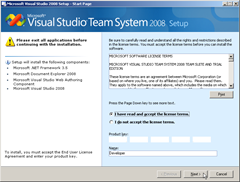
Read and accept the license agreement and click Next. Note: you don't have to enter the product key
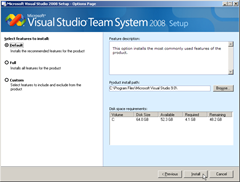
Click Install
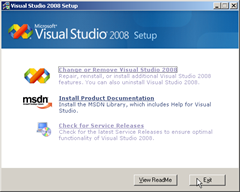
Once the installation completes, you will be prompted to reboot. When the setup screen appears, click Exit
Install Windows SharePoint Services 3.0 Tools: Visual Studio 2008 Extensions, Version 1.2
Download the extensions here.
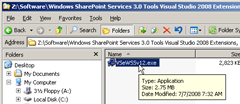
Run the installer
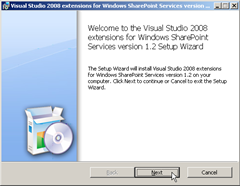
Click Next
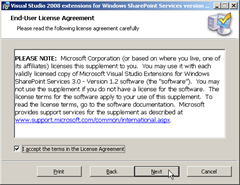
Read and accept the license agreement. Click Next
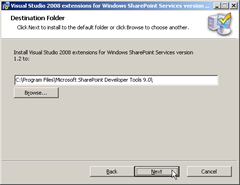
Click Next
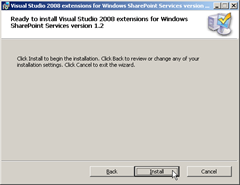
Click Install
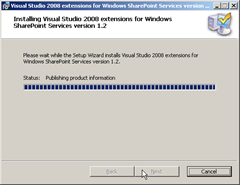
Watch the progress bar. Note: there will be a long delay at the end (the installation is probably running a devenv /setup to refresh the newly installed SharePoint templates)
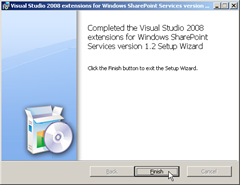
Click Finish
Summary
This article presented detailed step-by-step instructions for building out a Virtual PC Windows SharePoint Services 3.0 development environment. I hope you find it helpful and I welcome your comments and suggestions for improvement.
Additional Reading
- Learn to Develop On SharePoint
- Use Virtual PC Differencing Disks to your Advantage
- MOSS 2007 Development - Virtual Server Set Up
- Team-Based Development in MOSS
- Development Tools and Techniques for Working with Code in WSS 3.0
- How to Create a MOSS 2007 VPC Image - the Whole 9 Yards
Comments
Anonymous
July 07, 2008
PingBack from http://blog.a-foton.ru/2008/07/walkthrough-build-a-windows-sharepoint-services-30-development-virtual-pc-with-sql-server-active-directory-and-e-mail/Anonymous
July 07, 2008
Thank you very much for posting this. I find it very helpful. For a developer to go through some of the Active Directory things is very painful ;-)Anonymous
September 10, 2008
Excellent post. I'll certainly be linking this as a must read for SharePoint developers.Anonymous
November 19, 2008
Erm... I get 'feature not available' when I open Sharepoint Designer. Any hints on that?Anonymous
December 03, 2008
FANTASTIC post! Practical, to the point! I only did the AD setup part, but everything worked fine. I had a few screens different, but not enough to be too confusing.Anonymous
December 08, 2008
Great help, thanks! I am about half way through this process on my own, this post really is a life saver. I bet you just saved me a week of messing around with email and AD ThanksAnonymous
July 30, 2009
appreciate your effort. it is really usefulAnonymous
September 30, 2009
Very helpful. Making life easy for a non-developer looking to update skills. However I am unable to get internet access using the instruction as included. Had to revert back to dynamic rather than static ip addresses. Guess I need my infrastructure skills to be enhanced.Anonymous
October 07, 2009
Thats a great article If you can I request you to add reporting service configuration for sharepointAnonymous
April 24, 2012
Great work...you should have patience :)
