使用適用於 Eclipse 的 Azure Explorer 管理 Redis 快取
Azure Explorer 是適用於 Eclipse 的 Azure 工具組的一部分,可為 Java 開發人員提供易於使用的解決方案,從 Eclipse IDE 內部管理其 Azure 帳戶中的 redis 快取。
必要條件
若要完成本文中的步驟,您必須安裝 Azure Toolkit for Eclipse,這需要下列軟體元件:
- Azure 支援 Java 開發工具套件 (JDK)
- Eclipse IDE
- 適用於 Eclipse 的 Azure 工具組,如需詳細資訊,請參閱安裝指南
- 登入適用於 Eclipse 的 Azure 工具組的 Azure 帳戶
注意
Eclipse Marketplace 上的 Azure Toolkit for Eclipse 頁面會列出與工具組相容的組建。
顯示 Azure Explorer 檢視
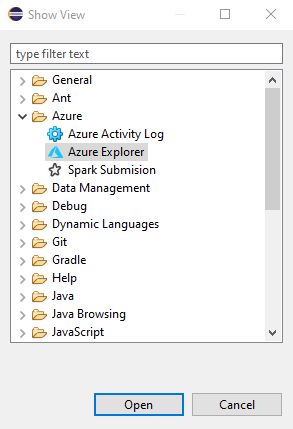
如果 Eclipse 中看不到 Azure Explorer 檢視,請執行下列動作來顯示它:
按兩下 [視窗],將滑鼠停留在 [顯示檢視] 上方,然後按兩下 [其他]。
在 [顯示檢視] 對話框中,展開 [Azure],選取 [Azure 總管],然後按兩下 [開啟]。
使用 Eclipse 建立 Redis 快取
下列步驟會逐步引導您使用 Azure Explorer 建立 redis 快取的步驟。
使用 [適用於 Eclipse 的 Azure 工具組登入指示] 一文中的步驟來登入您的 Azure 帳戶。
在 [Azure Explorer ] 工具視窗中,展開 [Azure ] 節點,以滑鼠右鍵按兩下 [Redis 快取],然後按兩下 [ 建立 Redis 快取]。

當 [ 新增 Redis 快取 ] 對話框出現時,請指定下列選項:
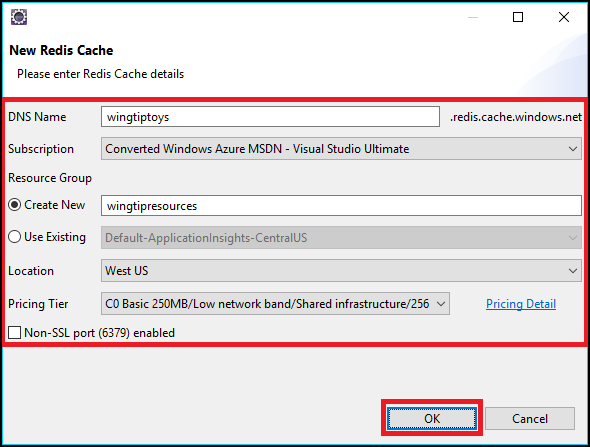
a. DNS 名稱:指定新 redis 快取的 DNS 子域,其前面加上 “.redis.cache.windows.net”;例如: wingtiptoys.redis.cache.windows.net。
b. 訂用帳戶:指定您要用於新 redis 快取的 Azure 訂用帳戶。
c. 資源群組:指定 redis 快取的資源群組;您需要選擇下列其中一個選項:
- 建立新:指定您想要建立新的資源群組。
- 使用現有:指定您將從與 Azure 帳戶相關聯的資源群組清單中選擇。
d. 位置:指定建立 redis 快取的位置;例如, 美國西部。
e. 定價層:指定 Redis 快取所使用的定價層;此設定決定用戶端連線的數目。 (如需詳細資訊,請參閱 Redis 快取定價。)
f. 非 SSL 連接埠:指定您的 redis 快取是否允許非 SSL 連線;根據預設,只允許 SSL 連線。
當您指定所有 redis 快取設定之後,請按兩下 [ 確定]。
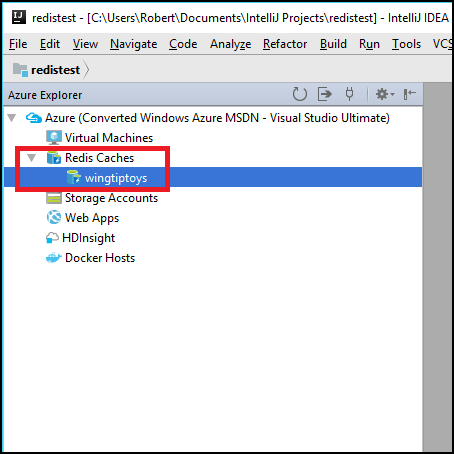
建立 Redis 快取之後,其會顯示在 Azure Explorer 中。
注意
如需設定 Azure Redis 快取設定的詳細資訊,請參閱 如何設定 Azure Redis 快取。
在 Eclipse 中顯示 Redis 快取的屬性
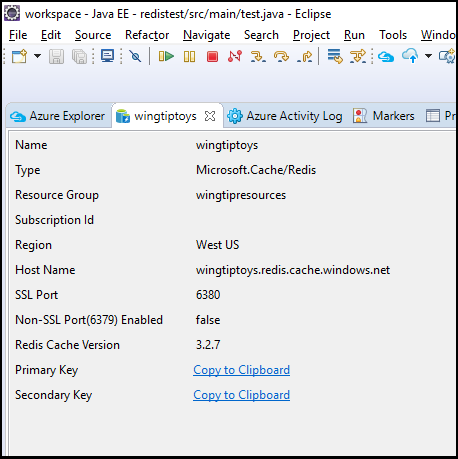
在 Azure 檔案總管中,以滑鼠右鍵按兩下您的 redis 快取,然後按兩下 [ 顯示屬性]。
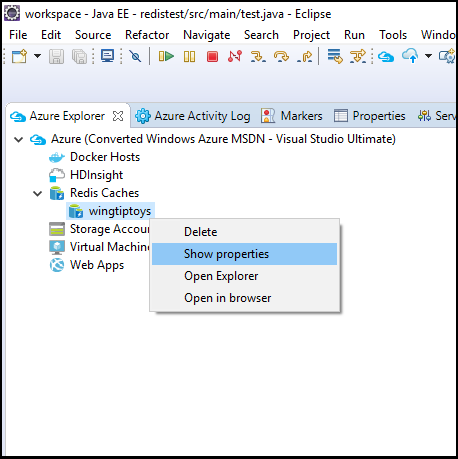
Azure Explorer 會顯示 redis 快取的屬性。
使用 Eclipse 刪除 Redis 快取
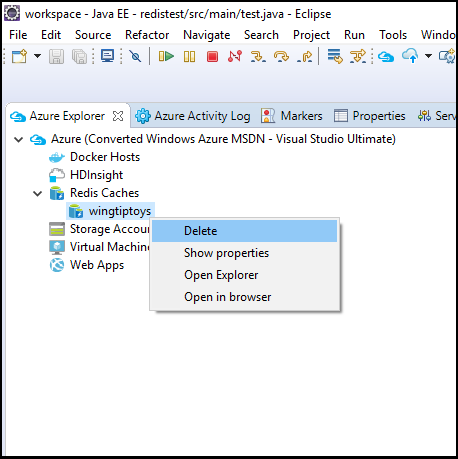
在 Azure 檔案總管中,以滑鼠右鍵按兩下您的 redis 快取,然後按兩下 [ 刪除]。
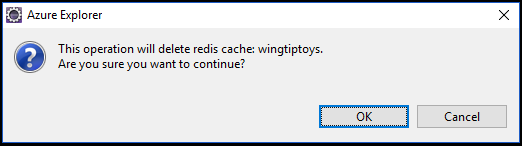
當系統提示您刪除 redis 快取時,按兩下 [ 確定 ]。
下一步
如需 Azure redis 快取、組態設定和定價的詳細資訊,請參閱下列連結:
若要回報 Bug 或要求新功能,請在 GitHub 存放庫上建立問題。 或者,使用標記 azure-java-tools 在 Stack Overflow 上提出問題。
如需搭配 Azure 使用 Java 的詳細資訊,請參閱下列連結: