使用 Azure Pipelines 發佈 Cargo 套件
Azure DevOps Services |Azure DevOps Server 2022
Azure Pipelines 可讓開發人員將 Cargo 套件發佈到 Azure Artifacts 饋送和其他公用存放庫,例如 Crates.io。 在本文中,您將瞭解如何使用 YAML 和傳統管線,將您的 Cargo 套件發佈至 Azure Artifacts 摘要。
必要條件
使用資料流進行驗證
登入您的 Azure DevOps 組織,然後瀏覽至您的專案。
選取 [ 成品],然後選取您的摘要。
選取 [ 連線至摘要],然後從左窗格中選取 [貨物 ]。
從 Project 安裝程式 區段複製所提供的代碼段,並將它新增至來源存放庫中的 config.toml 檔案。 您的檔案看起來應該像這樣:
專案範圍的摘要:
[registries]
<FEED_NAME> = { index = "sparse+https://pkgs.dev.azure.com/<ORGANIZATION_NAME>/<PROJECT_NAME>/_packaging/<FEED_NAME>/Cargo/index/" }

[source.crates-io]
replace-with = "<FEED_NAME>"
組織範圍的摘要:
[registries]
<FEED_NAME> = { index = "sparse+https://pkgs.dev.azure.com/<ORGANIZATION_NAME>/_packaging/<FEED_NAME>/Cargo/index/" }

[source.crates-io]
replace-with = "<FEED_NAME>"
登入您的 Azure DevOps 組織,然後瀏覽至您的專案。
選取 管線,然後選取您的管線定義。
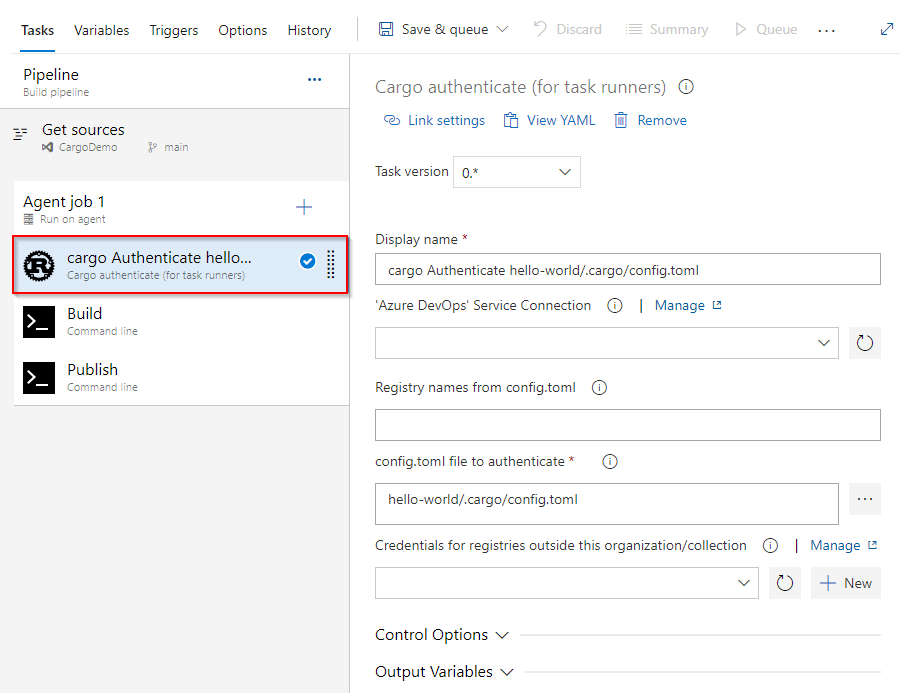
選取 [編輯],然後將下列程式碼片段新增至您的 YAML 管線。
- task: CargoAuthenticate@0
  displayName: 'Cargo Authenticate'
  inputs:
    configFile: '.cargo/config.toml'    ## Path to the config.toml file that specifies the registries you want to work with. Select the file, not the folder e.g. "/.cargo/config.toml"
將 crate 發佈至 feed
登入您的 Azure DevOps 組織,然後瀏覽至您的專案。
選取 管線,然後選取您的管線定義。
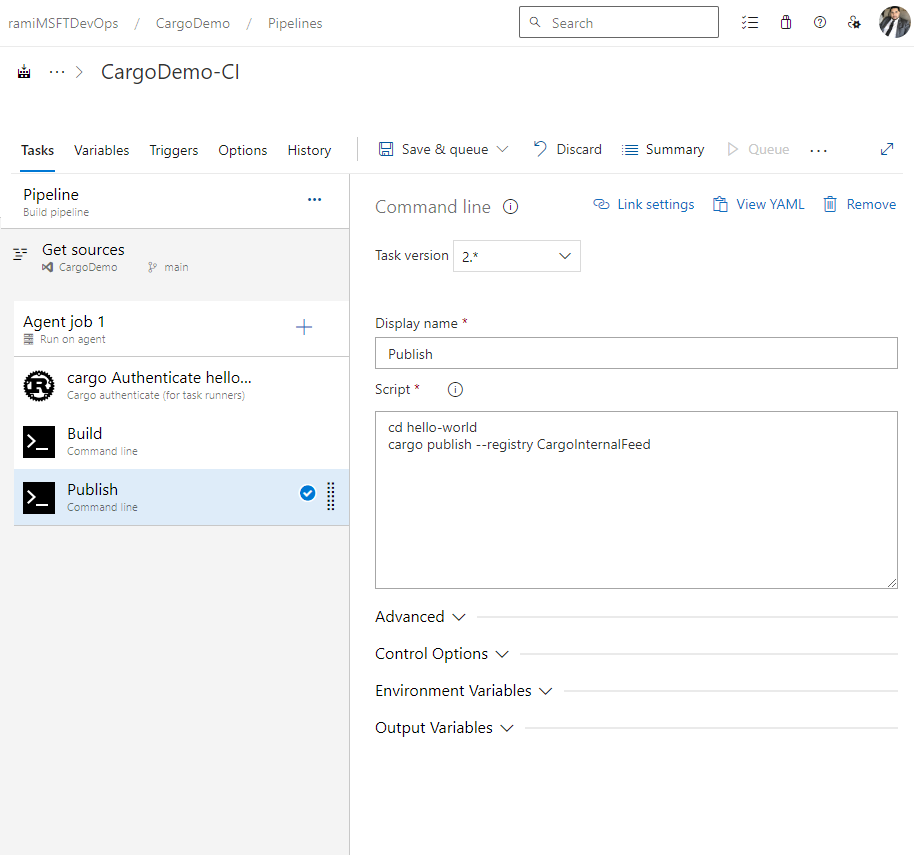
選取 編輯,然後將下列程式碼片段加到您的 YAML 管線。
- powershell: |
   cargo publish --registry <FEED_NAME>        ## Replace the placeholder with your feed name
  env:
    SYSTEM_ACCESSTOKEN: $(system.accesstoken)
範例
下列範例示範如何在代理程式上安裝 Rustup、設定 PATH 環境變數、建置專案、使用 CargoAuthenticate 進行驗證,以及發佈至 Azure Artifacts 摘要:
trigger:
- main

pool:
  vmImage: windows-latest

steps:
- powershell: |
   Invoke-WebRequest -Uri https://sh.rustup.rs -OutFile rustup-init.sh
   bash .\rustup-init.sh -y
   echo "##vso[task.prependpath]$env:USERPROFILE\.cargo\bin"
  displayName: Install

- task: CargoAuthenticate@0
  displayName: 'cargo Authenticate'
  inputs:
    configFile: '.cargo/config.toml'

- script: |
   cargo build --all
  displayName: Build

- powershell: |
   cargo publish --registry CargoInternalFeed
  displayName: Publish
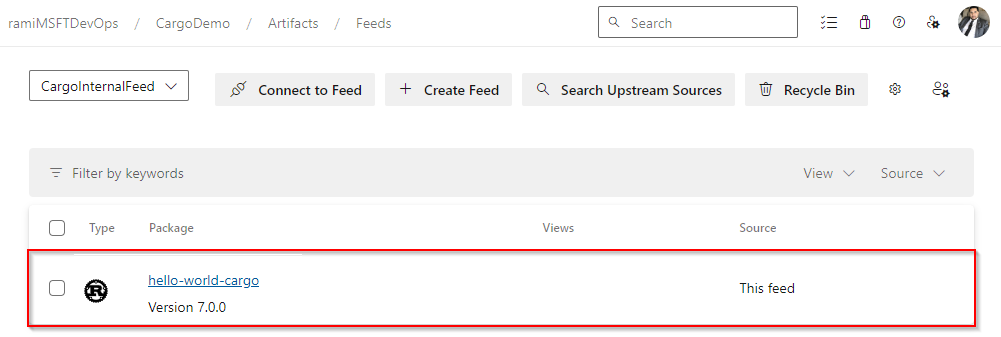
管線執行完成後,您的軟體包應該會在您的來源中提供,如下所示:


