使用 Livy API 提交和執行 Livy 批次作業
注意
適用於網狀架構的 Livy API 資料工程師 處於預覽狀態。
適用於:✅Microsoft Fabric 中的 資料工程師 和 資料科學
使用適用於網狀架構的 Livy API 資料工程師 提交 Spark 批次作業。
必要條件
使用 Jupyter Notebook、PySpark 和適用於 Python 的 Microsoft 驗證連結庫 (MSAL) 等遠端用戶端。
需要Microsoft Entra 應用程式令牌才能存取網狀架構 Rest API。 向 Microsoft 身分識別平台 註冊應用程式。
您的 Lakehouse 中有一些數據,此範例會使用 NYC Taxi & Limousine Commission green_tripdata_2022_08載入湖屋的 parquet 檔案。
Livy API 會定義作業的統一端點。 當您遵循本文中的範例時,請將佔位元 {Entra_TenantID}、{Entra_ClientID}、{Fabric_WorkspaceID}和 {Fabric_LakehouseID} 取代為您適當的值。
設定 Livy API Batch 的 Visual Studio Code
在 Fabric Lakehouse 中選取 [Lakehouse 設定 ]。
流覽至 [Livy 端點 ] 區段。
將 Batch 作業 連接字串 (映像中的第二個紅色方塊) 複製到您的程式代碼。
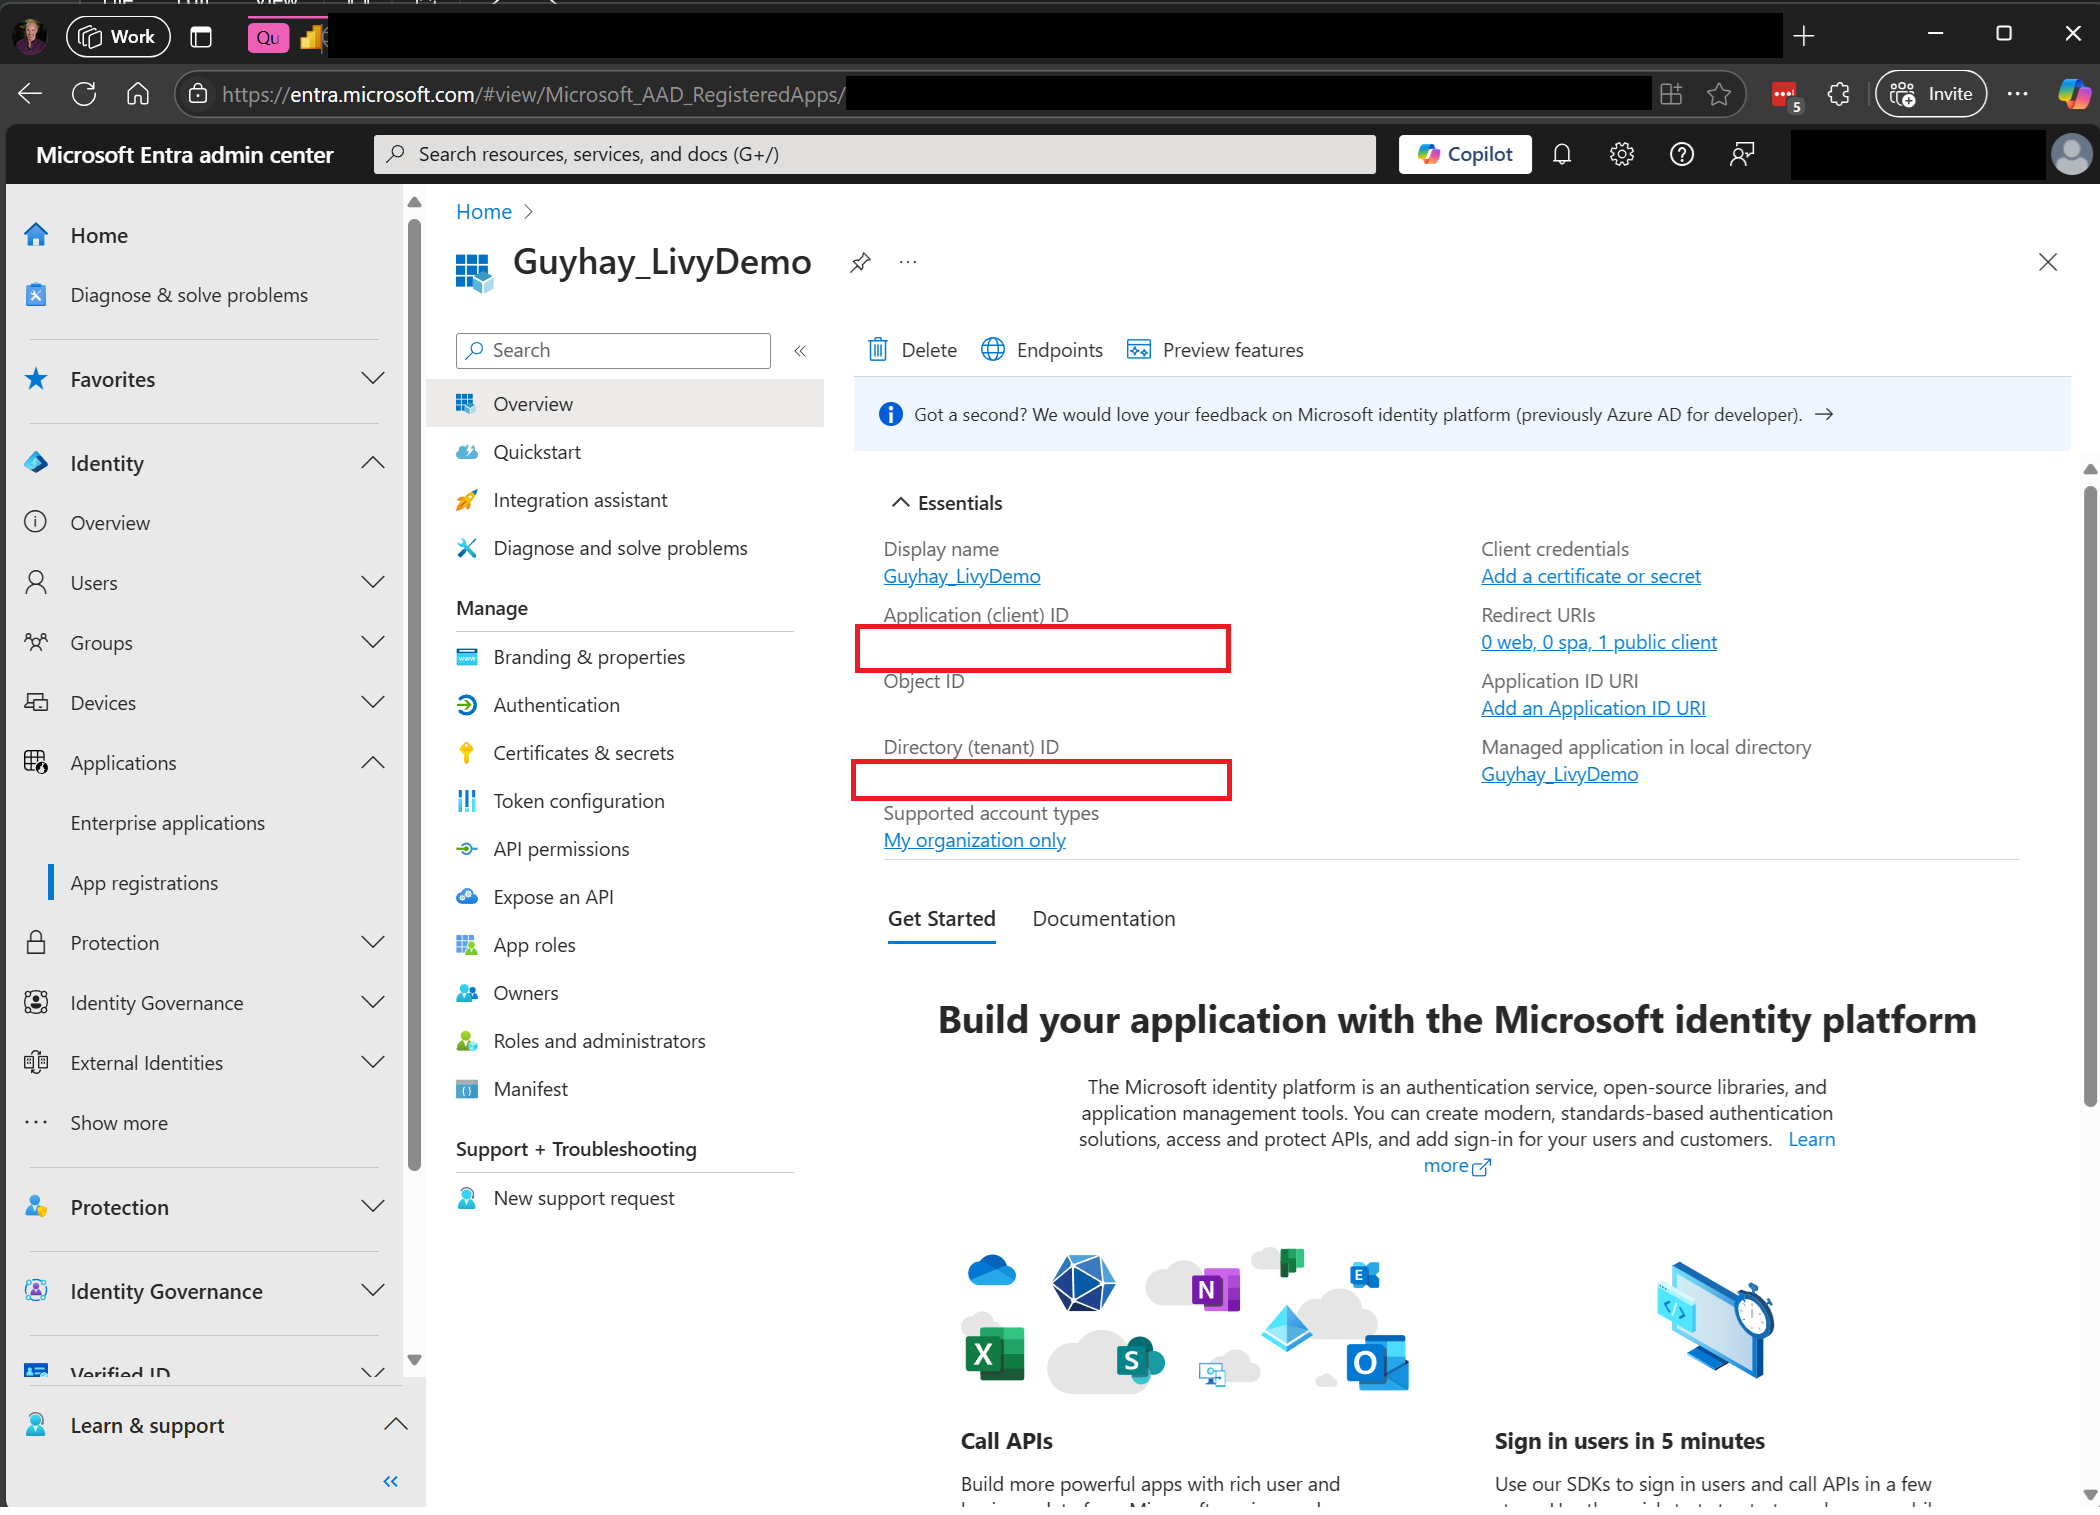
流覽至 Microsoft Entra 系統管理中心 ,並將應用程式 (用戶端) 識別碼和目錄 (租使用者) 識別碼複製到您的程式碼。
建立 Spark 承載並上傳至您的 Lakehouse
在 Visual Studio Code 中建立
.ipynb筆記本,並插入下列程式代碼import sys import os from pyspark.sql import SparkSession from pyspark.conf import SparkConf from pyspark.sql.functions import col if __name__ == "__main__": #Spark session builder spark_session = (SparkSession .builder .appName("livybatchdemo") .getOrCreate()) spark_context = spark_session.sparkContext spark_context.setLogLevel("DEBUG") targetLakehouse = spark_context.getConf().get("spark.targetLakehouse") if targetLakehouse is not None: print("targetLakehouse: " + str(targetLakehouse)) else: print("targetLakehouse is None") df_valid_totalPrice = spark_session.sql("SELECT * FROM <YourLakeHouseDataTableName>.transactions where TotalPrice > 0") df_valid_totalPrice_plus_year = df_valid_totalPrice.withColumn("transaction_year", col("TransactionDate").substr(1, 4)) deltaTablePath = "abfss:<YourABFSSpath>"+str(targetLakehouse)+".Lakehouse/Tables/CleanedTransactions" df_valid_totalPrice_plus_year.write.mode('overwrite').format('delta').save(deltaTablePath)將 Python 檔案儲存在本機。 此 Python 程式代碼承載包含兩個 Spark 語句,可在 Lakehouse 中處理數據,且必須上傳至您的 Lakehouse。 您需要承載的 ABFS 路徑,才能在 Visual Studio Code 中的 Livy API 批次作業中參考,以及 Select SQL 語句中的 Lakehouse 數據表名稱。
將 Python 承載上傳至 Lakehouse 的檔案區段。 > 取得數據 > 上傳檔案 > 按兩下 [檔案/ 輸入] 方塊。
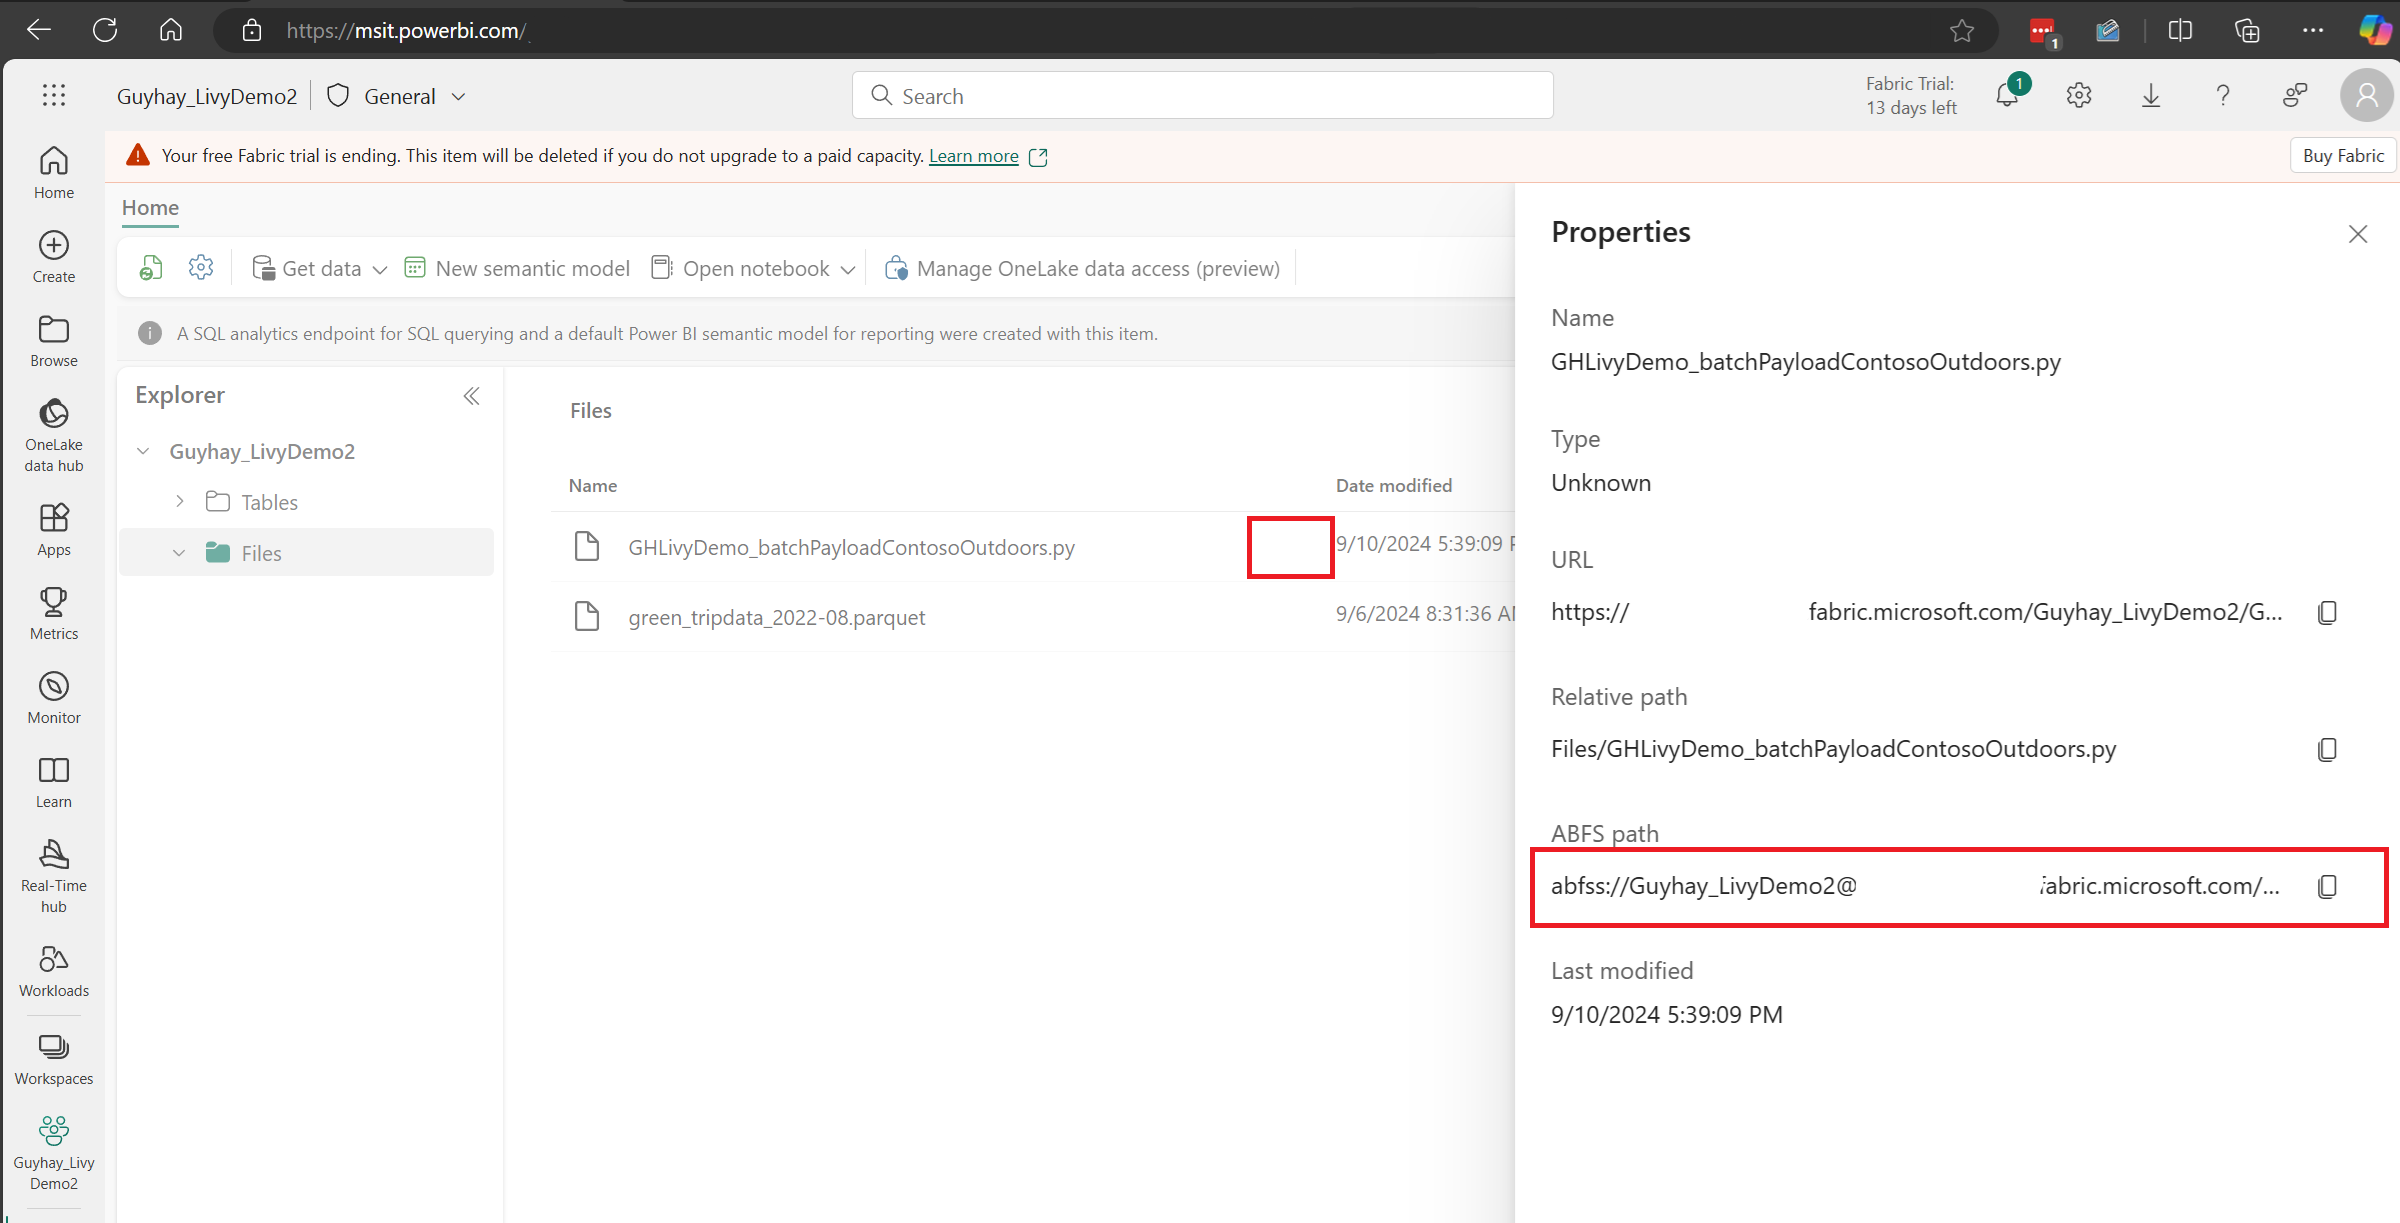
檔案位於 Lakehouse 的 [檔案] 區段之後,按兩下承載檔名右邊的三個點,然後選取 [屬性]。
將此 ABFS 路徑複製到步驟 1 中的 Notebook 單元格。
建立 Livy API Spark 批次工作階段
在 Visual Studio Code 中建立
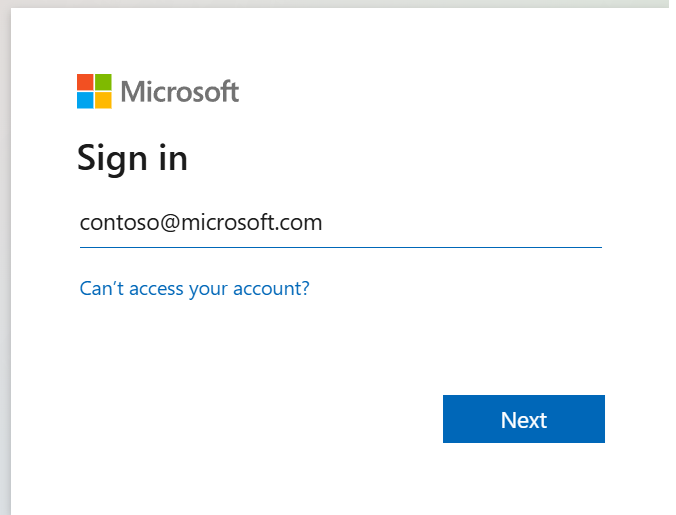
.ipynb筆記本,並插入下列程式代碼。from msal import PublicClientApplication import requests import time tenant_id = "<Entra_TenantID>" client_id = "<Entra_ClientID>" workspace_id = "<Fabric_WorkspaceID>" lakehouse_id = "<Fabric_LakehouseID>" app = PublicClientApplication( client_id, authority="https://login.microsoftonline.com/43a26159-4e8e-442a-9f9c-cb7a13481d48" ) result = None # If no cached tokens or user interaction needed, acquire tokens interactively if not result: result = app.acquire_token_interactive(scopes=["https://api.fabric.microsoft.com/Lakehouse.Execute.All", "https://api.fabric.microsoft.com/Lakehouse.Read.All", "https://api.fabric.microsoft.com/Item.ReadWrite.All", "https://api.fabric.microsoft.com/Workspace.ReadWrite.All", "https://api.fabric.microsoft.com/Code.AccessStorage.All", "https://api.fabric.microsoft.com/Code.AccessAzureKeyvault.All", "https://api.fabric.microsoft.com/Code.AccessAzureDataExplorer.All", "https://api.fabric.microsoft.com/Code.AccessAzureDataLake.All", "https://api.fabric.microsoft.com/Code.AccessFabric.All"]) # Print the access token (you can use it to call APIs) if "access_token" in result: print(f"Access token: {result['access_token']}") else: print("Authentication failed or no access token obtained.") if "access_token" in result: access_token = result['access_token'] api_base_url_mist='https://api.fabric.microsoft.com/v1' livy_base_url = api_base_url_mist + "/workspaces/"+workspace_id+"/lakehouses/"+lakehouse_id +"/livyApi/versions/2023-12-01/batches" headers = {"Authorization": "Bearer " + access_token}執行筆記本數據格,瀏覽器中應該會出現彈出視窗,讓您選擇要用來登入的身分識別。
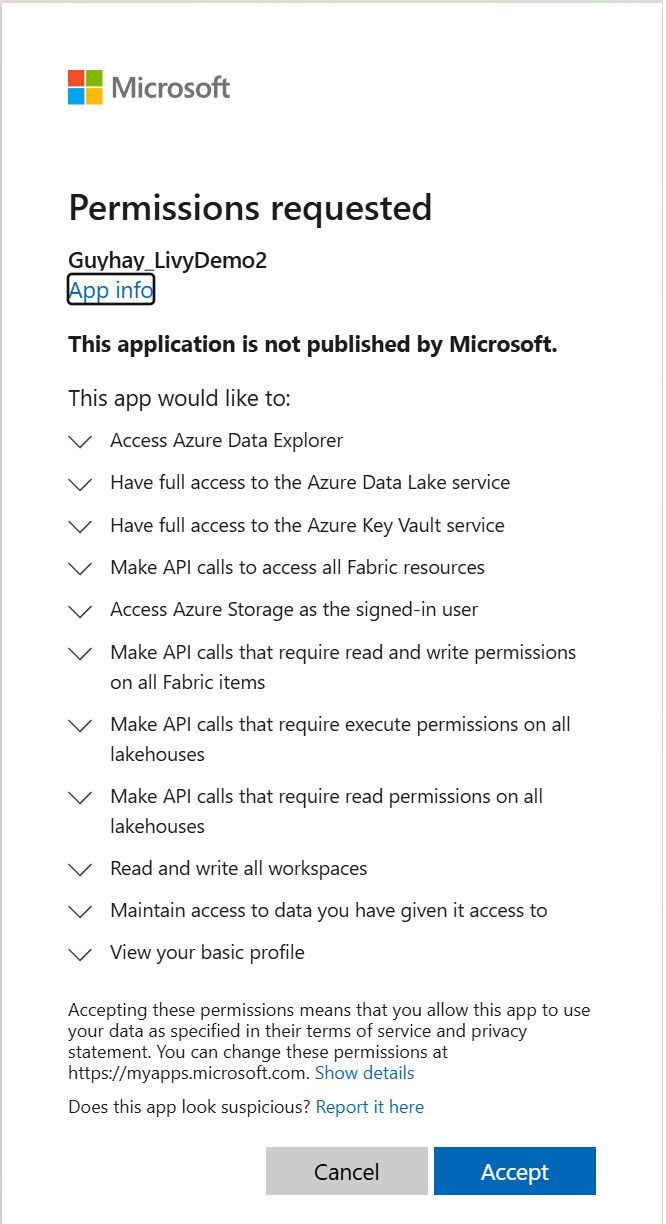
選擇要登入的身分識別之後,系統也會要求您核准 Microsoft Entra 應用程式註冊 API 許可權。
完成驗證之後關閉瀏覽器視窗。
在 Visual Studio Code 中,您應該會看到傳回Microsoft Entra 令牌。
新增另一個筆記本數據格,並插入此程序代碼。
# call get batch API

get_livy_get_batch = livy_base_url
get_batch_response = requests.get(get_livy_get_batch, headers=headers)
if get_batch_response.status_code == 200:
   print("API call successful")
   print(get_batch_response.json())
else:
   print(f"API call failed with status code: {get_batch_response.status_code}")
   print(get_batch_response.text)
執行筆記本數據格,您應該會看到兩行列印為 Livy 批次作業建立。
使用 Livy API 批次會話提交spark.sql語句
新增另一個筆記本數據格,並插入此程序代碼。
# submit payload to existing batch session

print('Submit a spark job via the livy batch API to ')

newlakehouseName = "YourNewLakehouseName"
create_lakehouse = api_base_url_mist + "/workspaces/" + workspace_id + "/items"
create_lakehouse_payload = {
   "displayName": newlakehouseName,
   "type": 'Lakehouse'
}

create_lakehouse_response = requests.post(create_lakehouse, headers=headers, json=create_lakehouse_payload)
print(create_lakehouse_response.json())

payload_data = {
   "name":"livybatchdemo_with"+ newlakehouseName,
   "file":"abfss://YourABFSPathToYourPayload.py",
   "conf": {
     "spark.targetLakehouse": "Fabric_LakehouseID"
   }
}
get_batch_response = requests.post(get_livy_get_batch, headers=headers, json=payload_data)

print("The Livy batch job submitted successful")
print(get_batch_response.json())
執行筆記本數據格,您應該會看到數行列印為 Livy Batch 作業建立並執行。
流覽回您的 Lakehouse 以查看變更。
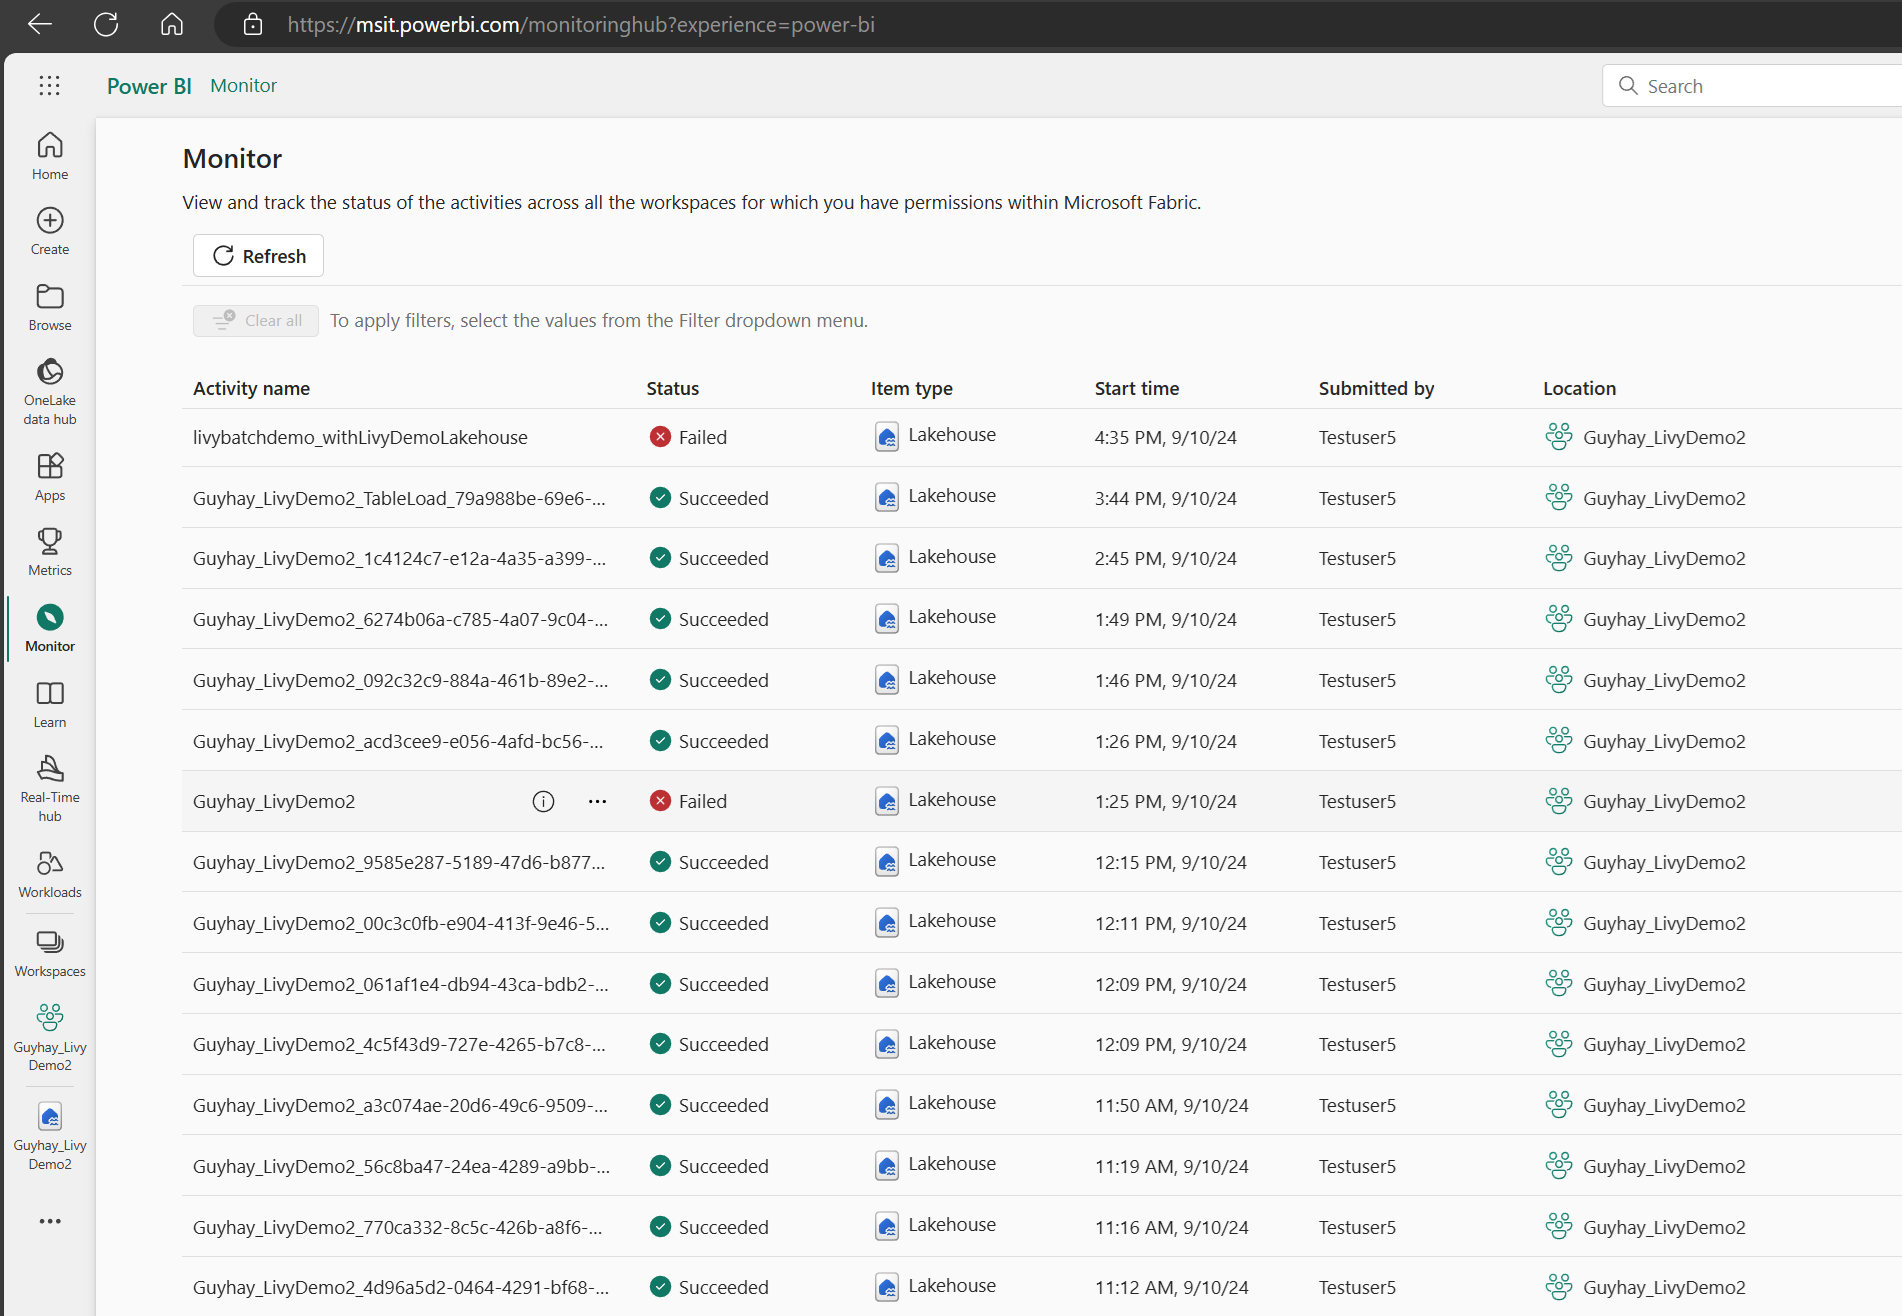
在監視中樞檢視您的作業
您可以選取左側導覽連結中的 [監視],來存取監視中樞以檢視各種 Apache Spark 活動。
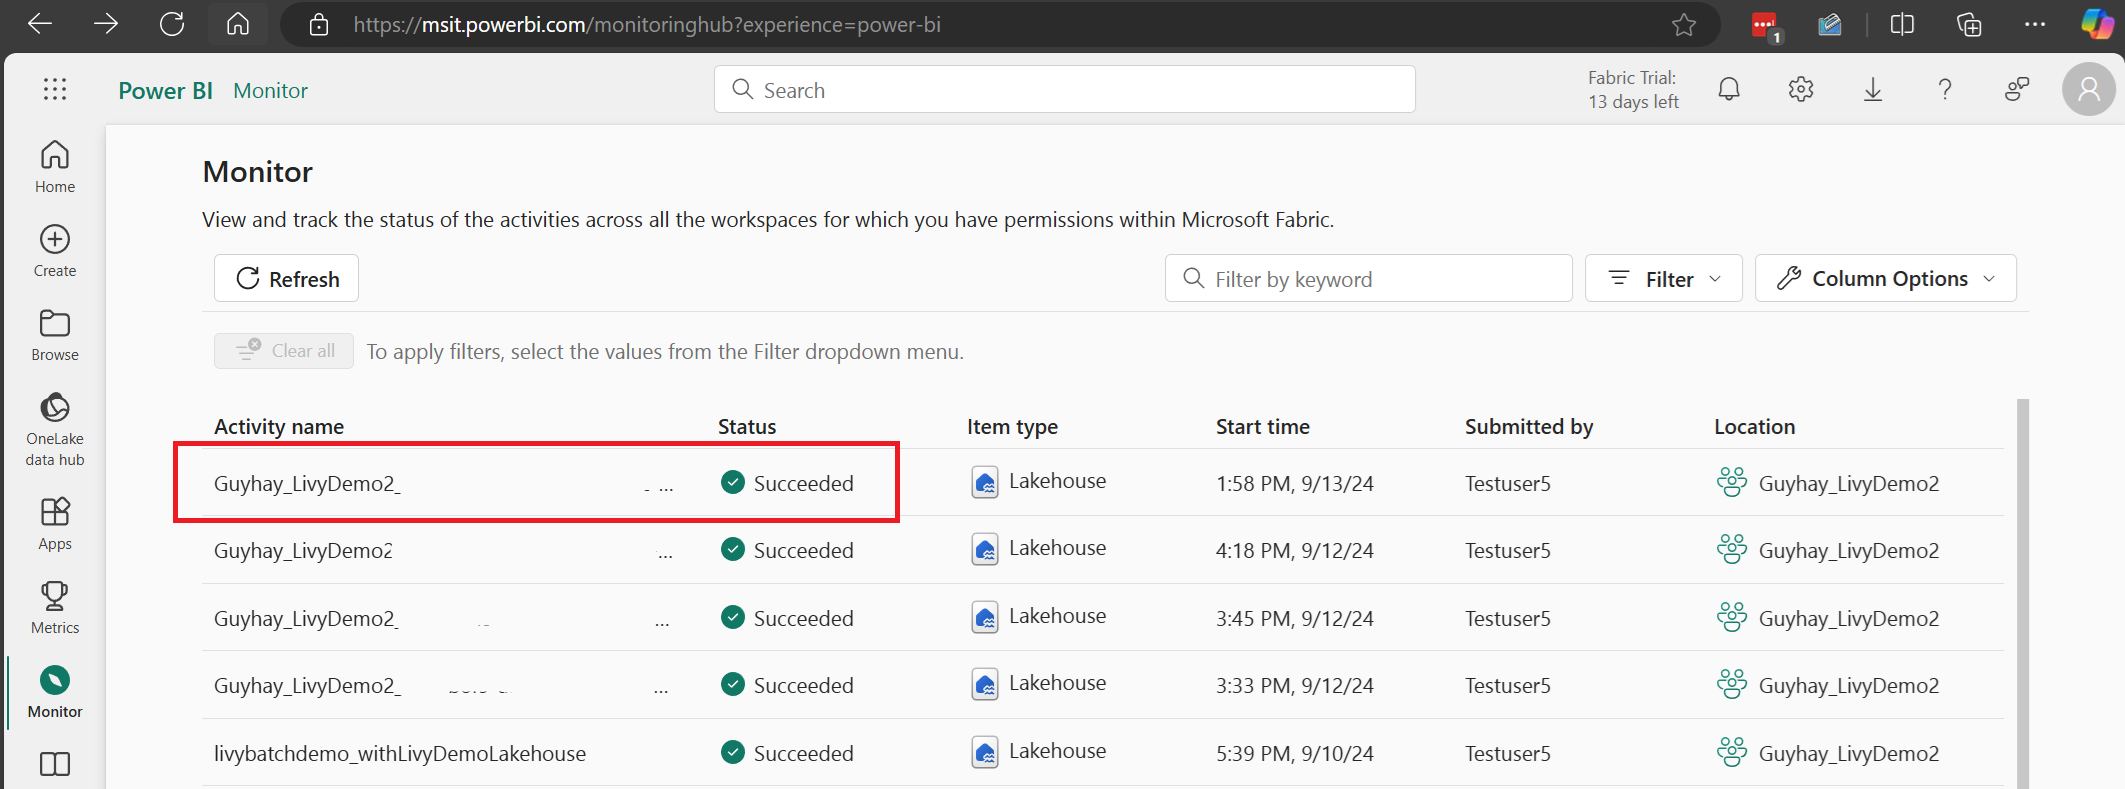
當批次作業完成狀態時,您可以流覽至 [監視] 來檢視會話狀態。
選取並開啟最新的活動名稱。
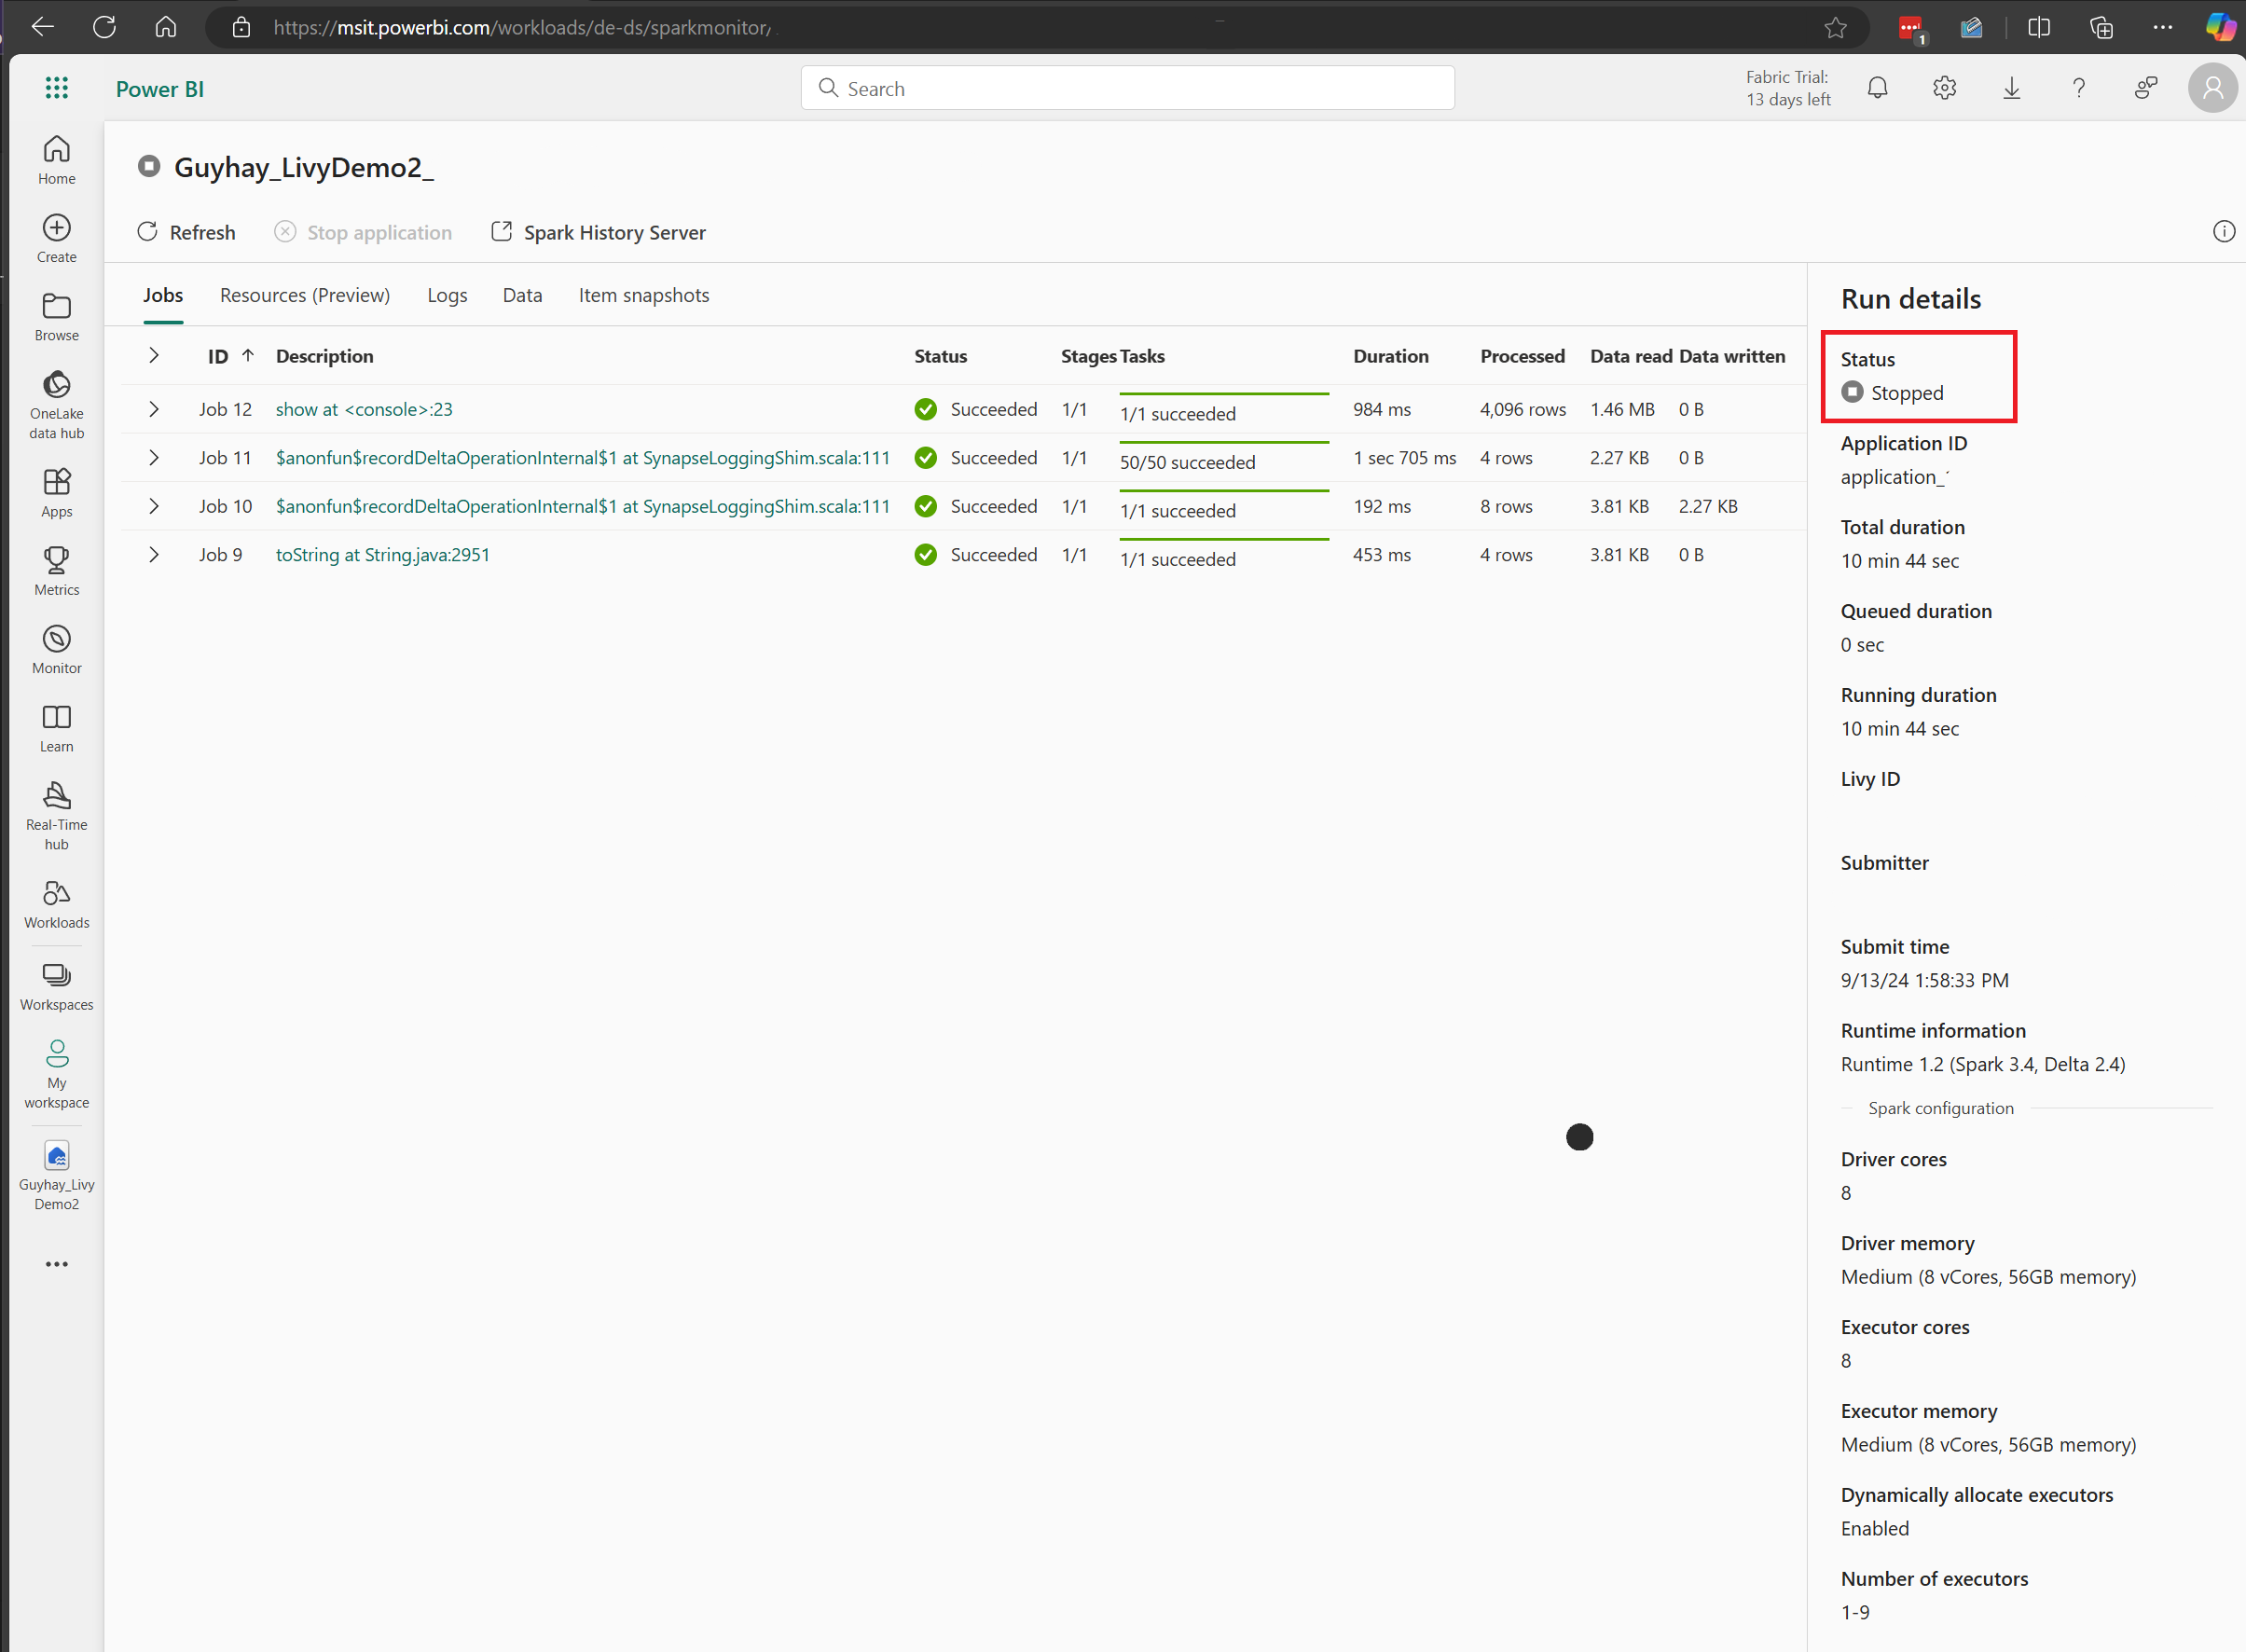
在此 Livy API 工作階段案例中,您可以看到先前的批次提交、執行詳細數據、Spark 版本和設定。 請注意右上方的已停止狀態。
若要回顧整個程式,您需要遠端用戶端,例如 Visual Studio Code、Microsoft Entra 應用程式令牌、Livy API 端點 URL、對 Lakehouse 的 Spark 驗證、Lakehouse 中的 Spark 承載,以及最後一個批次 Livy API 會話。


