URL Monitoring Part II – The Classes and Discoveries
This entry is part of the following series:
URL Monitoring Part I – The Design
URL Monitoring Part II – The Classes and Discoveries
URL Monitoring Part III – The Monitors
URL Monitoring Part IV – Getting More Advanced
URL Monitoring Part V – Monitoring URLs from a Resource Pool
Each of the 3 web applications has its own class. The applicable discovery queries a registry key and based on the values in that key creates an instance of the proper web application’s class. Also, each web application can contain multiple URLs if necessary.
I will use the class I created to monitor System Center Configuration Manager Management Points for this example because they are all built the same way.
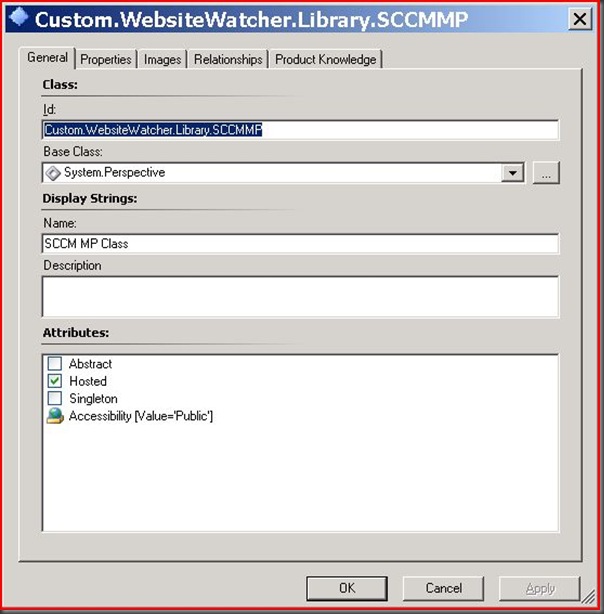
Step 1 - The first thing I did was create a new custom class in the authoring console. The base class is System.Perspective. Notice that one of the attributes is “Hosted”. Do not worry about checking this yet because once we add a relationship it will be checked automatically. Also, I always make what I create “Public”. This is important if you decide to seal the MP and want to access the class from a separate management pack.
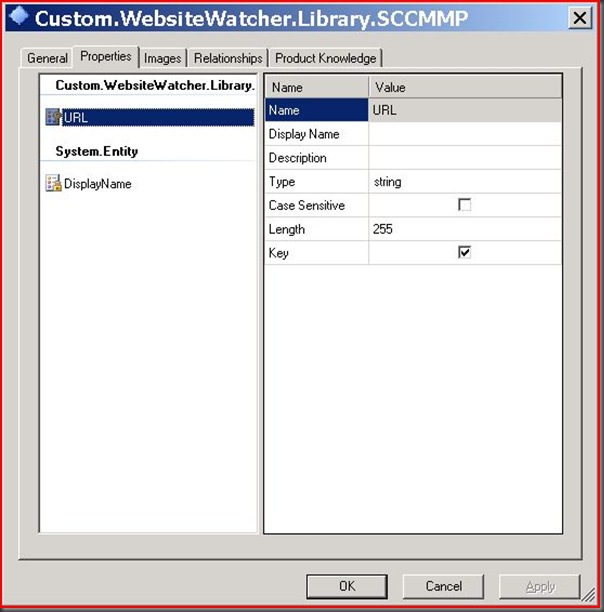
I added an attribute called “URL” and made it a key value. When the instance of this class is created the “URL” attribute will contain the URL we will be monitoring.
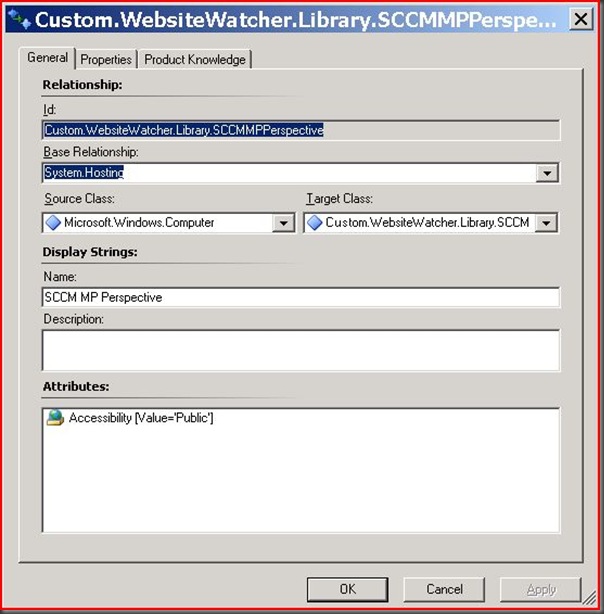
Step 2 – Next I created a relationship so that the URL we are monitoring is tied to the Watcher Node. I made this a hosting relationship and made it public.
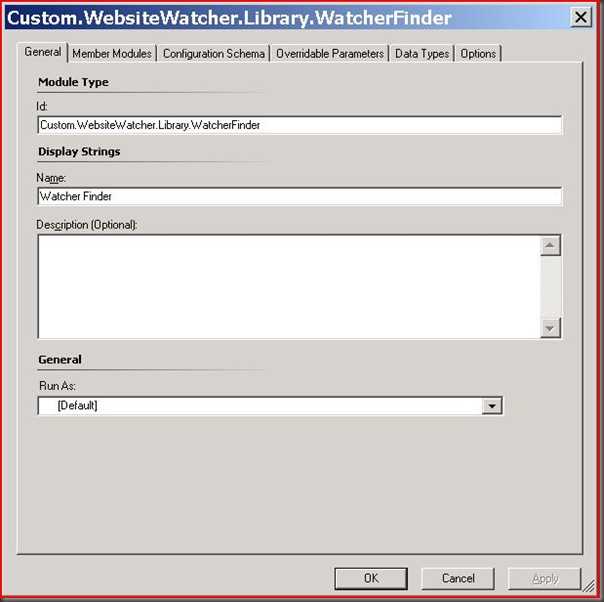
Step 3 – I then created a new custom data source that the discovery will end up using to create instances of the SCCM MP Class in addition to the other classes I use in the solution.
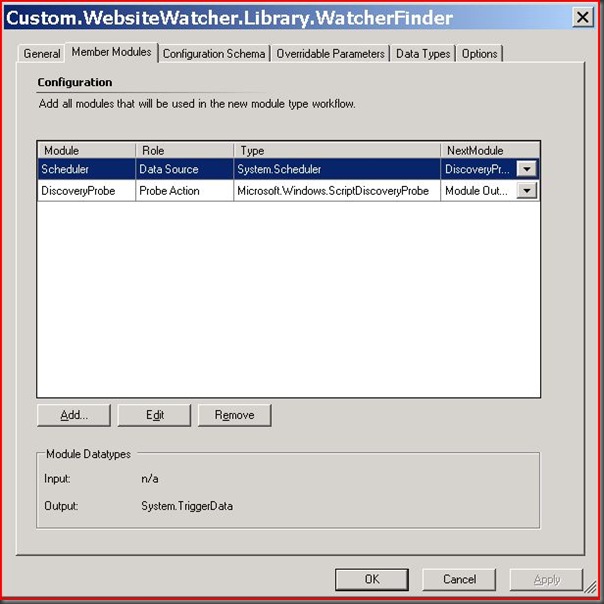
I use the System.Scheduler and Microsoft.Windows.ScriptDiscoveryProbe modules in this data source
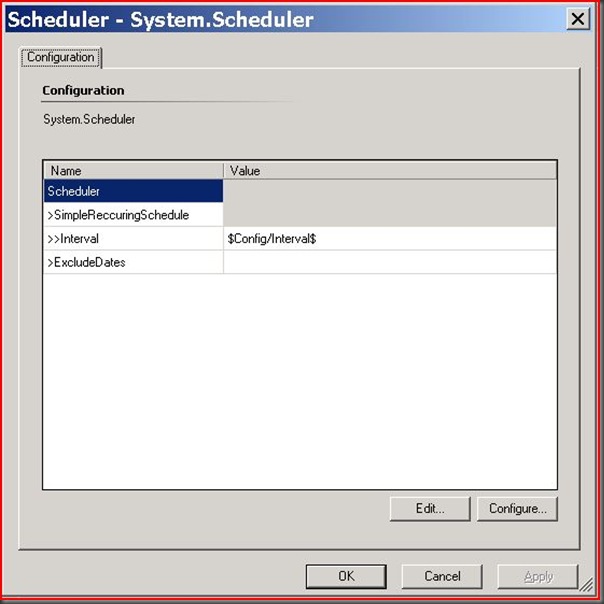
The System.Scheduler module takes a parameter which is passed to the data source by the discovery itself. This parameter is the interval at which the discovery should be run in seconds.
The Microsoft.Windows.ScriptDiscoveryProbe module is used to run a script that returns discovery data.
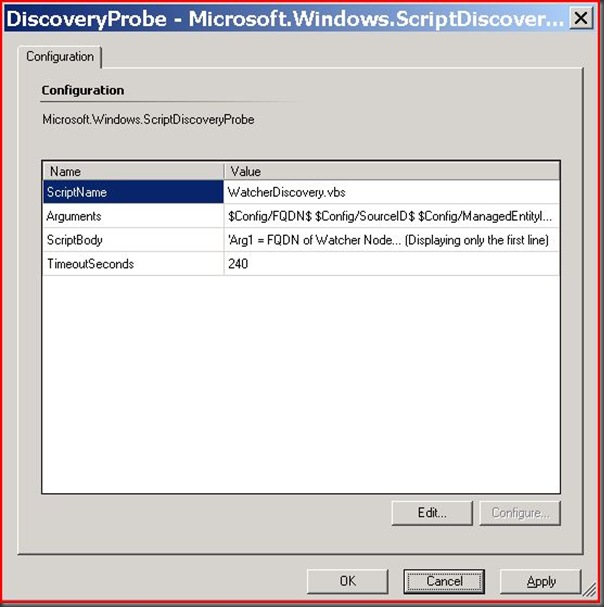
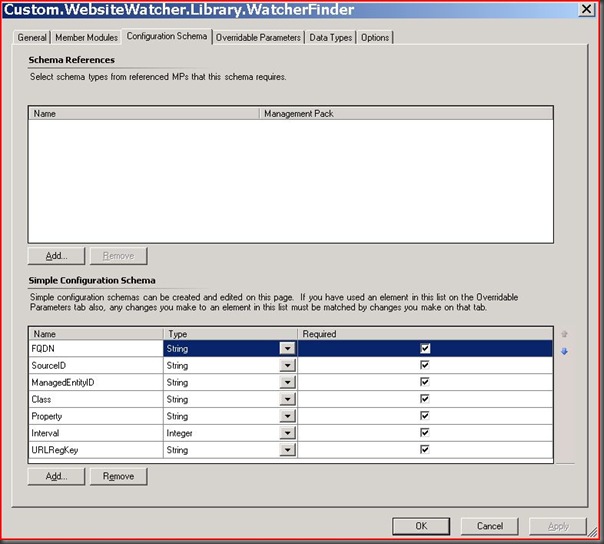
The Microsoft.Windows.ScriptDiscoveryProbe module is a bit more complex so I will paste the configuration below:
<ProbeAction ID="DiscoveryProbe" TypeID="Windows!Microsoft.Windows.ScriptDiscoveryProbe">
<ScriptName>WatcherDiscovery.vbs</ScriptName>
<Arguments>$Config/FQDN$ $Config/SourceID$ $Config/ManagedEntityID$ $Config/Class$ $Config/Property$ $Config/URLRegKey$</Arguments>
<ScriptBody><![CDATA['Arg1 = FQDN of Watcher Node
'Arg2 = SourceID (MPElement)
'Arg3 = ManagedEntityID (Target/Id)
'Arg4 = Class ID
'Arg5 = Property ID
'Arg6 = URL Watcher reg key off hklm
Set oArgs = Wscript.Arguments
sFQDN = UCase(oArgs(0))
sSourceID = oArgs(1)
sManagedEntityID = oArgs(2)
sClassID = oArgs(3)
sPropertyID = oArgs(4)
sURLRegKey = oArgs(5)
Set oAPI = CreateObject("MOM.ScriptAPI")
Set oDiscoveryData = oAPI.CreateDiscoveryData(0,sSourceID, sManagedEntityID)
'Determine if this is a Watcher Node
const HKEY_LOCAL_MACHINE = &H80000002
bIsWatcher = False
Set oReg = GetObject("winmgmts:root\default:StdRegProv")
oReg.EnumValues HKEY_LOCAL_MACHINE, sURLRegKey, arrValues
If isarray(arrValues) Then
bIsWatcher = True
End If
If bIsWatcher Then
For Each sValue in arrValues
oReg.GetStringValue HKEY_LOCAL_MACHINE, sURLRegKey, sValue, sURL
Set oWatcher = oDiscoveryData.CreateClassInstance(sClassID)
oWatcher.AddProperty "$MPElement[Name='Windows!Microsoft.Windows.Computer']/PrincipalName$",sFQDN
oWatcher.AddProperty sPropertyID,sURL
oWatcher.AddProperty "$MPElement[Name='System!System.Entity']/DisplayName$",sURL
oDiscoveryData.AddInstance(oWatcher)
Next
End If
Call oAPI.Return(oDiscoveryData)]]></ScriptBody>
<TimeoutSeconds>240</TimeoutSeconds>
</ProbeAction>
As you can see this is a vbscript that takes 5 arguments. The script queries a registry key and if the key is found returns discovery data that is used by the discovery to create instances of the applicable class. This is the reason we only need to create a handful of monitors to watch thousands of URLs.
The Configuration Tab of the data source contains all the parameters that are passed into the data source by the discovery, which we will create next.
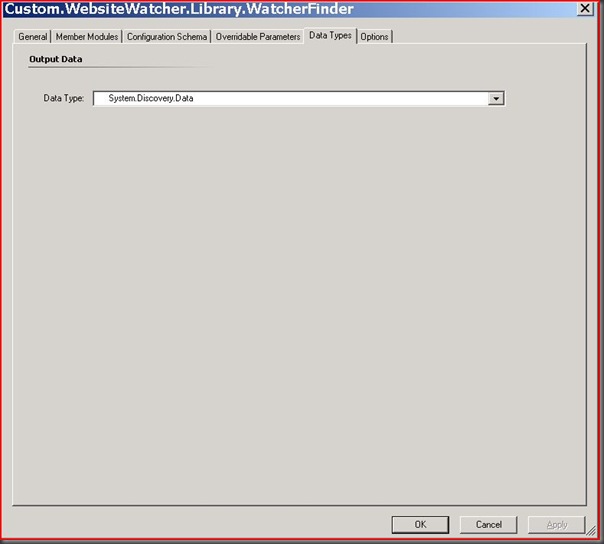
The Data Types tab should show that this data source outputs discovery data.
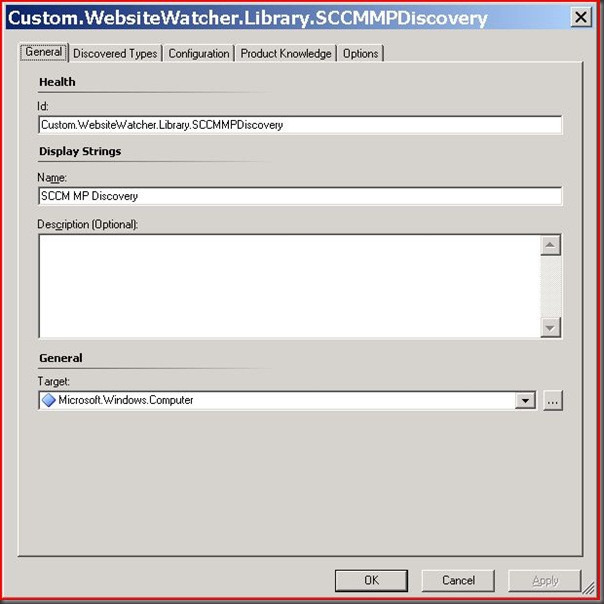
Step 4 – Now I need to create the discovery that will use this data source. I target the discovery to Microsoft.Windows.Computer because any computer can be a watcher. The way the data source identifies a watcher is by the registry key we pass it.
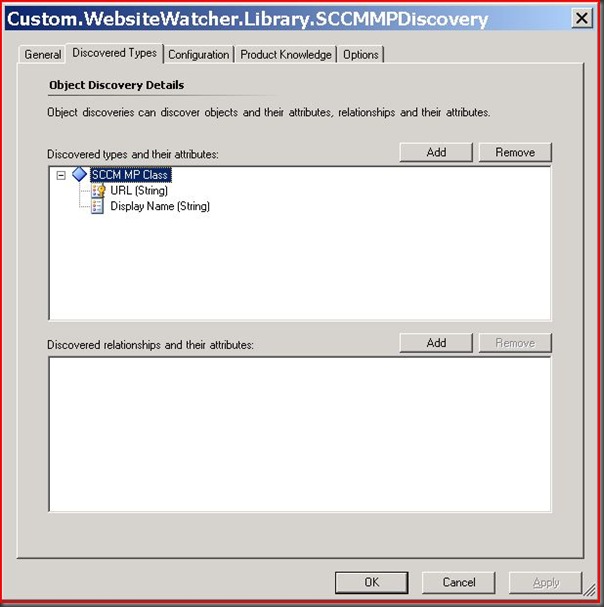
Next I added the discovered types. We are discovering instances of the SCCM MP Class so we just add that along with the appropriate attributes we will be populating.
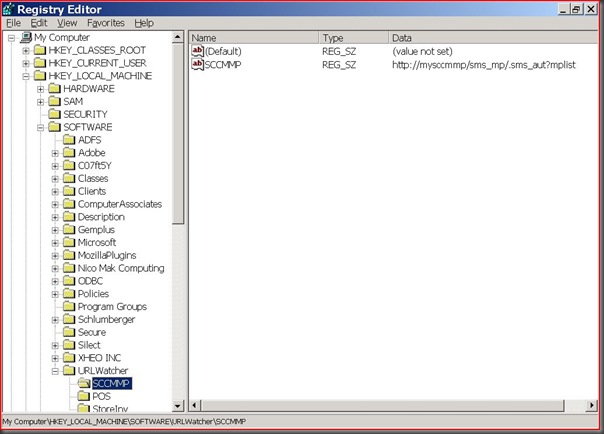
Next I choose the data source we just created and plug in the appropriate parameters. Notice the interval is set to every 24 hours and the URLRegKey is HKLM by default – Software\URLWatcher\SCCMMP. So if the data source finds this registry key it will read the values underneath it. The value should contain a URL like “https://mySCCMMP/sms_mp/.sms_aut?mplist”.

That is it for the class and discovery, just 4 steps (class, relationship, data source, and discovery). To test this out add the following registry key and value to one of your OpsMgr agents and import the MP. Note, you can add more registry values under this key if you want that agent to watch more than one URL in this particular class (so more than one SCCM MP).
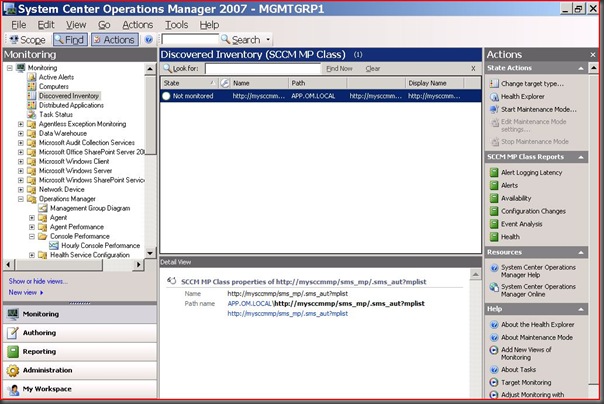
After importing the MP you just created you should see new discovered, but not monitored, inventory of type “SCCM MP Class”. Notice that the “Path” is actually the Watcher Node while the Display Name is the URL.
