Deploy an application
This article describes how to deploy a containerized application on your Kubernetes cluster.
Prerequisites
To get started, set up your single machine Kubernetes or full Kubernetes cluster.
Deploy a sample Linux application
Step 1: update the manifest file
This article uses a sample application that is a simple voting app consisting of a front and back end, which is based on Microsoft's azure-vote-front image. The container image for this application is hosted on Azure Container Registry (ACR). See linux-sample.yaml in the GitHub repo package for the deployment manifest. In the YAML, we specified a nodeSelector tag as Linux.
Step 2: deploy the application
To deploy your application, use the kubectl apply command. This command parses the manifest file and creates the defined Kubernetes objects. Specify the YAML manifest file, as shown in the following example:
kubectl apply -f https://raw.githubusercontent.com/Azure/AKS-Edge/main/samples/others/linux-sample.yaml
Step 3: verify the pods
Wait a few minutes for the pods to be in the running state:
kubectl get pods -o wide
Step 4: verify the services
To monitor progress, use the kubectl get services command with the --watch parameter:
kubectl get services
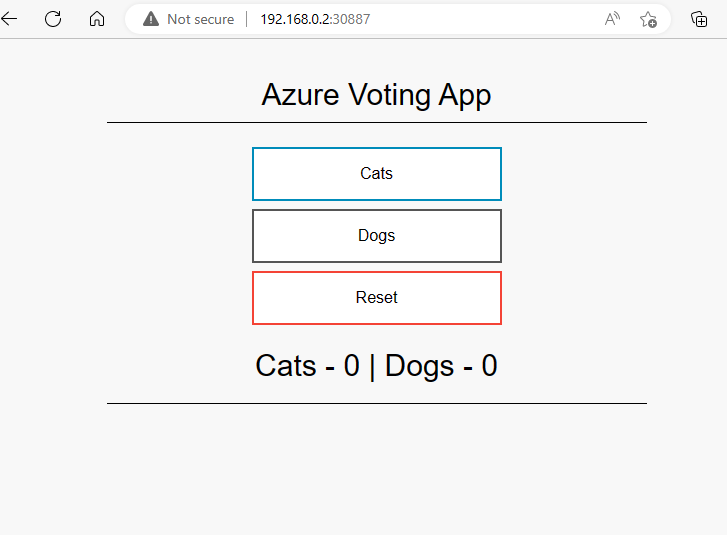
Initially, the EXTERNAL-IP for the azure-vote-front service is shown as pending. When the EXTERNAL-IP address changes from pending to an actual public IP address, you can use the IP address assigned to the service.
Important
On single machine clusters, if you deployed your Kubernetes cluster without specifying a -ServiceIPRangeSize, you will not have allocated IPs for your workload services and you won't have an external IP address. In this case, find the IP address of your Linux VM (Get-AksEdgeNodeAddr):
Get-AksEdgeNodeAddr -NodeType Linux
You can now append the external port to the VM's IP address (for example, 192.168.1.12:30432).
Step 5: test your application
To see the application in action, open a web browser to the external IP address of your service:
If the application doesn't load, it might be due to an authorization problem with your image registry. To view the status of your containers, use the kubectl get pods command. If the container images can't be retrieved, see Authenticate with Azure Container Registry from Azure Kubernetes Service.
Step 6: remove application
To clean up, delete all resources using the following command:
kubectl delete -f https://raw.githubusercontent.com/Azure/AKS-Edge/main/samples/others/linux-sample.yaml
Deploy a sample Windows application to your cluster
This example runs a sample ASP.NET application based on Microsoft's sample image. See win-sample.yaml. The YAML specifies the nodeSelector tag as Windows.
Step 1: deploy the application by specifying the name of your YAML manifest
Make sure you are in the directory of the YAML in a PowerShell window, then run the following command:
kubectl apply -f https://raw.githubusercontent.com/Azure/AKS-Edge/main/samples/others/win-sample.yaml
Step 2: verify that the sample pod is running
It might take a while for the pod to reach the running status, depending on your internet connection. The ASP.NET image is large:
kubectl get pods -o wide
Step 3: verify that the sample service is running
kubectl get services
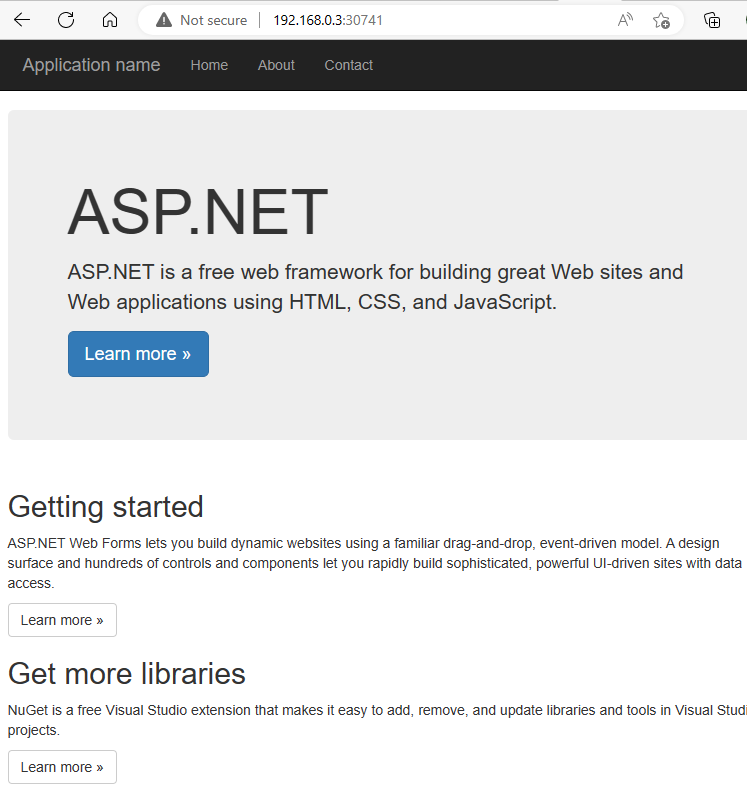
Since this sample is deployed as a service of type NodePort, you can retrieve the IP address of the Kubernetes node on which the application is running, then append the port of the NodePort. Get the IP of the Kubernetes node using the following Get-AksEdgeNodeAddrcommand:
Get-AksEdgeNodeAddr -NodeType Windows
Step 4: verify your running Windows sample
Open a web browser and locate the NodePort to access your service:
Step 5: clean up
To clean up, delete all resources using the following command:
kubectl delete -f https://raw.githubusercontent.com/Azure/AKS-Edge/main/samples/others/win-sample.yaml
Deploying your own applications
The previous steps showed how you can deploy our sample applications. To deploy your own application, do the following:
Package your application into a container image, and then upload the image to Azure Container Registry or in a container registry of your choice. Review these steps to create a container image of your application.
AKS Edge Essentials enables mixed-OS clusters. Ensure your pods get scheduled on nodes with the corresponding OS. Add
nodeSelectorto your deployment files. This option tells Kubernetes to run your pods on nodes of a particular operating system (OS). If your cluster is single-OS, then you can skip this step; but for best practice, label each deployment file with node selectors:nodeSelector: "kubernetes.io/os": linuxnodeSelector: "kubernetes.io/os": windows


